

Snickerdoodle Cookie Bars are an absolute game-changer for anyone who adores the classic, comforting flavor of a traditional snickerdoodle cookie but appreciates the ease and convenience of a bar dessert. Imagine sinking your teeth into a thick, chewy square, bursting with that iconic blend of warm cinnamon and sweet sugar, perfectly balanced by a hint of tangy cream of tartar. It’s all the nostalgia and deliciousness you crave, reimagined in a fuss-free format that promises to be incredibly satisfying.
The snickerdoodle, with its whimsical name and delightful taste, has been a beloved fixture in American kitchens for generations, often gracing holiday tables and school bake sales. While the exact origin of its quirky name remains a charming mystery, its simple yet profound appeal lies in its irresistible combination of crisp edges and a soft, tender interior. With these Snickerdoodle Cookie Bars, I’ve taken that cherished recipe and transformed it into a baking experience that’s not only incredibly satisfying but also remarkably simple to prepare.
Why Are These Cookie Bars So Beloved?
Beyond their undeniable flavor and appealing texture, they offer unparalleled convenience. Gone are the days of rolling individual cookies; simply press the dough into a pan, bake, slice, and serve! They are perfect for potlucks, parties, or simply a weeknight treat, promising to be a crowd-pleaser every single time. Get ready to experience the ultimate evolution of a timeless favorite!
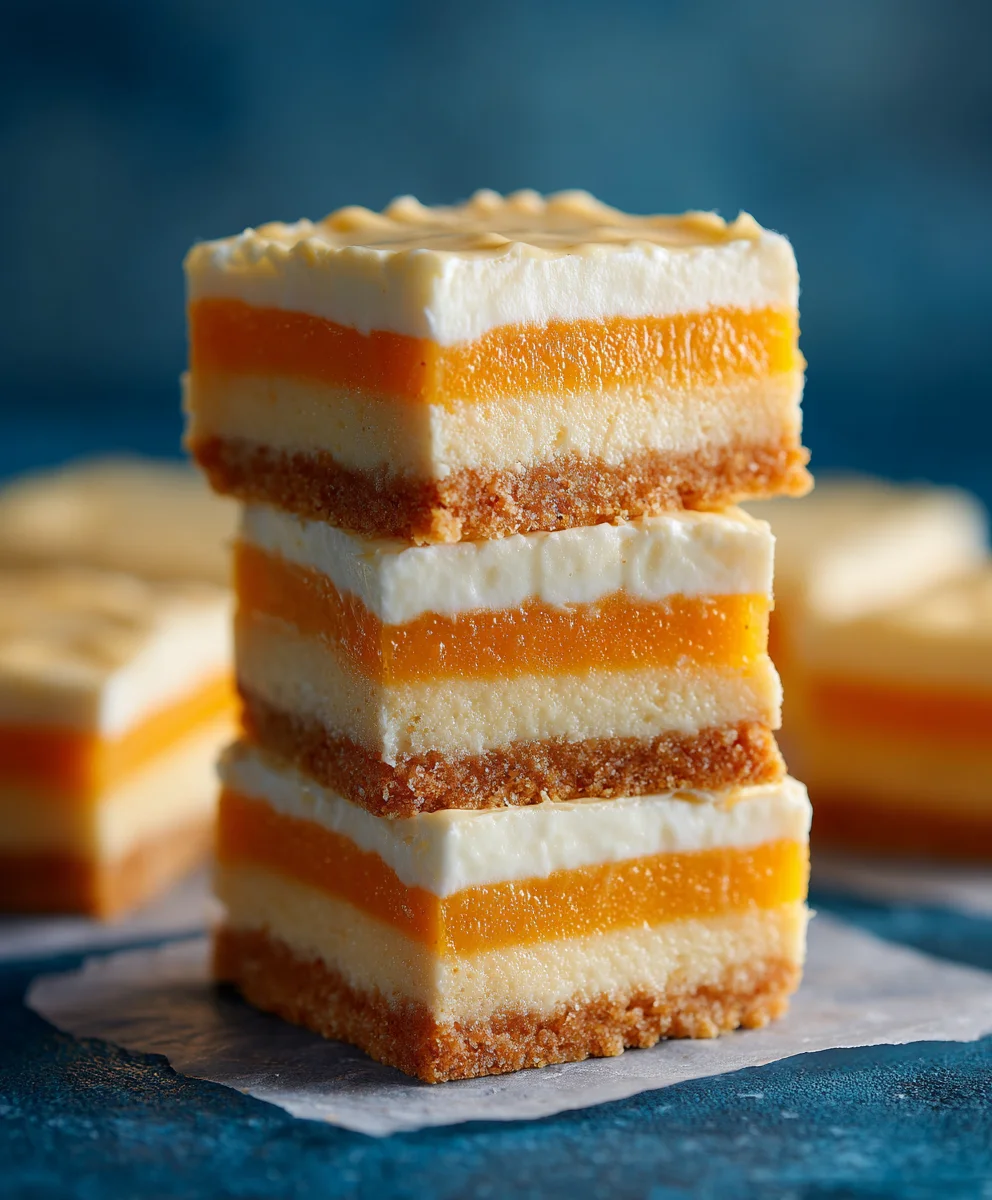
Ingredients:
-
For the Snickerdoodle Cookie Bars:
- 2 ½ cups (300g) all-purpose flour
- 1 teaspoon baking soda
- ½ teaspoon cream of tartar (this is our secret weapon for that classic snickerdoodle tang!)
- ¼ teaspoon salt
- 1 cup (226g) unsalted butter, softened to room temperature
- 1 ½ cups (300g) granulated sugar
- 2 large eggs, also at room temperature
- 1 teaspoon pure vanilla extract
-
For the Cinnamon-Sugar Topping:
- ¼ cup (50g) granulated sugar
- 2 teaspoons ground cinnamon
-
For the Optional Vanilla Glaze (for an extra touch of sweetness and beauty!):
- 1 cup (120g) powdered sugar (confectioners’ sugar)
- 2-3 tablespoons milk (any kind works, whole milk gives a richer glaze)
- ½ teaspoon pure vanilla extract
Prep Work and Mixing the Dough
Hello, fellow baking enthusiasts! Get ready to dive into making the most delightful Snickerdoodle Cookie Bars you’ve ever tasted. These bars capture all the comforting flavors of a classic snickerdoodle in a convenient, shareable bar form. Let’s get started with our prep!
- Preheat your oven and prepare your baking pan: First things first, let’s get that oven warmed up. Preheat your oven to 350°F (175°C). While it’s heating, grab a 9×13 inch baking pan. I like to line mine with parchment paper, leaving an overhang on the longer sides. This little trick makes lifting the cooled bars out of the pan an absolute breeze, ensuring perfect squares every time. You can also lightly grease and flour the pan if you prefer, but parchment paper is my go-to for easy removal.
- Whisk together the dry ingredients: In a medium bowl, combine the 2 ½ cups of all-purpose flour, 1 teaspoon of baking soda, ½ teaspoon of cream of tartar, and ¼ teaspoon of salt. Give these a good whisk to ensure they’re thoroughly combined. The cream of tartar is essential here; it’s what gives snickerdoodles their signature tangy flavor and helps to create that wonderfully soft, chewy texture. Set this bowl aside for now.
- Cream the butter and sugar: Now for the star of our show! In a large mixing bowl, using an electric mixer (either a stand mixer with the paddle attachment or a hand mixer), beat the softened 1 cup of unsalted butter until it’s light and creamy. This usually takes about 1-2 minutes. Once it’s nice and fluffy, gradually add the 1 ½ cups of granulated sugar. Continue beating on medium-high speed for another 2-3 minutes, until the mixture is truly light in color and airy in texture. This creaming step is vital as it incorporates air, which contributes to the soft chewiness of our Snickerdoodle Cookie Bars. Don’t rush this step! It makes a real difference.
- Add the eggs and vanilla: With the mixer still running on medium speed, crack in one large egg at a time, beating well after each addition until it’s fully incorporated into the butter and sugar mixture. Scrape down the sides of the bowl as needed to make sure everything is getting properly mixed. Once both eggs are in and the mixture looks smooth, pour in the 1 teaspoon of pure vanilla extract. Beat for just another 30 seconds or so, until the vanilla is evenly distributed. The mixture should look wonderfully creamy and inviting at this stage.
- Combine wet and dry ingredients: It’s time to bring everything together! Reduce your mixer speed to low. Gradually add the dry ingredient mixture (from step 2) to the wet ingredients, mixing only until just combined. As soon as you no longer see any streaks of dry flour, stop mixing. It’s truly important not to overmix at this stage, as overmixing can develop the gluten too much, leading to tough cookie bars instead of the wonderfully tender texture we’re aiming for. A light hand here ensures a soft, chewy bar.
Preparing the Cinnamon-Sugar Topping and Baking
With our dough perfectly mixed, we’re just a few steps away from enjoying these warm, cinnamon-spiced treats. This next section focuses on getting them ready for the oven and achieving that iconic Snickerdoodle finish.
- Prepare the cinnamon-sugar topping: In a small, separate bowl, combine the ¼ cup of granulated sugar and 2 teaspoons of ground cinnamon. Give it a good stir with a fork until the cinnamon is evenly distributed throughout the sugar. This is the magical dusting that gives Snickerdoodle Cookie Bars their irresistible aroma and classic flavor. Set this aside.
- Spread the dough into the prepared pan: Now, take your perfectly mixed cookie dough and spoon it into your parchment-lined 9×13 inch baking pan. The dough might be a little thick and sticky, which is exactly what we want! Use a spatula or your clean, lightly floured hands to press the dough evenly into the bottom of the pan. Make sure it reaches all the corners and is a consistent thickness across the entire pan. This ensures even baking and beautifully shaped bars.
- Sprinkle with the cinnamon-sugar topping: Once the dough is smoothed out, generously sprinkle the cinnamon-sugar mixture (from step 6) all over the top of the dough. Don’t be shy here! This is where that classic snickerdoodle crust comes from. You want a lovely, even layer of sparkling cinnamon sugar coating the entire surface.
- Bake the Snickerdoodle Cookie Bars: Carefully place your pan into the preheated oven. Bake for approximately 25-30 minutes. The exact baking time can vary depending on your oven, so keep an eye on them. You’re looking for the edges to be lightly golden brown and the center to be set. When you gently press the center, it should spring back slightly, and a wooden skewer inserted into the center should come out with moist crumbs, but not wet batter. Be careful not to overbake, as this can lead to dry bars. We’re aiming for that perfect soft, chewy interior.
- Cool the bars: Once baked to perfection, remove the pan from the oven and place it on a wire cooling rack. Allow the Snickerdoodle Cookie Bars to cool in the pan for at least 30 minutes. This initial cooling period allows the bars to set up properly, making them much easier to cut and preventing them from crumbling.
- Lift and cool completely: After the initial cooling, use the parchment paper overhangs to carefully lift the entire slab of cookie bars out of the pan and transfer it to the wire rack to cool completely. This step is crucial, especially if you plan to add the optional glaze or want clean cuts. Cutting warm bars can be messy, and they might stick to your knife. Patience is a virtue here, I promise the wait is worth it!
Optional Glaze Preparation and Finishing Touches
While these Snickerdoodle Cookie Bars are absolutely heavenly on their own, a simple vanilla glaze can elevate them to an even more irresistible treat. It adds a touch of extra sweetness and a beautiful finish. This step is completely optional, but I highly recommend it if you’re looking to impress!
- Prepare the optional vanilla glaze: Once your Snickerdoodle Cookie Bars are completely cool (this is important, as glazing warm bars will cause the glaze to melt right into the bar instead of sitting beautifully on top), let’s whip up that glaze. In a small bowl, combine the 1 cup of powdered sugar, ½ teaspoon of pure vanilla extract, and 2 tablespoons of milk. Whisk these ingredients together until you have a smooth, pourable consistency. If the glaze is too thick, add the remaining tablespoon of milk a tiny bit at a time until you reach your desired consistency. You want it to be thick enough to cling to a spoon but thin enough to drizzle. If it’s too thin, add a little more powdered sugar. It’s all about finding that perfect balance!
- Drizzle the glaze: Using a spoon, or if you’re feeling fancy, a piping bag with a small round tip (or even a Ziploc bag with a tiny corner snipped off), generously drizzle the vanilla glaze over the completely cooled Snickerdoodle Cookie Bars. You can do a simple back-and-forth pattern, or create a more intricate design. The choice is yours! The glaze will set relatively quickly, usually within 15-20 minutes, giving the bars that extra layer of sweetness and a lovely shine.
- Slice and serve: After the glaze has set (if you chose to use it), or once the bars are completely cool, grab a sharp knife. For the cleanest cuts, I like to run my knife under hot water and wipe it clean between each slice. This prevents the bars from sticking and gives you beautifully defined edges. Slice the large slab into your desired size squares or rectangles. I usually aim for 24 bars (4×6 cuts) from a 9×13 inch pan, but you can make them larger for bigger treats or smaller for a crowd.
- Enjoy your homemade Snickerdoodle Cookie Bars! These delightful bars are perfect for sharing at parties, packing into lunchboxes, or simply enjoying with a warm cup of coffee or tea. They store wonderfully at room temperature in an airtight container for up to 3-4 days, though I doubt they’ll last that long once everyone gets a taste! I find they are even more flavorful on the second day as the spices really meld together. You’ve just created something truly special and delicious. Happy baking!

<h2>Conclusion:</h2>
<p>Well, my friends, we’ve reached the sweet end of our journey, and I genuinely hope you’re feeling as excited as I am about getting these incredible <strong>Snickerdoodle Cookie Bars</strong> into your kitchen and, more importantly, into your belly! If there’s one thing I want you to take away from this recipe, it’s that pure, unadulterated joy doesn’t have to come with a hefty price tag of effort or complexity. This recipe, in particular, is an absolute testament to that principle. We’re talking about all the comforting, nostalgic flavors of a classic snickerdoodle cookie – that perfect balance of sweet, buttery goodness kissed with a warm cinnamon-sugar embrace – but in a wonderfully simplified, bake-and-slice bar form. Imagine a dessert that delivers on every promise of chewy texture, crisp edges, and that signature tangy-sweet flavor, all while saving you precious time you’d otherwise spend scooping individual cookies. It’s truly a game-changer for anyone who loves homemade treats but might be short on time or patience.</p>
<p>I’ve found these bars to be a true crowd-pleaser, consistently disappearing faster than I can blink at every gathering. Whether it’s a casual weeknight dessert, a contribution to a potluck, a bake sale, or simply a treat to brighten an ordinary afternoon, they fit the bill perfectly. They offer that delightful chewiness that makes a good cookie so satisfying, coupled with the ease of preparation that makes baking a joy, not a chore. The golden-brown edges, the soft, tender center, and that glistening layer of cinnamon sugar on top – every single bite is a little piece of heaven. I really believe this recipe earns its spot in your permanent rotation because it’s not just about making a dessert; it’s about creating a moment of comfort and deliciousness with minimal fuss.</p>
<h4>Serving Suggestions & Creative Variations:</h4>
<p>Now, while these <strong>Snickerdoodle Cookie Bars</strong> are undeniably spectacular served just as they are – perhaps still slightly warm from the oven – don’t be afraid to elevate the experience even further! <em>My absolute favorite way to enjoy them is warm, topped with a scoop of premium vanilla bean ice cream.</em> The cold, creamy ice cream melting into the warm, cinnamon-spiced bar is a symphony of textures and temperatures that you simply must try. A drizzle of homemade caramel sauce or a sprinkle of toasted pecans could also take this dessert to an entirely new level of decadence. For those who love a bit of tang, a dollop of sweetened cream cheese frosting would echo the subtle tanginess of the cream of tartar in the bars beautifully.</p>
<p>Feeling festive? You could easily adapt these bars for different holidays. Think about adding a touch of nutmeg or ground cloves to the cinnamon-sugar topping for an autumnal twist, or incorporating some colorful sprinkles into the batter for a birthday celebration. Another fantastic idea is to make a batch, cut them into small squares, and layer them in a trifle bowl with whipped cream and fresh berries for an impressive, yet surprisingly simple, dessert. They also make fantastic additions to a lunchbox, a thoughtful gift for a neighbor, or a delightful treat to pack for a picnic. Because they hold their shape so well, they’re incredibly versatile for transport. I also love to pair a square of these bars with a steaming mug of coffee or a tall glass of cold milk for a truly comforting snack. The possibilities are truly endless, and a big part of the fun is making them your own!</p>
<h4>Your Turn to Bake and Share!</h4>
<p>So, what are you waiting for? I’ve shared all my tips and tricks, and now it’s your moment to shine in the kitchen. <strong>Please, please, please give these Snickerdoodle Cookie Bars a try!</strong> I promise you won’t regret it. This recipe is designed to be approachable for bakers of all skill levels, delivering big flavor with minimal fuss. There’s something incredibly satisfying about transforming simple ingredients into such a delightful treat, and I genuinely believe this recipe offers that reward in spades. Once you’ve pulled your beautiful batch from the oven and experienced that intoxicating cinnamon aroma filling your home, I would absolutely love to hear about your experience. Did you add a special twist? Did your family devour them in record time? What was your favorite part of making them?</p>
<p>I thrive on hearing from all of you, so please don’t hesitate to share your thoughts, your photos, and any creative variations you come up with. Connecting with fellow home bakers and seeing your delicious creations is one of the greatest joys of what I do. Baking is a journey, and every shared experience makes it richer. Go forth, embrace the sweet simplicity, and make some incredible memories with these delicious bars. Happy baking, my friends!</p&
Snickerdoodle Cookie Bars
Snickerdoodle Cookie Bars are an absolute game-changer for anyone who adores the classic, comforting flavor of a traditional snickerdoodle cookie but appreciates the ease and convenience of a bar dessert. Imagine sinking your teeth into a thick, chewy square, bursting with that iconic blend of warm cinnamon and sweet sugar, perfectly balanced by a hint of tangy cream of tartar. It’s all the nostalgia and deliciousness you crave, reimagined in a fuss-free format that promises to be incredibly satisfying.
Ingredients
-
2 ½ cups (300g) all-purpose flour
-
1 teaspoon baking soda
-
½ teaspoon cream of tartar
-
¼ teaspoon salt
-
1 cup (226g) unsalted butter, softened
-
1 ½ cups (300g) granulated sugar
-
2 large eggs, room temperature
-
1 teaspoon pure vanilla extract
-
¼ cup (50g) granulated sugar (for topping)
-
2 teaspoons ground cinnamon (for topping)
-
1 cup (120g) powdered sugar (optional glaze)
-
2-3 tablespoons milk (optional glaze)
-
½ teaspoon pure vanilla extract (optional glaze)
Instructions
-
Step 1
Preheat oven to 350°F (175°C). Line a 9×13 inch baking pan with parchment paper, leaving an overhang. -
Step 2
In a medium bowl, whisk together 2 ½ cups all-purpose flour, 1 teaspoon baking soda, ½ teaspoon cream of tartar, and ¼ teaspoon salt. -
Step 3
In a large bowl, cream 1 cup softened unsalted butter until light (1-2 min). Gradually add 1 ½ cups granulated sugar; beat for 2-3 minutes until light and airy. -
Step 4
Beat in 2 large eggs, one at a time, then 1 teaspoon pure vanilla extract, scraping down the bowl as needed. -
Step 5
Reduce mixer speed to low. Gradually add the dry ingredient mixture to the wet, mixing only until just combined. Do not overmix. -
Step 6
In a small bowl, combine ¼ cup granulated sugar and 2 teaspoons ground cinnamon; stir well. -
Step 7
Spoon dough into the prepared pan and press evenly. Generously sprinkle the cinnamon-sugar mixture over the top. -
Step 8
Bake for 25-30 minutes, until edges are lightly golden and the center is set. Avoid overbaking. -
Step 9
Remove from oven and cool in the pan for at least 30 minutes. Use parchment overhangs to lift and transfer bars to a wire rack to cool completely. -
Step 10
Once bars are completely cool, whisk 1 cup powdered sugar, ½ teaspoon vanilla extract, and 2-3 tablespoons milk until smooth. Drizzle glaze over bars and let set (approx. 15-20 minutes). -
Step 11
Slice into desired squares or rectangles. Enjoy with a cold glass of milk or coffee, or as a special dessert topped with vanilla ice cream and caramel sauce.
Important Information
Nutrition Facts (Per Serving)
It is important to consider this information as approximate and not to use it as definitive health advice.
Allergy Information
Please check ingredients for potential allergens and consult a health professional if in doubt.


Leave a Comment