

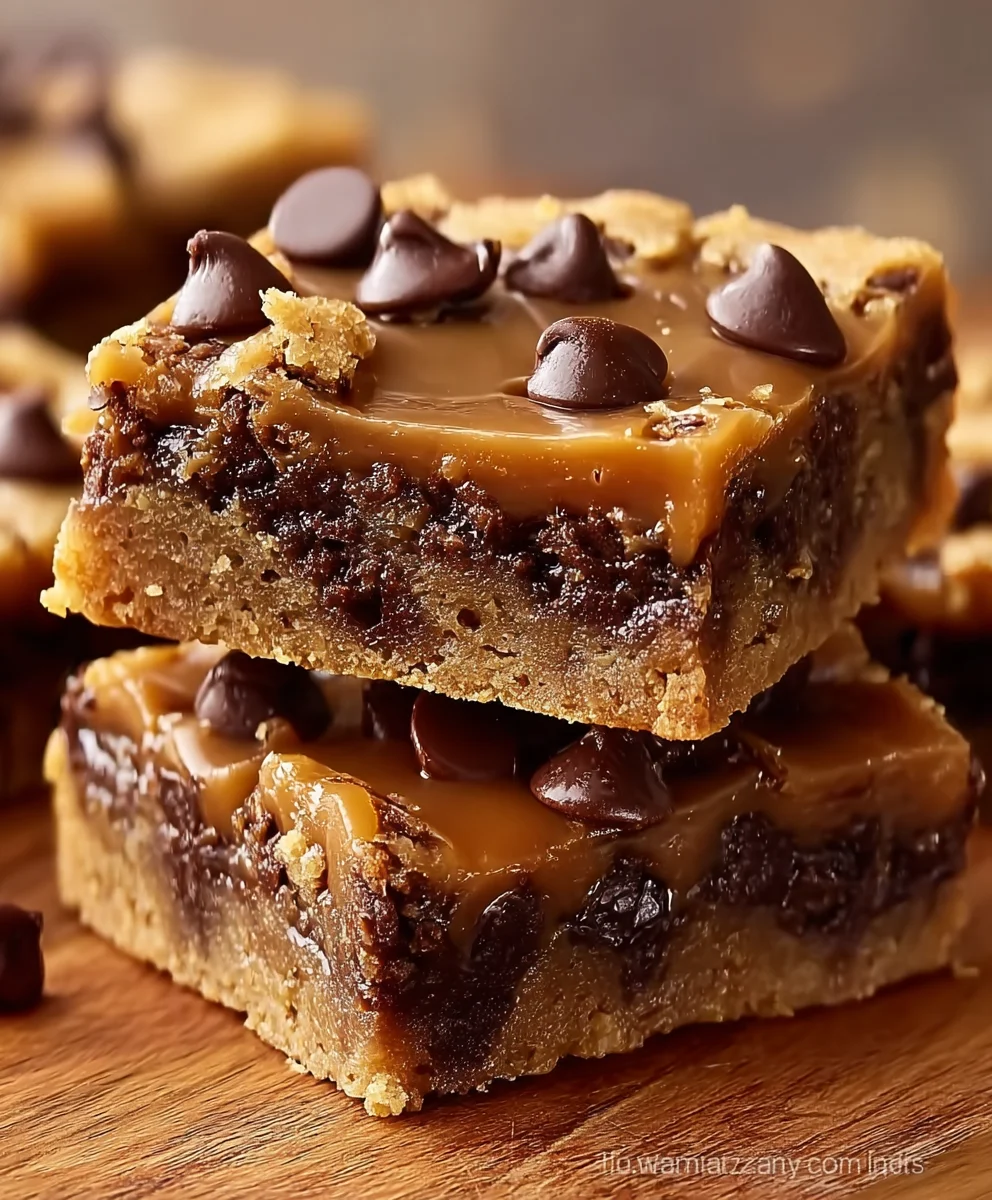
Pumpkin Fudge Bliss – a phrase that immediately conjures images of cozy autumn evenings, vibrant fall colors, and the irresistible aroma of warm spices. I am absolutely thrilled to guide you through crafting this truly exceptional confection, a dessert that perfectly encapsulates the essence of the season. It’s more than just a treat; it’s an invitation to savor the comforting spirit of autumn in every decadent bite.
While fudge itself boasts a fascinating American heritage, evolving from a happy accident in the late 19th century into a beloved homemade staple, the addition of pumpkin elevates it to a whole new level of seasonal delight. Pumpkin-infused desserts have long been a cornerstone of autumn celebrations and harvest festivals, particularly in North America, offering warmth, nostalgia, and a connection to bountiful harvests. Combining these cherished traditions results in a truly remarkable sweet that bridges generations.
What makes this particular recipe so universally adored? It’s the harmonious blend of textures and tastes. Imagine a velvety-smooth, melt-in-your-mouth texture that gives way to the rich, earthy sweetness of pumpkin, perfectly balanced with a symphony of classic fall spices like cinnamon, nutmeg, and ginger. This isn’t just any fudge; it’s a taste of pure autumnal comfort, surprisingly simple to prepare, making it an ideal treat for busy hosts or anyone craving a moment of sweet indulgence. Get ready to experience pure Pumpkin Fudge Bliss – your new favorite fall dessert that brings joy with every square.
Ingredients:
- 3 cups (600g) granulated sugar: I always find that a good quality granulated sugar is key for that perfect fudge texture.
- 1 cup (226g) unsalted butter: Personally, I prefer unsalted butter so I can control the salt content precisely in my “Pumpkin Fudge Bliss.”
- 5 oz (150ml) evaporated milk: This is usually one small can. Don’t confuse it with sweetened condensed milk; they’re quite different!
- 1 cup (240g) pure pumpkin puree: Make sure it’s 100% pure pumpkin, not pumpkin pie filling, which already has spices and sweeteners added. This is crucial for the authentic pumpkin flavor in our fudge.
- 1 teaspoon ground cinnamon: For that warm, classic autumnal spice.
- ½ teaspoon ground nutmeg: A touch of nutmeg really elevates the pumpkin.
- ¼ teaspoon ground ginger: Just a hint to add a little zing.
- ⅛ teaspoon ground cloves: A small amount goes a long way to deepen the spice profile.
- ½ teaspoon salt: A pinch of salt balances the sweetness and enhances all the flavors.
- 1 teaspoon pure vanilla extract: Always add good quality vanilla at the very end to preserve its delicate aroma.
- 10 oz (280g) marshmallow cream (or fluff): This is my secret ingredient for consistently creamy, smooth fudge. You can also use 2 cups of mini marshmallows if marshmallow cream isn’t available.
- Optional add-ins:
- ½ cup chopped pecans or walnuts: For a delightful textural contrast.
- ½ cup white chocolate chips: To add another layer of sweetness and creaminess, complementing the pumpkin beautifully.
Preparing Your Workspace & Equipment for the Perfect Pumpkin Fudge Bliss
Before we even think about turning on the stove, it’s absolutely essential to get your workspace and equipment ready. Trust me, fudge making moves quickly, and you don’t want to be scrambling for a spoon when the mixture is bubbling!
- Choose and Prepare Your Pan: First, select an 8×8-inch or 9×9-inch square baking dish. I usually lean towards an 8×8-inch pan for a thicker piece of fudge, but a 9×9-inch works perfectly fine if you prefer slightly thinner squares. The next step is critical for easy removal: line your chosen pan with parchment paper or aluminum foil. Make sure to leave an overhang on all sides – this will serve as a convenient “sling” to lift the entire block of fudge out once it’s set. If you’re using foil, a light spray with non-stick cooking spray can also be helpful, though parchment paper generally negates the need for this. This simple lining step makes cutting and serving your “Pumpkin Fudge Bliss” so much easier!
- Gather All Your Ingredients: Precision is key in fudge making. Before you even think about combining anything, measure out every single ingredient. This means having your sugar, butter (cut into cubes for faster melting), evaporated milk, pumpkin puree, all your spices (cinnamon, nutmeg, ginger, cloves), salt, vanilla extract, and marshmallow cream (or mini marshmallows) ready and within arm’s reach. If you’re using any optional add-ins like chopped pecans, walnuts, or white chocolate chips, have those measured out in separate bowls as well. Pre-measuring prevents last-minute panics and ensures a smooth cooking process.
- Assemble Your Tools: You’ll need a large, heavy-bottomed saucepan or pot. A heavy bottom is crucial for even heat distribution, which helps prevent scorching the fudge. A wooden spoon or a heat-proof silicone spatula will be your best friend for constant stirring. And most importantly, you absolutely need a reliable candy thermometer. Clip it to the side of your pot, making sure the tip doesn’t touch the bottom of the pan but is immersed in the fudge mixture. This will give you an accurate temperature reading, which is non-negotiable for perfectly set fudge. I also like to have a timer handy.
- Clear Your Countertops: Fudge making can be a bit messy, so clear a good amount of counter space. You’ll need room for your prepared pan, your pre-measured ingredients, and a safe spot for your hot pot once it comes off the stove. Having an organized space makes the whole experience much more enjoyable.
Making the Pumpkin Fudge Base for Your Delightful Pumpkin Fudge Bliss
Now that our mise en place is complete, we’re ready to start building the incredible flavor profile of our “Pumpkin Fudge Bliss.” This stage is all about combining our primary ingredients and slowly bringing them up to temperature.
- Combine Initial Ingredients: In your large, heavy-bottomed saucepan, combine the granulated sugar, cubed unsalted butter, evaporated milk, pure pumpkin puree, ground cinnamon, ground nutmeg, ground ginger, ground cloves, and salt. Give everything a good stir with your wooden spoon or silicone spatula to mix it all together. At this point, the mixture will be somewhat thick and grainy due to the sugar, but don’t worry, it will smooth out as it heats.
- Initial Heating and Dissolving Sugar: Place the saucepan over medium heat. This is not the time to rush things by cranking up the heat! Gentle, consistent heat is key here. Begin to stir the mixture constantly. Your main goal in this initial phase is to melt the butter and dissolve the sugar crystals. As the butter melts, the mixture will become more liquid. Continue stirring until you no longer feel any gritty sugar crystals at the bottom of the pot when you scrape your spoon across it. This usually takes about 5-7 minutes. A fully dissolved sugar base prevents grainy fudge later on.
- Attach the Candy Thermometer: Once the sugar is dissolved and the mixture is smooth, attach your candy thermometer to the side of the pot. Ensure the tip of the thermometer is submerged in the mixture but not touching the bottom of the pan. An accurate reading is paramount for fudge success.
The Crucial Cooking Process: Mastering Your Pumpkin Fudge Bliss
This is where the magic really happens and where precision is paramount. Paying close attention to temperature and timing will ensure your “Pumpkin Fudge Bliss” achieves that perfect, melt-in-your-mouth consistency.
- Bringing to a Rolling Boil: Continue cooking the mixture over medium heat, stirring frequently but not constantly at this stage, as the sugar is already dissolved. Allow the mixture to come to a rolling boil. A rolling boil is one that cannot be stirred down – it’s vigorous and consistent. Once it reaches this point, begin your timer.
- Reaching the Soft-Ball Stage: Now, this is the most critical part. You need to cook the fudge mixture until your candy thermometer reads between 234°F and 238°F (112°C and 114°C). This temperature range is known as the “soft-ball stage” in candy making. Maintain this temperature carefully, stirring occasionally to prevent the bottom from scorching. It might take anywhere from 10 to 20 minutes from the rolling boil, depending on your stove and pot. If you undercook it, your fudge might not set properly; if you overcook it, it could become crumbly or hard. Patience and precision here will reward you with truly exceptional “Pumpkin Fudge Bliss.”
- Remove from Heat and Add Remaining Ingredients: As soon as your thermometer hits that sweet spot between 234°F and 238°F, immediately remove the pot from the heat. Carefully remove the candy thermometer. Now, quickly add the pure vanilla extract and the entire container of marshmallow cream (or your 2 cups of mini marshmallows) to the hot fudge mixture. If you’re using optional add-ins like chopped pecans, walnuts, or white chocolate chips, stir them in now as well.
-
The Vigorous Stirring Phase – Your Arm Workout! This is perhaps the most physically demanding but equally crucial step. With your wooden spoon or sturdy spatula, begin to stir the fudge mixture vigorously and continuously. You’ll be stirring for several minutes, usually between 5 to 10 minutes, depending on the fudge. What you’re doing here is encouraging the formation of very tiny sugar crystals, which is what gives fudge its characteristic smooth and creamy texture. As you stir, you’ll notice a remarkable transformation:
- Initially, the mixture will be glossy and loose.
- As you continue to stir, it will gradually thicken and lose its sheen.
- It will start to become duller in appearance, indicating that the crystals are forming.
- You’ll feel it becoming much stiffer and harder to stir against the bottom and sides of the pot.
- Eventually, it will reach a point where it holds its shape slightly and a spoon dragged through it leaves a trail. This is your cue! It should still be pourable, but just barely.
Do not scrape the sides or bottom of the pot during this stirring phase, as you might introduce hardened sugar crystals that could make your fudge grainy. This vigorous stirring is the secret to the incredibly smooth and creamy texture of your finished “Pumpkin Fudge Bliss.”
Setting and Cooling Your Perfect Pumpkin Fudge Bliss
You’re almost there! After all that careful cooking and stirring, the final steps involve getting your “Pumpkin Fudge Bliss” to set up beautifully.
- Pour into Prepared Pan: As soon as the fudge reaches that thick, dull, and just-pourable stage after stirring, immediately pour it into your parchment-lined 8×8-inch or 9×9-inch baking dish. Don’t delay, as it will continue to set quickly in the pot.
- Spread Evenly: Use your spatula to quickly and gently spread the fudge evenly into the pan. You can also gently tap the pan on the countertop a few times to help settle it and remove any air bubbles, creating a smooth top surface. Avoid overworking it, as this can encourage larger crystal formation and affect the texture.
- Initial Room Temperature Cooling: Leave the fudge undisturbed on your countertop at room temperature for at least 1-2 hours. This initial cooling period allows it to firm up gradually before chilling. Resist the urge to poke or prod it!
- Chilling for Firmness: Once it has cooled down significantly at room temperature and is no longer warm to the touch, transfer the pan to the refrigerator. Chill for a minimum of 2-4 hours, or ideally, overnight. Chilling completely ensures the fudge is firm enough to cut cleanly and holds its shape perfectly. A thoroughly chilled fudge makes for easy, pristine squares of “Pumpkin Fudge Bliss.”
Cutting and Serving Your Glorious Pumpkin Fudge Bliss
The moment of truth has arrived! After all your hard work, it’s time to admire and enjoy your magnificent “Pumpkin Fudge Bliss.”
- Remove from Pan: Once the fudge is completely firm and cold, use the parchment paper or foil overhang as handles to carefully lift the entire block of fudge out of the baking dish and onto a cutting board. Gently peel away the parchment or foil.
- Achieve Clean Cuts: For the neatest squares, I have a little trick: use a large, sharp knife. For each cut, run the knife under hot water for a few seconds, then wipe it completely dry. This warms the blade and helps it slice through the fudge cleanly without sticking. Slice the fudge into your desired size squares – I usually go for 1-inch to 1.5-inch pieces, as they are rich! Wipe the knife clean with a damp cloth between each cut for perfectly pristine squares of your “Pumpkin Fudge Bliss.”
- Serve and Enjoy: Arrange your beautiful fudge squares on a serving platter. This “Pumpkin Fudge Bliss” is absolutely perfect on its own, with a cup of coffee or tea, or as a delightful offering at any autumn gathering. Each bite offers a creamy, spiced pumpkin dream that is simply irresistible.
Storage Tips for Your Leftover Pumpkin Fudge Bliss
If by some miracle you have any “Pumpkin Fudge Bliss” left, here’s how to keep it fresh and delicious!
- Airtight Container: Store any leftover fudge in an airtight container. This is crucial to prevent it from drying out or absorbing other odors from your refrigerator.
- Room Temperature vs. Refrigerator: Fudge will keep well at cool room temperature for up to a week, especially if your home isn’t too warm. However, for extended freshness, I always recommend storing it in the refrigerator. In the fridge, it will last for up to 2-3 weeks. Just let it sit out for 10-15 minutes before serving to let it soften slightly for the best texture.
- Freezing Options: Yes, you can freeze “Pumpkin Fudge Bliss”! Wrap individual pieces or blocks of fudge tightly in plastic wrap, then place them in a freezer-safe airtight container or bag. It will last for up to 3 months in the freezer. Thaw overnight in the refrigerator, then bring to room temperature before serving for the best experience.
Conclusion:
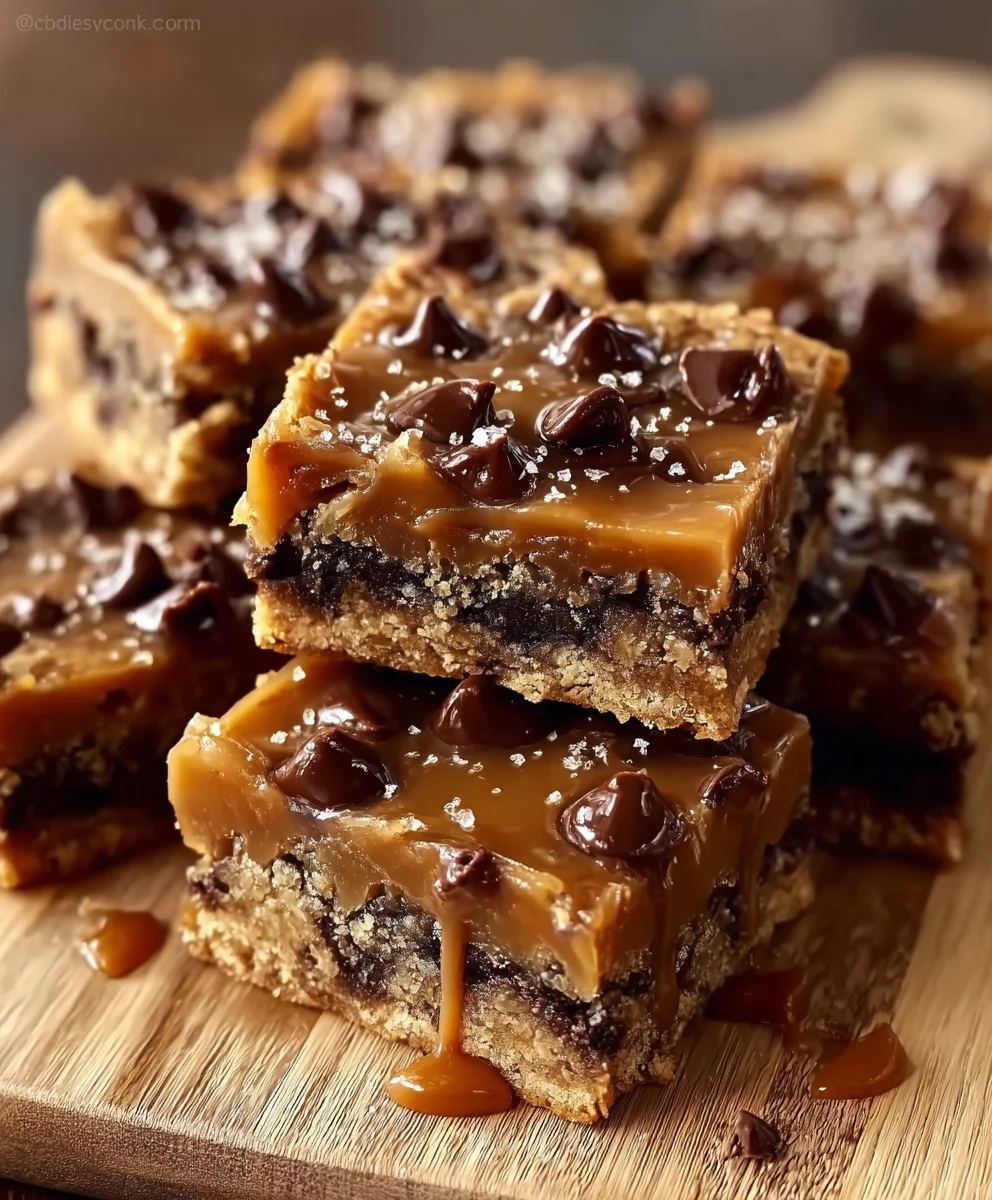
And there you have it, my friends! We’ve journeyed through the simple steps to create a truly irresistible treat that promises to bring warmth and sweetness to any occasion. This isn’t just another recipe; it’s an invitation to experience pure, unadulterated delight. I’m genuinely excited for you to discover the magic of what I affectionately call your new favorite Pumpkin Fudge Bliss. It’s truly a must-try because it embodies everything wonderful about homemade confections: it’s incredibly easy to make, uses readily available ingredients, and yields a result that tastes like it came straight from a gourmet bakery. Forget complex techniques and hours in the kitchen; this recipe is designed for maximum flavor with minimal effort, making it perfect for both seasoned bakers and complete novices. You’ll be amazed at how quickly you can transform a few simple ingredients into something so utterly delicious and impressive.
What makes this particular pumpkin fudge recipe stand out, you ask? Beyond its velvety smooth texture and perfectly balanced spice profile, it’s the sheer joy it brings. Imagine a chilly autumn evening, a warm cup of cider, and a square of this delightful fudge melting in your mouth. It’s more than just a dessert; it’s a moment of pure comfort and a taste of the season. The rich, earthy notes of pumpkin perfectly complement the sweet, creamy base, creating a symphony of flavors that is both nostalgic and utterly satisfying. Each bite is a testament to the fact that sometimes, the simplest pleasures are the most profound. You’ll find yourself reaching for just one more piece, and trust me, that’s perfectly okay! This recipe is designed to be a go-to treat for holiday gatherings, cozy nights in, or simply when you crave something wonderfully sweet and comforting.
Now, let’s talk about how you can elevate your Pumpkin Fudge Bliss experience even further or adapt it to your unique preferences. This fudge is incredibly versatile, making it a fantastic base for all sorts of creative culinary explorations. For serving suggestions, think beyond just a standalone treat. Slice it into small cubes and arrange it on a festive dessert platter alongside other seasonal goodies like spiced nuts or apple slices. It makes an excellent accompaniment to your afternoon coffee or tea, turning a simple break into a luxurious indulgence. Consider crumbling it over a scoop of vanilla ice cream for an instant, decadent sundae, or even incorporating small pieces into a batch of homemade pumpkin bread for an extra layer of gooey sweetness. I’ve even seen folks melt it down slightly to create a warm, pourable sauce for pancakes or waffles – talk about taking breakfast to the next level! The possibilities are truly endless, limited only by your imagination!
When it comes to variations, feel free to put your own spin on this classic. If you love a bit of crunch, try folding in a handful of chopped pecans, walnuts, or even candied ginger during the final mixing stage. For a touch of sophistication, a drizzle of melted white chocolate or dark chocolate over the set fudge would be absolutely divine, creating a beautiful visual contrast and an extra layer of flavor. A sprinkle of sea salt flakes on top before it sets can wonderfully cut through the sweetness, adding a sophisticated contrast that really makes the flavors pop. You could also experiment with different spice blends – perhaps a touch more nutmeg, a hint of allspice, or a dash of cardamom if you’re feeling adventurous. A dash of rum extract or maple extract could also introduce a new dimension of flavor, transforming the fudge into something truly unique. Remember, cooking is about exploring and having fun, so don’t be afraid to make this recipe truly yours and let your culinary creativity shine!
I truly hope this recipe inspires you to get into the kitchen and create some magic. There’s something incredibly rewarding about making something delicious with your own hands, and this fudge is designed to bring you that sense of accomplishment without any stress. Once you’ve whipped up your batch of this incredible treat, I’d be absolutely thrilled to hear about your experience. Did you add any unique twists? What was your favorite part of the process? Did your family and friends love it as much as mine do? Please, don’t keep your culinary adventures to yourself! Share your photos, your tips, and your glowing reviews in the comments section below or tag me on social media. Your feedback and creative ideas inspire not just me, but our entire community of food lovers. Let’s spread the joy of homemade goodies together. Go ahead, give this Pumpkin Fudge Bliss a try – you won’t regret it!
Frequently Asked Questions About Pumpkin Fudge
How long does homemade pumpkin fudge last, and how should I store it?
Great question! Your delicious pumpkin fudge, once properly set, will stay fresh and utterly delightful for about 1-2 weeks when stored in an airtight container at room temperature. If you want to extend its shelf life even further, you can store it in the refrigerator for up to 3-4 weeks. Just make sure it’s in a container that seals tightly to prevent it from drying out or absorbing any other odors from your fridge. I usually layer parchment paper between the pieces if I’m stacking them to prevent sticking.
Can I freeze pumpkin fudge?
Absolutely! This is one of the best things about homemade fudge – it freezes beautifully. To freeze your Pumpkin Fudge Bliss, first, ensure it’s completely cooled and set. Then, cut it into individual pieces. You can wrap each piece tightly in plastic wrap, and then place them all in a freezer-safe airtight container or a heavy-duty freezer bag. It will last in the freezer for up to 3 months. When you’re ready to enjoy it, simply thaw the fudge at room temperature for a few hours, and it will be as good as new! It’s a fantastic way to prepare ahead for the holidays.
What if my pumpkin fudge doesn’t set properly?
Oh, this can be a bit frustrating, but don’t worry, it happens! The most common reason fudge doesn’t set is usually related to the cooking temperature. Make sure you’re using a reliable candy thermometer and reaching the exact temperature specified in the recipe (usually around 235-240°F, or soft-ball stage). If your fudge still seems too soft after cooling, you can often “re-cook” it. Simply return the mixture to a saucepan, add a splash more condensed milk or butter to loosen it, and gently bring it back up to the correct temperature, stirring constantly. Then, pour it back into your prepared pan and let it set again. Patience is key when dealing with fudge!
Can I make this pumpkin fudge without condensed milk?
Our specific recipe is built around the ease and creamy texture that sweetened condensed milk provides, making it a “no-fail” fudge for many. While you can certainly find traditional fudge recipes that rely on boiling sugar, butter, and cream to achieve the soft-ball stage, they often require more precise temperature control and stirring. For this particular Pumpkin Fudge Bliss recipe, I highly recommend sticking with the sweetened condensed milk as it’s foundational to its simplicity and consistent results. Altering it significantly would essentially mean creating a different recipe altogether, and you might miss out on that signature smooth, fuss-free experience!
What are some good variations for this pumpkin fudge?
I love this question because it means you’re ready to get creative! Beyond the suggestions in the conclusion, here are a few more ideas:
- Chocolate Swirl: Melt a few ounces of dark or white chocolate and drizzle it over the fudge just after pouring it into the pan, then swirl gently with a knife for a beautiful marble effect.
- Spice It Up: Add a tiny pinch of black pepper or a dash of cayenne for a warming, subtle kick that surprisingly complements the pumpkin and spices.
- Citrus Zest: A little orange or lemon zest can brighten the flavors beautifully, adding a fresh counterpoint to the richness.
- Nut Butters: Swirl in a tablespoon or two of almond butter or cashew butter for a nutty, richer profile and an extra creamy texture.
- Mini Marshmallows: Fold in some mini marshmallows just before pouring for a softer texture and extra pockets of melted sweetness.
Remember, have fun experimenting and make this recipe truly your own unique creation!
Pumpkin Fudge Bliss
Pumpkin Fudge Bliss is the perfect treat to celebrate the flavors of fall. With its creamy texture, warm spices, and pumpkin essence, this fudge is both cozy and indulgent. It’s an easy dessert to whip up for gatherings, holiday gifts, or simply to enjoy on a crisp autumn day. Each bite offers a melt-in-your-mouth sweetness that pairs wonderfully with seasonal flavors. Creamy and spiced Pumpkin Fudge Bliss is a perfect autumn treat, loaded with warm flavors for cozy moments.
Ingredients
-
3 cups (600g) granulated sugar
-
1 cup (226g) unsalted butter
-
5 oz (150ml) evaporated milk
-
1 cup (240g) pure pumpkin puree
-
1 tsp ground cinnamon
-
½ tsp ground nutmeg
-
¼ tsp ground ginger
-
⅛ tsp ground cloves
-
½ tsp salt
-
1 tsp pure vanilla extract
-
10 oz (280g) marshmallow cream (or 2 cups mini marshmallows)
-
Optional: ½ cup chopped pecans or walnuts
-
Optional: ½ cup white chocolate chips
Instructions
-
Step 1
Line an 8×8 or 9×9-inch pan with parchment paper, leaving an overhang. Gather and measure all ingredients. -
Step 2
In a large, heavy-bottomed saucepan, combine sugar, butter, evaporated milk, pumpkin puree, cinnamon, nutmeg, ginger, cloves, and salt. -
Step 3
{‘@type’: ‘HowToStep’, ‘text’: “Heat over medium heat, stirring constantly until butter melts and sugar dissolves (about 5-7 minutes). Attach a candy thermometer, ensuring it’s submerged but not touching the bottom. Bring mixture to a rolling boil.”} -
Step 4
Continue cooking, stirring occasionally, until the thermometer reads 234°F – 238°F (112°C – 114°C) (soft-ball stage, 10-20 minutes). -
Step 5
Immediately remove from heat. Stir in vanilla extract, marshmallow cream (or mini marshmallows), and any optional add-ins. -
Step 6
Stir vigorously and continuously for 5-10 minutes until the fudge thickens, loses its sheen, and becomes stiff. Do not scrape the sides of the pot. -
Step 7
Pour the mixture into the prepared pan and spread evenly. Let cool at room temperature for 1-2 hours. -
Step 8
Refrigerate for at least 2-4 hours, or preferably overnight, until completely firm. -
Step 9
Lift fudge from the pan using the parchment paper. Cut into 1 to 1.5-inch squares using a hot, dry knife, wiping between cuts. -
Step 10
Store in an airtight container at cool room temperature for up to 1 week, or in the refrigerator for 2-3 weeks. For best texture, let refrigerated fudge sit at room temperature for 10-15 minutes before serving.
Important Information
Nutrition Facts (Per Serving)
It is important to consider this information as approximate and not to use it as definitive health advice.
Allergy Information
Please check ingredients for potential allergens and consult a health professional if in doubt.


Leave a Comment