

Halloween Cream Cheese Swirl Brownies are the quintessential treat that perfectly encapsulates the magic and delight of the autumn season. As the air crisps, leaves change, and the anticipation of spooky celebrations fills our hearts, there’s nothing quite like a homemade confection to set the festive mood. This dish isn’t just a dessert; it’s a celebration of Halloween itself, offering a captivating blend of rich flavors and visually stunning appeal that beckons you to take a bite. These brownies have become a modern classic, beautifully blending the fun, vibrant spirit of the holiday with a sophisticated, irresistible taste that resonates with all.
Why We Adore These Spooky Swirls
People absolutely adore these brownies for a multitude of reasons. Imagine the perfect balance: a deeply fudgy, intensely chocolatey brownie base providing that comforting richness, beautifully contrasted by a vibrant, tangy, and lusciously smooth cream cheese layer. The iconic swirl isn’t merely decorative; it ensures a delightful interplay of textures and tastes in every single bite. The ease of preparation, coupled with their undeniable crowd-pleasing power, makes these Halloween Cream Cheese Swirl Brownies an indispensable addition to any autumnal gathering, from costume parties to cozy family evenings. They’re a delicious testament to the joy of homemade treats during the most enchanting time of the year.
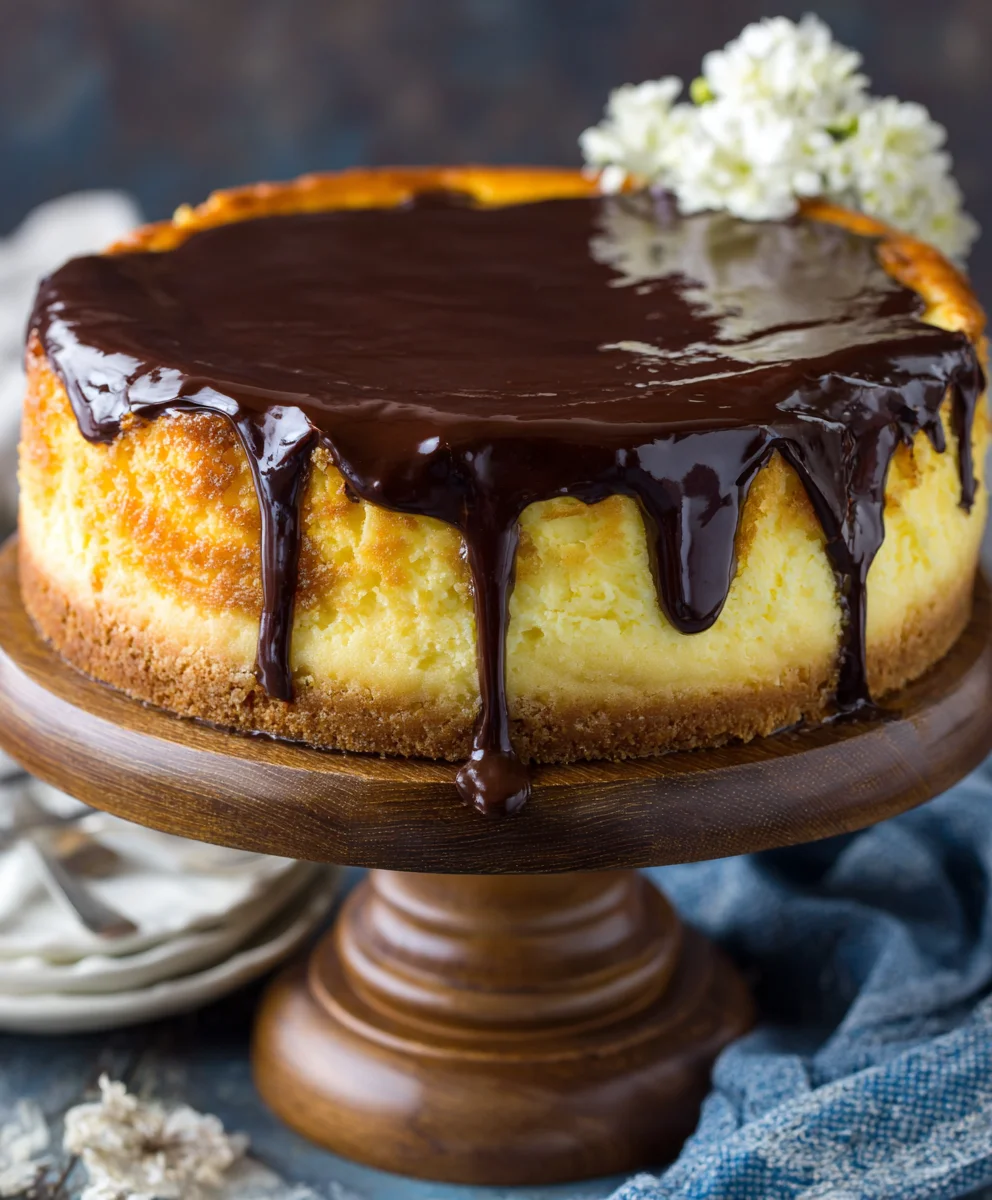
Ingredients:
For the Rich Chocolate Brownie Base:
- 1 cup (2 sticks or 226g) unsalted butter
- 4 ounces (113g) unsweetened chocolate, chopped (a good quality baking chocolate makes all the difference!)
- 2 cups (400g) granulated sugar
- 4 large eggs, at room temperature
- 1 teaspoon pure vanilla extract (don’t skimp on the good stuff!)
- 1 cup (125g) all-purpose flour
- ½ teaspoon baking powder
- ¼ teaspoon salt (enhances all the other flavors!)
For the Tangy Cream Cheese Swirl:
- 8 ounces (226g) cream cheese, full-fat, softened at room temperature
- ½ cup (100g) granulated sugar
- 1 large egg, at room temperature
- ½ teaspoon pure vanilla extract
- Optional: Gel food coloring for Halloween effect (orange, black, purple, or green – get creative!)
Optional Halloween Decorations (for that extra spooky touch!):
- Halloween-themed sprinkles (bats, ghosts, pumpkins, or classic orange and black)
- Candy eyeballs
- Melted white chocolate for drawing spiderwebs or ghostly shapes
- Small plastic spiders or bat rings (remove before eating, of course!)
Preparing the Decadent Brownie Base
- Preheat and Prep Your Pan: First things first, my friends, let’s get our oven ready. Preheat your oven to a steady 350°F (175°C). Then, prepare a 9×13 inch baking pan. I always recommend lining mine with parchment paper, leaving a generous overhang on the long sides. This little trick is an absolute game-changer, making lifting the cooled brownies out of the pan an absolute breeze, ensuring you get those perfect, clean cuts without any sticking. Lightly grease the exposed areas of the pan if you’re not using parchment, or just the parchment itself. Trust me, a little non-stick spray or butter goes a long way here to prevent any unwanted adhesion. This initial prep ensures a smooth process once your batter is ready.
-
Melt the Chocolate and Butter: Grab a medium, heatproof bowl. Into it, add your 1 cup (2 sticks) of unsalted butter, cut into cubes for quicker melting, along with the 4 ounces of unsweetened chocolate, chopped into smaller pieces. This uniform chopping helps it melt more evenly and quickly, preventing any hot spots. You have a couple of fantastic options for melting this delectable duo:
- Microwave Method: Heat in 30-second intervals on medium power, stirring well after each interval, until the mixture is smooth and completely melted. Be incredibly careful not to scorch the chocolate! This usually takes about 1-2 minutes total. Patience is key here.
- Double Boiler Method: Place the bowl over a saucepan containing about an inch of simmering water, ensuring the bottom of the bowl doesn’t touch the water. Stir occasionally with a rubber spatula until the butter and chocolate are gloriously smooth and fully melted. This method is gentler and gives you more control, which is often preferred when working with chocolate to avoid burning.
Once melted, remove the bowl from the heat (or microwave) and let it cool slightly for a few minutes while you move on to the next step. We want it warm, but not piping hot, as we don’t want to cook our eggs prematurely when they’re introduced!
- Whisk the Wet Ingredients to Perfection: In a separate, large mixing bowl, combine the 2 cups of granulated sugar with the 4 large eggs. Using a sturdy whisk, vigorously beat them together for about 2-3 minutes. This isn’t just about combining; we’re actually aerating the mixture significantly, which contributes to that beautiful, slightly crackled top and incredibly fudgy interior that everyone adores in a truly great brownie. The mixture should become noticeably lighter in color, pale yellow, and slightly thickened and frothy. Stir in the 1 teaspoon of pure vanilla extract at this stage; its warmth will release its full aromatic potential, infusing the brownies with a wonderful depth of flavor.
- Combine Chocolate with Egg Mixture: Now, gently pour the slightly cooled melted chocolate and butter mixture into the aerated egg and sugar mixture. Whisk them together until just combined and gloriously smooth. Be careful not to overmix here; we want to keep all that lovely air we just incorporated into the eggs, as it contributes to the brownie’s texture. Overmixing at this stage can deflate the mixture.
- Incorporate the Dry Ingredients Gently: In a separate small bowl, whisk together the 1 cup of all-purpose flour, ½ teaspoon of baking powder, and ¼ teaspoon of salt. This pre-mixing step is crucial as it ensures that the baking powder and salt are evenly distributed throughout the flour, preventing any dreaded pockets of unmixed ingredients in your final brownies. Gradually add this dry mixture to the wet ingredients, folding gently with a spatula or wooden spoon until just combined. The key here is to mix until just no streaks of flour remain. I cannot stress this enough! Overmixing develops the gluten in the flour, leading to tougher, cake-like brownies, and for our Halloween Cream Cheese Swirl Brownies, we are absolutely aiming for gloriously fudgy, rich, and decadent! Stop mixing as soon as the flour is incorporated.
- Pour the Brownie Batter Base: Pour about two-thirds of this rich, intensely chocolatey brownie batter into your prepared 9×13 inch baking pan. Using an offset spatula or the back of a spoon, spread it evenly to form a smooth, luscious base. This will be the sturdy foundation for our Halloween masterpiece. Set aside the remaining one-third of the brownie batter for layering later – it’s crucial for achieving that stunning, artistic swirl effect that makes these brownies so special.
Crafting the Spooky Cream Cheese Swirl
- Soften the Cream Cheese: In a medium mixing bowl, place your 8 ounces of full-fat cream cheese. It’s absolutely essential that your cream cheese is at a true room temperature. If it’s too cold, it will be lumpy and incredibly difficult to incorporate smoothly, leading to an uneven and potentially grainy swirl. If you forgot to take it out ahead of time (we’ve all been there!), a quick trick is to unwrap it and microwave it on a very low setting (like 30% power) for 15-20 second intervals, checking and flipping after each, until just softened, but not melted or warm.
- Whip the Cream Cheese Smooth: Using an electric mixer (a handheld mixer works perfectly, or a stand mixer with the paddle attachment), beat the softened cream cheese on medium speed until it’s incredibly smooth, light, and creamy, with no lumps whatsoever. This usually takes about 2-3 minutes of dedicated beating. Make sure to scrape down the sides of the bowl often with your spatula to ensure everything is thoroughly mixed and that you achieve that desired silky consistency.
- Add Sugar, Egg, and Vanilla to the Swirl: To the smooth, whipped cream cheese, add ½ cup of granulated sugar, 1 large egg (also at room temperature, please! Consistency is key!), and ½ teaspoon of pure vanilla extract. Beat on low speed until just combined. Again, a gentle hand is needed here; avoid overmixing. We just want everything to come together into a velvety smooth, slightly liquid mixture. The egg helps to stabilize the cream cheese mixture during baking, giving it that lovely custardy, set texture, while the vanilla adds a wonderful aromatic complement to the delightful tanginess of the cream cheese.
-
Infuse with Halloween Colors (Optional but Highly Recommended!): This is truly where the magic happens and your Halloween Cream Cheese Swirl Brownies transform into festive marvels! If you plan to use multiple colors, divide your smooth cream cheese mixture into small bowls. For a classic, eerie Halloween vibe, I absolutely love using gel food coloring because of its vibrant, concentrated pigments.
- Option A: Spooky Orange: Add a few drops of orange gel food coloring to one portion and mix until you achieve a vibrant, pumpkin-like hue. This looks amazing paired with the dark brownie.
- Option B: Eerie Black: For a truly dramatic and striking effect, add black gel food coloring to another portion. Start with a very small amount and gradually add more, mixing thoroughly after each addition, until you achieve a deep, inky black. This creates a fantastic, stark contrast against the rich brown brownie and vibrant orange, perfect for spiderwebs!
- Option C: Ghastly Green or Wicked Purple: Don’t be afraid to experiment with other spooky colors! A neon green or a rich, dark purple can also look incredibly festive and add to the Halloween theme.
Mix each color thoroughly and patiently until it’s perfectly uniform. Remember, gel food colorings are much more concentrated than liquid ones, so a tiny bit goes a very long way! If you prefer a more traditional look, you can certainly skip the food coloring entirely; the natural off-white cream cheese swirl will still be absolutely delicious and beautifully contrasting against the dark brownie. But for a true Halloween showstopper, the colors truly make it pop!
Assembling and Swirling the Halloween Cream Cheese Swirl Brownies
- Layering the Cream Cheese Mixture: Now that we have our luscious brownie base patiently waiting in the pan and our beautifully colored (or classic plain!) cream cheese mixture ready, it’s time to bring them together in a symphony of flavors and textures. Dollop spoonfuls of the cream cheese mixture randomly over the brownie batter in the pan. If you’ve used multiple colors, alternate the colors in random, distinct spots across the brownie base. Try to distribute it somewhat evenly across the surface, but don’t worry too much about achieving absolute perfection – the swirl will take care of that artistry. Aim for distinct blobs or pools of cream cheese rather than spreading it out too thinly. This layering technique will give you lovely, pronounced, and well-defined swirls in the final product.
- Adding the Remaining Brownie Batter: Next, with a gentle hand, carefully drop the remaining one-third of your reserved brownie batter over and onto the cream cheese dollops. You can do this by using a spoon to place small, strategic portions of brownie batter onto and in between the cream cheese. This doesn’t need to cover everything completely; rather, it’s about creating strategic pockets of brownie that will beautifully mix and marble with the cream cheese as you swirl. The stunning visual contrast between the dark, rich brownie and the vibrant, creamy cream cheese is precisely what makes these Halloween Cream Cheese Swirl Brownies so visually striking and irresistible!
-
Creating the Halloween Swirl (Unleash Your Inner Artist!): This is undoubtedly the most fun and creative part of the entire process! Take a thin butter knife, a chopstick, a wooden skewer, or even a toothpick for fine details, and gently drag it through the batters, creating a mesmerizing, artistic swirl pattern.
- For Classic, Elegant Swirls: Move the knife or skewer back and forth, and then side to side, to create elegant, random patterns that marble the two batters. The trick is to not overdo it, or the colors will completely blend, and you’ll lose that beautiful, distinct contrast between the dark brownie and the colorful cream cheese. About 8-10 careful passes should be plenty to achieve a gorgeous effect.
- For a Spiderweb Effect (Absolutely Perfect for Halloween!): This is a fan favorite! Start by dropping concentric circles of black (or another contrasting color like dark purple) cream cheese on top of a base of orange cream cheese (or directly on the main brownie batter). Then, take your skewer and drag it from the center outwards through the circles, creating spokes, and then from the outside inwards in between those spokes, precisely mimicking a spooky spiderweb. This takes a little practice but looks incredibly effective and impressive!
- For Ghostly Swirls: Use plain white cream cheese and create elongated, wavy swirls on a dark brownie base. After baking and cooling, you can even add two tiny black dots with a toothpick and a drop of melted chocolate for instant ghostly eyes!
Remember, less is often more when it comes to swirling. The ultimate goal is to marble the two distinct batters together, not to fully combine them into one uniform color. You absolutely want to see those beautiful, distinct ribbons and pockets of both the rich chocolate brownie and the vibrant, creamy cream cheese. This captivating visual is truly what makes them iconic Halloween Cream Cheese Swirl Brownies!
Baking the Perfectly Fudgy Halloween Cream Cheese Swirl Brownies
-
Bake to Perfection: Carefully transfer your pan of beautifully swirled Halloween Cream Cheese Swirl Brownies to the preheated 350°F (175°C) oven. Bake for approximately 30-35 minutes. The baking time can vary quite a bit depending on your specific oven, so it’s always a good idea to keep a watchful eye on them, especially during the last 10 minutes.
- How to Check for Doneness: The edges of the brownies should look set and slightly puffed, perhaps a little darker, and the center should still look a little moist but definitely not liquidy or jiggly like raw batter. A toothpick inserted into the brownie portion (make sure to avoid the cream cheese swirl area, as that will always remain moist and appear less ‘done’) should come out with moist crumbs attached, but not wet, gooey batter. If the toothpick comes out completely clean, they might be overbaked and less fudgy than we desire, leaning towards a cakey texture. The cream cheese swirl might have a very slight jiggle to it, which is perfectly normal and indicates it will set beautifully as it cools.
- Avoid Overbaking at All Costs: This is a cardinal rule for achieving that signature, melt-in-your-mouth fudgy texture. Overbaking is the absolute enemy of a good brownie! We are aiming for moist, intensely decadent, and gloriously chocolatey Halloween Cream Cheese Swirl Brownies, not dry bricks.
- Cool Completely (Patience is a Virtue, I Promise!): Once baked to perfection, carefully remove the pan from the oven and place it on a wire rack to cool completely. And I mean completely! This is perhaps the hardest and most agonizing part of the entire process, as the intoxicating aroma filling your kitchen will be absolutely irresistible. However, cooling is not just about avoiding burned fingers; it’s absolutely essential for the brownies to set properly, especially the cream cheese swirl. If you try to cut them while they’re still warm, the cream cheese layer will be too soft and messy, and the brownies themselves might crumble, making for less-than-perfect, gooey slices. Allow them to cool at room temperature for at least 2-3 hours, or even better, pop them into the refrigerator for an additional hour or two once they’ve reached room temperature. Chilling them slightly makes for much cleaner, sharper cuts and truly enhances that coveted fudgy, dense texture. Your patience will be rewarded!
Optional Halloween Decoration Extravaganza!
-
Get Creative with Halloween Flair: Once your Halloween Cream Cheese Swirl Brownies are completely cool and beautifully set, it’s finally time for the fun, final touch – decoration! This is where you can truly let your Halloween spirit shine and make them extra special for your spooky celebrations.
- Spooky Sprinkles Galore: Before cutting, generously scatter Halloween-themed sprinkles over the entire pan. Think vibrant orange and black jimmies, shimmering purple nonpareils, or even adorable tiny bat or pumpkin-shaped sprinkles. These add a fantastic textural crunch and a burst of festive color that instantly screams “Halloween!”
- Whimsical Candy Eyeballs: For an instant transformation into adorable (or spooky, depending on placement!) monsters, place candy eyeballs strategically on individual brownie squares after you’ve cut them. A tiny dab of melted chocolate or corn syrup on the back will help them stick firmly in place. You can create rows of eyes for a multi-eyed creature or just two for a classic, cute monster look.
- Melted White Chocolate Spiderwebs: If you’re feeling extra fancy and artistic, melt a small amount of white chocolate (or even black chocolate if you want a lighter web on a very dark brownie). Transfer it to a piping bag with a tiny hole snipped off the corner or a small Ziploc bag with the corner snipped. Draw delicate spiderwebs directly onto the cooled brownie surface. You can even add a small plastic spider for an extra dose of creepiness!
- Ghostly Drizzles: Drizzle melted white chocolate in wavy, ethereal patterns for a ghostly effect, or use a contrasting color to highlight your beautiful swirls.
Remember, these delightful decorations are entirely optional, but they undeniably elevate your homemade treats into spectacular Halloween Cream Cheese Swirl Brownies, making them perfect for any spooky gathering, party, or just a fun family treat! They’re already delicious, but these touches make them unforgettable.
- Slice and Serve (and Devour!): Once decorated (or left au naturel, they’re still amazing!), carefully lift the entire slab of brownies out of the pan using the parchment paper overhang. Place them on a sturdy cutting board and use a very sharp knife (wiping it clean with a damp cloth between each cut for the tidiest, most pristine slices) to cut them into perfect squares or rectangles. These brownies are wonderfully rich and dense, so smaller, more manageable pieces are often appreciated by guests. I usually aim for 12-16 generous squares from a 9×13 inch pan. Serve them at room temperature for the absolute best texture and flavor, and then watch them disappear faster than a ghost in the night! They also store wonderfully in an airtight container at room temperature for up to 3 days, or in the refrigerator for up to a week. If refrigerated, always allow them to come closer to room temperature before serving for optimal fudginess and flavor, as the cold can make them a bit too firm. Enjoy your magnificent Halloween Cream Cheese Swirl Brownies!
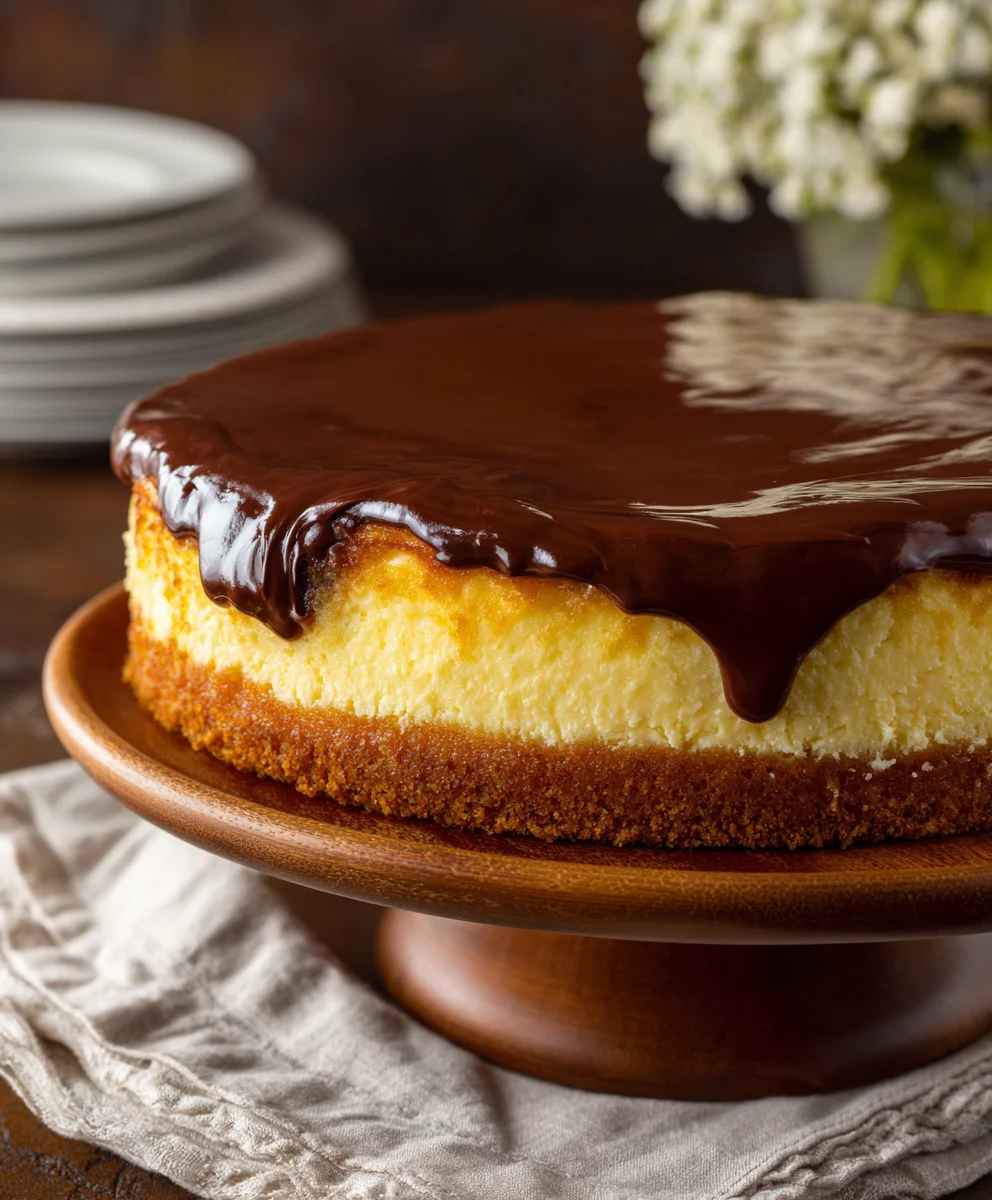
Conclusion:
And there you have it, my dear baking enthusiasts! We’ve journeyed through the steps of creating a truly show-stopping treat that I absolutely adore, and I sincerely hope you will too. This isn’t just another brownie recipe; it’s an experience, a delightful fusion of textures and flavors that will undoubtedly become a staple in your baking repertoire, especially as the spooky season approaches. I genuinely believe that these brownies are a must-try for anyone who loves the rich, deep indulgence of chocolate paired with the bright, tangy creaminess of a cheesecake. The magic truly lies in that stunning swirl – it elevates a simple brownie into something visually spectacular and utterly irresistible. When you pull these out of the oven, the aroma alone is enough to captivate, but that first bite? Oh, that first bite is pure bliss. The fudgy, dense chocolate base perfectly complements the soft, slightly tart cream cheese, creating a harmonious balance that will have everyone reaching for a second, or even a third, piece. They strike that perfect balance between comfort food and gourmet dessert, making them versatile for almost any occasion where a sweet treat is desired. Their vibrant appearance makes them an instant centerpiece on any dessert table, sparking joy and curiosity before anyone even takes a bite, which for me, is a huge part of the fun of holiday baking.
One of the many reasons I champion this recipe is its incredible versatility, not just in flavor but in presentation. While they are phenomenal straight out of the pan, slightly warm with that gooey center, there are so many ways to enjoy and enhance them. For a truly decadent dessert experience, I highly recommend serving a square of your freshly baked Halloween Cream Cheese Swirl Brownies alongside a scoop of vanilla bean ice cream. The cold, melting ice cream against the warm, rich brownie is a symphony of temperatures and tastes that is simply divine. A light dusting of powdered sugar just before serving can add a touch of elegance and a subtle sweetness that brightens the overall profile. Or, for a more robust coffee shop vibe, pair them with a strong espresso or a creamy latte – the bitterness of the coffee beautifully cuts through the richness of the brownie, creating a sophisticated pairing. Don’t forget the classic choice of a tall glass of cold milk; it’s a comforting combination that appeals to all ages. For those hosting a party, these brownies can be cut into smaller, bite-sized squares and arranged on a platter, making them perfect finger food that’s easy to grab and enjoy while mingling. Their sturdy nature means they travel well too, making them an excellent choice for potlucks or as a thoughtful homemade gift for friends and neighbors.
But let’s talk about making them truly your own. The beauty of baking is the ability to experiment and infuse your personal touch. For a more intense chocolate flavor, consider adding a teaspoon of espresso powder to your brownie batter – it won’t make them taste like coffee, but it will deepen and enhance the chocolate notes, making the chocolate sing. If you’re feeling adventurous with the cream cheese swirl, a hint of orange zest or a pinch of pumpkin spice can transform the flavor profile, leaning even further into those autumnal, festive vibes. Imagine a slight citrusy tang or a warm spice embracing the creamy layer! You could also fold in some mini chocolate chips or chopped nuts (like walnuts or pecans) into the brownie batter for added texture and a delightful crunch. And for those looking to boost the Halloween theme, sprinkle some orange and black nonpareils or spooky-themed sprinkles over the cream cheese swirl before baking – the colors will really pop against the dark brownie and light cream cheese. The possibilities are truly endless, allowing you to customize these brownies to suit your specific tastes or the theme of your gathering. You can even try different swirling techniques – go for a more abstract look with broad strokes, or try to create specific patterns if you’re feeling artistic with your knife or skewer, making each batch uniquely yours.
So, now it’s your turn! I have poured my heart into sharing this recipe, and I am absolutely thrilled for you to give these Halloween Cream Cheese Swirl Brownies a try in your own kitchen. Don’t be intimidated by the swirl; it’s much simpler than it looks, and even an imperfect swirl adds to the homemade charm and proves they were made with love. Gather your ingredients, put on your favorite tunes, and get ready to create something truly special. I promise you, the effort is minimal compared to the incredible reward of biting into one of these masterpieces. Whether you’re making them for a spooky celebration, a cozy family evening, or simply to satisfy a serious chocolate craving, they are guaranteed to bring smiles and compliments. Once you’ve baked your batch, I would absolutely love to hear about your experience. Did you add any fun variations? How did your swirl turn out? What was the reaction from your taste-testers? Please, don’t be shy! Share your beautiful creations with me, perhaps by leaving a comment below or even tagging me on social media. Your feedback and photos truly make my day and inspire me to keep sharing delicious recipes with our wonderful community. Happy baking, and enjoy every single fudgy, tangy, swirly bite!
Halloween Cream Cheese Swirl Brownies
These Halloween Cream Cheese Swirl Brownies are a rich, fudgy chocolate treat with a vibrant, tangy cream cheese swirl, perfect for festive autumn and Halloween celebrations. Easy to make and visually stunning, they’re a crowd-pleasing dessert.
Ingredients
-
1 cup (226g) unsalted butter
-
4 ounces (113g) unsweetened chocolate, chopped
-
2 cups (400g) granulated sugar
-
4 large eggs
-
1 tsp pure vanilla extract
-
1 cup (125g) all-purpose flour
-
½ tsp baking powder
-
¼ tsp salt
-
8 ounces (226g) full-fat cream cheese, softened
-
½ cup (100g) granulated sugar
-
1 large egg
-
½ tsp pure vanilla extract
-
Optional: Gel food coloring (orange, black, purple, or green)
-
Optional: Halloween-themed sprinkles
-
Optional: Candy eyeballs
-
Optional: Melted white chocolate
-
Optional: Small plastic spiders or bat rings (remove before eating)
Instructions
-
Step 1
Preheat oven to 350°F (175°C). Line a 9×13 inch baking pan with parchment paper, leaving an overhang, then lightly grease. -
Step 2
In a heatproof bowl, melt butter and unsweetened chocolate using a microwave (30-sec intervals) or double boiler. Let cool slightly. -
Step 3
In a large bowl, vigorously whisk 2 cups granulated sugar, 4 large eggs, and 1 tsp vanilla extract for 2-3 minutes until light, pale yellow, and frothy. -
Step 4
Gently pour the slightly cooled melted chocolate-butter mixture into the aerated egg-sugar mixture. Whisk until just combined and smooth; do not overmix. -
Step 5
In a separate small bowl, whisk together flour, baking powder, and salt. Gradually fold into the wet ingredients until just combined and no streaks of flour remain. Avoid overmixing. -
Step 6
Pour about three-quarters of the brownie batter into the prepared pan and spread evenly to form a base. Reserve ¼ cup of the brownie batter for later. -
Step 7
In a medium bowl, beat softened cream cheese with an electric mixer until incredibly smooth, light, and creamy (2-3 minutes). Scrape down sides as needed. -
Step 8
Add ½ cup granulated sugar, 1 large egg, and ½ tsp vanilla extract to the cream cheese mixture. Beat on low speed until just combined into a velvety smooth mixture; do not overmix. -
Step 9
For Halloween effect, divide cream cheese mixture into small bowls and mix in gel food coloring (orange, black, green, or purple) until uniform and vibrant. A tiny bit of gel coloring goes a long way. -
Step 10
Dollop spoonfuls of the cream cheese mixture (alternating colors if used) randomly over the brownie batter base in the pan. Then, carefully drop the reserved ¼ cup of brownie batter over and onto the cream cheese dollops in strategic pockets. -
Step 11
Take a thin knife or skewer and gently drag it through the batters to create a mesmerizing, artistic swirl pattern. For a spiderweb, draw concentric circles of one color cream cheese, then drag the skewer from the center outwards, then outside inwards. Do not overmix; aim for distinct ribbons. -
Step 12
Carefully transfer the pan to the preheated 350°F (175°C) oven. Bake for approximately 30-35 minutes. Edges should be set, the center slightly moist but not liquidy. A toothpick inserted into the brownie portion (avoiding cream cheese) should come out with moist crumbs. Do not overbake to ensure fudginess. -
Step 13
Remove from oven and cool completely on a wire rack for at least 2-3 hours at room temperature. For cleaner cuts and enhanced fudginess, refrigerate for an additional 1-2 hours once at room temperature. Patience is key for proper setting. -
Step 14
Once completely cool and set, lift the brownies from the pan using the parchment paper. Decorate with Halloween sprinkles, candy eyeballs, or melted white chocolate spiderwebs if desired. Slice with a sharp knife (wiping between cuts) into 12-16 squares. Serve at room temperature for optimal texture. Brownies can be frozen for up to 2 months; thaw before serving.
Important Information
Nutrition Facts (Per Serving)
It is important to consider this information as approximate and not to use it as definitive health advice.
Allergy Information
Please check ingredients for potential allergens and consult a health professional if in doubt.


Leave a Comment