

Cheesy Garlic Chicken Wraps are an absolute game-changer for busy weeknights, and I’m thrilled to share this irresistible recipe with you today. Imagine sinking your teeth into tender, juicy chicken, expertly seasoned with fragrant garlic, all perfectly enveloped in a rich, gooey layer of melted cheese, and tucked into a warm, soft tortilla. It’s a culinary masterpiece that delivers on both flavor and convenience, making it the ultimate solution for those evenings when you crave something incredibly satisfying without spending hours in the kitchen.
I find that the universal appeal of wraps stems from their incredible versatility and the joy of a perfectly portable meal, a concept embraced across cultures for centuries. Our modern rendition of this classic form takes comfort food to an exciting new level. The harmonious blend of savory chicken, pungent garlic, and comforting cheese ensures that every single bite is an absolute delight. This dish isn’t just about ease; it’s about creating a memorable meal that truly excites the taste buds, making it incredibly popular with both adults and children alike. I truly believe these Cheesy Garlic Chicken Wraps will become a cherished staple in your home.
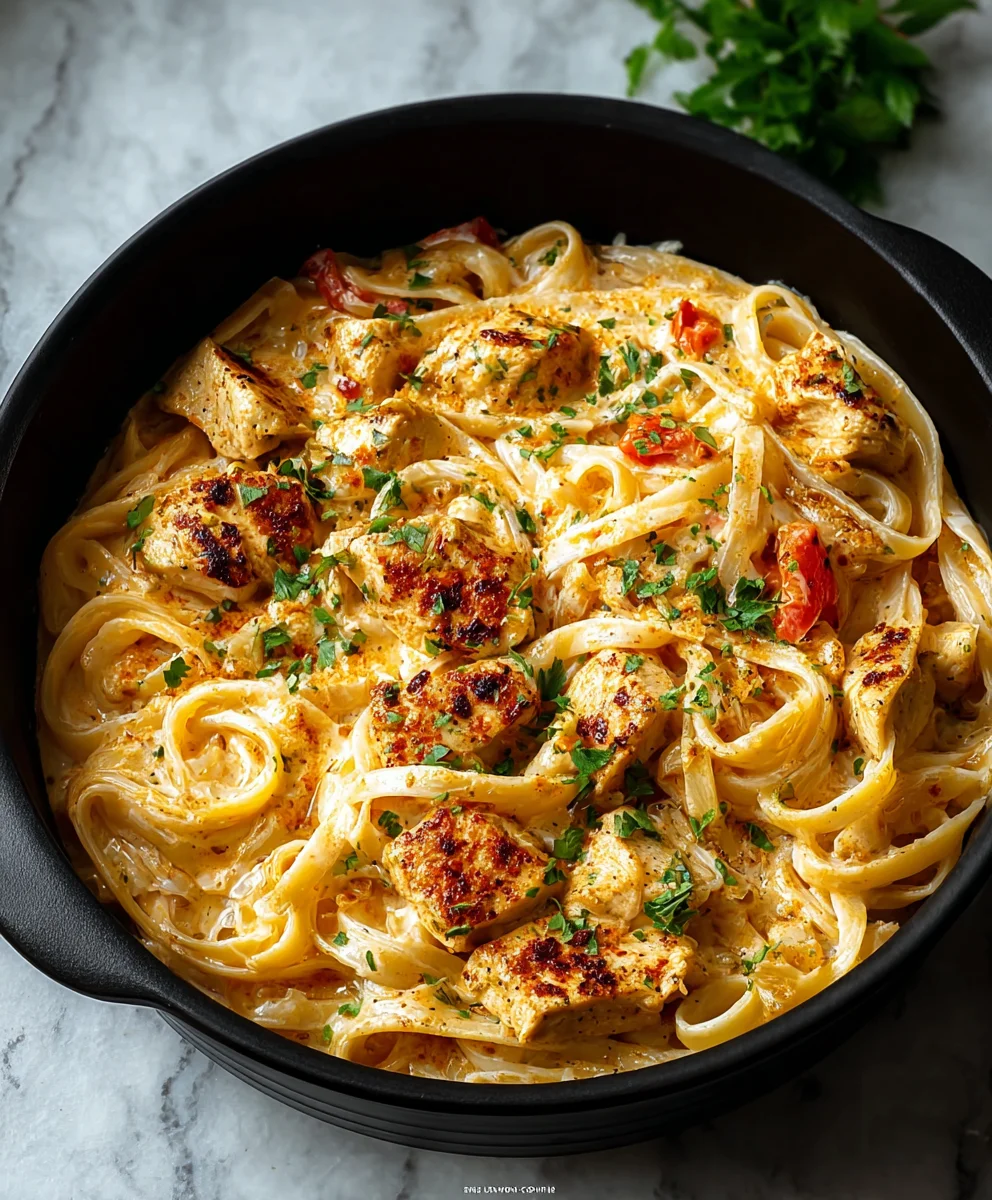
Ingredients:
Gathering your ingredients is the first exciting step to creating these incredibly delicious Cheesy Garlic Chicken Wraps. I always find that having everything prepped and ready makes the cooking process so much smoother and more enjoyable. Here’s what we’ll need:
- For the Chicken:
- 1.5 lbs (about 680g) boneless, skinless chicken breasts or thighs. I personally love using breasts because they cook quickly and absorb flavors beautifully, but thighs offer a richer, juicier texture if that’s what you prefer!
- 1 tablespoon olive oil, for sautéing the chicken.
- 1 teaspoon smoked paprika. This adds a lovely depth of flavor and a beautiful color.
- ½ teaspoon garlic powder. Because we can never have too much garlic in Cheesy Garlic Chicken Wraps!
- ½ teaspoon onion powder. A fantastic aromatic complement.
- ¼ teaspoon cayenne pepper (optional, for a little kick).
- Salt and freshly ground black pepper, to taste.
- For the Cheesy Garlic Sauce:
- 2 tablespoons unsalted butter. The base for our glorious garlic flavor.
- 4-5 cloves fresh garlic, minced. Yes, that’s right, minced! We want that robust garlic punch.
- 4 oz (about 113g) cream cheese, softened. This provides a creamy, tangy base. Full-fat works best for richness.
- ½ cup milk (whole milk for richness) or chicken broth. Use milk for a creamier sauce, broth for a slightly lighter but equally flavorful option.
- 1 cup shredded sharp cheddar cheese. For that classic, unmistakable cheesy flavor.
- 1 cup shredded mozzarella cheese. For the perfect gooey, melty stretch that makes Cheesy Garlic Chicken Wraps so satisfying.
- ¼ cup grated Parmesan cheese. Adds a salty, umami kick.
- ¼ teaspoon red pepper flakes (optional). For another subtle layer of warmth.
- Salt and freshly ground black pepper, to taste.
- For the Sautéed Vegetables:
- 1 tablespoon olive oil.
- 1 medium yellow onion, thinly sliced.
- 1 large bell pepper (any color, I love red for sweetness and color contrast), thinly sliced.
- 2 cups fresh baby spinach or arugula. Spinach wilts down beautifully and adds nutrients, while arugula offers a peppery bite.
- For Assembling the Wraps:
- 6-8 large flour tortillas (about 10-12 inches in diameter). Make sure they are flexible and suitable for wrapping. The bigger, the better for holding all that deliciousness!
- Optional: Fresh chopped parsley or cilantro, for garnish and a touch of freshness.
Prepping the Chicken for Your Cheesy Garlic Chicken Wraps
Alright, let’s get this chicken ready! This is a crucial step to ensure our chicken is perfectly cooked and seasoned, forming the savory heart of our Cheesy Garlic Chicken Wraps. I always say, a good wrap starts with well-prepared protein.
-
Prepare the Chicken: Start by patting your boneless, skinless chicken breasts (or thighs) thoroughly dry with paper towels. This step is super important because it helps the seasoning adhere better and promotes a lovely sear on the outside. Once dry, place them on a clean cutting board.
Slicing the Chicken:
Now, we want to cut the chicken into bite-sized pieces. I find that about ½-inch to ¾-inch cubes or thin strips work best for wraps. This size ensures even cooking and makes for much easier eating when tucked into a tortilla. If you cut them too large, they might be cumbersome to bite into, and if they’re too small, they can dry out quickly. Aim for consistency in size so everything cooks at the same rate. Don’t worry too much about perfection; rustic cuts are part of the charm!
-
Season the Chicken: Transfer the cut chicken pieces to a medium-sized bowl. Drizzle with 1 tablespoon of olive oil, then sprinkle generously with 1 teaspoon of smoked paprika, ½ teaspoon of garlic powder, ½ teaspoon of onion powder, and ¼ teaspoon of cayenne pepper (if you’re feeling adventurous and want a little heat). Add a good pinch of salt and freshly ground black pepper to taste.
Using your clean hands (or a spoon, if you prefer), toss everything together thoroughly until all the chicken pieces are evenly coated with the seasonings. This step is vital for building layers of flavor in our Cheesy Garlic Chicken Wraps. The paprika not only adds flavor but also gives the chicken a beautiful reddish hue as it cooks.
-
Cook the Chicken: Heat a large non-stick skillet or a cast-iron pan over medium-high heat. Once the pan is hot (you should see a slight shimmer from the oil or feel the heat radiating), add the seasoned chicken pieces in a single layer. Avoid overcrowding the pan; if you have too many pieces, the chicken will steam instead of sear, and we want a nice golden-brown crust. You might need to cook the chicken in two batches.
Cook for about 4-6 minutes, flipping occasionally, until the chicken is cooked through, beautifully golden-brown on the outside, and no longer pink in the center. The exact cooking time will depend on the size of your chicken pieces. I always recommend using a meat thermometer to be absolutely sure; chicken is safely cooked when it reaches an internal temperature of 165°F (74°C).
Once cooked, remove the chicken from the pan and set it aside in a bowl. Don’t worry about any bits left in the pan – those are delicious flavor deposits that will contribute to our next step!
Crafting the Ultimate Cheesy Garlic Sauce for Cheesy Garlic Chicken Wraps
Now for the star of the show, the luscious, creamy, and undeniably cheesy garlic sauce! This is what truly elevates these from regular chicken wraps to spectacular Cheesy Garlic Chicken Wraps. Get ready for some serious flavor.
-
Start with the Garlic Base: Using the same skillet you used for the chicken (no need to clean it, those browned bits are flavor!), reduce the heat to medium-low. Add 2 tablespoons of unsalted butter. Allow the butter to melt slowly. Once melted and slightly bubbling, add your 4-5 cloves of freshly minced garlic.
Don’t Burn the Garlic!
This is a critical moment: Sauté the minced garlic for about 1-2 minutes, stirring constantly, until it becomes fragrant and slightly golden. Be very careful not to let the garlic brown or burn, as burnt garlic can taste bitter and ruin the delicate flavor of our sauce. We’re aiming for aromatic and sweet, not crispy and acrid.
-
Create the Creamy Foundation: Once the garlic is fragrant, add the 4 oz of softened cream cheese to the skillet. Use a whisk or a wooden spoon to gently break down the cream cheese and stir it into the melted butter and garlic. It might look a little lumpy at first, but keep stirring and pressing it against the bottom of the pan until it starts to smooth out.
Gradually pour in ½ cup of milk (or chicken broth), whisking continuously. The mixture will start to come together and thicken. Keep whisking until the sauce is smooth and there are no lumps of cream cheese remaining. This should take about 2-3 minutes. If it seems too thick, you can add another tablespoon or two of milk/broth until you reach a consistency similar to a thick gravy.
-
Melt in the Cheeses: Reduce the heat to low. Now for the glorious cheese! Add 1 cup of shredded sharp cheddar cheese, 1 cup of shredded mozzarella cheese, and ¼ cup of grated Parmesan cheese to the sauce.
Stir gently but constantly until all the cheeses have completely melted and are fully incorporated into the sauce. This process requires patience and low heat to prevent the cheese from seizing or separating. You’ll see it transform into a velvety, glossy, and irresistibly gooey concoction. The key is a gentle hand and consistent stirring on low heat. This is where the magic happens for our Cheesy Garlic Chicken Wraps!
- Season the Sauce: Once the sauce is perfectly smooth and cheesy, stir in ¼ teaspoon of red pepper flakes (if using) for a subtle background heat. Taste the sauce and season with salt and freshly ground black pepper to your preference. Remember that the cheeses already contribute a good amount of saltiness, so add gradually and taste as you go. You want a well-balanced flavor that is rich, cheesy, and boldly garlic-infused. Keep the sauce warm on very low heat while you prepare the vegetables. If it becomes too thick, a splash of milk or broth can thin it out.
Sautéing the Flavorful Vegetables
To balance the richness of the chicken and cheese, we’re going to add some vibrant, tender-crisp vegetables. They add wonderful texture, freshness, and a pop of color to our Cheesy Garlic Chicken Wraps. This step is quick and easy, but don’t skip it!
- Prepare Your Veggies: First, ensure your medium yellow onion is thinly sliced, and your large bell pepper (I love red for its sweetness and visual appeal) is also thinly sliced. Having them prepped before you start cooking is key to a smooth process.
-
Sauté the Onion and Bell Pepper: Heat 1 tablespoon of olive oil in a separate large skillet (or clean out your chicken pan if you prefer, but a separate pan allows you to keep the cheese sauce warm). Set the skillet over medium-high heat. Once the oil is shimmering, add the sliced onion and bell pepper.
Sauté for 5-7 minutes, stirring occasionally, until the vegetables are tender-crisp and slightly softened but still have a bit of a bite. I love them with a little bit of char, which brings out their natural sweetness. You don’t want them mushy; maintain some structural integrity for texture in the wrap. Season lightly with a pinch of salt and pepper while they cook.
- Wilt the Spinach/Arugula: Once the onions and bell peppers are to your liking, remove the skillet from the heat. Add the 2 cups of fresh baby spinach or arugula directly into the warm pan. The residual heat from the pan and the other vegetables will be enough to quickly wilt the greens. Stir gently until they’ve softened, which usually takes only about 30 seconds to a minute. If you’re using arugula, it’s best to add it last minute to preserve its peppery kick. Don’t overcook the spinach or arugula, as they can become watery and lose their vibrant color.
Combining for the Perfect Cheesy Garlic Chicken Wrap Filling
Now comes the exciting part where all our beautifully prepared components come together to form the glorious filling for our Cheesy Garlic Chicken Wraps. This is where the flavors really meld and marry into something truly harmonious.
-
Bring Everything Together: Carefully transfer the cooked chicken pieces back into the skillet with your warm, cheesy garlic sauce. Give it a gentle stir to coat all the chicken in that incredible, gooey goodness.
Next, add the sautéed onions, bell peppers, and wilted spinach/arugula into the same pan. Stir everything together until all the ingredients are evenly distributed and generously coated in the rich, cheesy garlic sauce. This creates a wonderfully cohesive and flavorful mixture. You’ll notice the colors are so vibrant and inviting, a true feast for the eyes before it even hits your taste buds.
Take a moment to taste the filling now. This is your last chance to adjust any seasonings. Does it need a little more salt? A pinch more pepper? Perhaps a dash more garlic powder if you’re a true garlic aficionado? Make it perfect for your palate!
- Keep Warm: Once combined, keep the filling warm on very low heat while you prepare your tortillas. You want the filling to be warm and inviting when you assemble your wraps to ensure the cheese stays delightfully gooey and everything tastes fresh off the stove. If it cools down too much, the cheese might firm up, making it less luxurious.
Assembling Your Delicious Cheesy Garlic Chicken Wraps
We’re on the home stretch! Assembling these Cheesy Garlic Chicken Wraps is where your culinary creation truly takes shape. A well-assembled wrap holds its contents neatly and makes for a much more enjoyable eating experience. I always recommend warming the tortillas for maximum flexibility.
-
Warm the Tortillas: Lay out your large flour tortillas. For optimal flexibility and to prevent tearing, I highly recommend warming them slightly. You can do this in several ways:
- Microwave: Stack 2-3 tortillas and microwave for 15-20 seconds until warm and pliable.
- Dry Skillet: Heat a dry skillet over medium-high heat. Place one tortilla at a time in the hot pan for about 15-20 seconds per side, just until it’s warmed through and starts to puff slightly. This also gives them a lovely aroma.
- Oven: Wrap a stack of tortillas in aluminum foil and warm them in a preheated oven at 300°F (150°C) for about 5-10 minutes.
Once warmed, keep them covered with a clean kitchen towel to retain their warmth and flexibility while you assemble. This makes all the difference when rolling them tightly.
-
Fill the Tortillas: Lay one warm tortilla flat on your clean work surface. Spoon a generous amount (about ½ to ¾ cup, depending on the size of your tortilla and your appetite!) of the warm cheesy garlic chicken filling onto the center of the tortilla.
Be mindful not to overfill it. While it’s tempting to pile on all that deliciousness, too much filling will make the wrap difficult to close and might cause it to burst open. Leave about 1-2 inches of space around the edges.
-
Fold the Wraps: Now for the folding technique. This is how I achieve a sturdy wrap that holds everything inside:
- First Fold: Fold the bottom edge of the tortilla up and over the filling, tucking it in snugly. This creates the initial base of the wrap.
- Side Folds: Next, fold in the left and right sides of the tortilla towards the center, overlapping slightly if possible. This seals the sides.
- Roll It Up: Finally, starting from the folded bottom edge, tightly roll the wrap upwards towards the top edge. As you roll, maintain gentle but firm pressure to keep the filling compressed and the wrap taut. You should end up with a neat, compact cylinder.
Repeat this process with the remaining tortillas and filling. As you finish each wrap, you can place it seam-side down on a plate. If you’re not grilling them immediately, you can cover them to keep them from drying out.
The Final Touch: Grilling Your Cheesy Garlic Chicken Wraps
This last step is optional but highly recommended! Grilling or pan-frying your Cheesy Garlic Chicken Wraps adds an incredible golden-brown crust, a little extra texture, and helps to truly seal everything together, making them easier to handle and even more irresistible. It gives them that fantastic toasty finish that elevates them to restaurant-quality status.
-
Prepare for Grilling: You have a few options here:
- Pan-Frying: Heat a large non-stick skillet or a cast-iron pan over medium heat. You can add a very small amount of olive oil or butter to the pan if you like, or dry-fry for a lighter crisp.
- Grill Pan: If you have a grill pan, preheat it over medium-high heat. Lightly brush the grill pan with olive oil to prevent sticking and achieve those beautiful grill marks.
- Panini Press: This is my favorite method if you have one! Preheat your panini press according to the manufacturer’s instructions.
-
Grill/Pan-Fry the Wraps: Once your chosen cooking surface is hot, carefully place the assembled Cheesy Garlic Chicken Wraps seam-side down on the pan or press. This helps to seal the seam and prevent the wrap from unraveling.
Cook for about 3-4 minutes per side (or until golden-brown and crispy), flipping once if using a skillet or grill pan. If you’re using a panini press, simply close the lid and cook for 3-5 minutes, or until the wraps are nicely flattened, golden, and heated through. You’re looking for a beautiful golden-brown exterior with some lovely crispness.
The goal here is not just to warm them through, but to give them a satisfying toasted texture that contrasts wonderfully with the soft, gooey filling. The slight char and crispness add another layer of flavor and makes the wraps easier to hold and eat. This also ensures that the cheese inside is extra melty and warm, truly fulfilling the “cheesy” promise of our Cheesy Garlic Chicken Wraps.
-
Serve Immediately: Once the wraps are beautifully toasted, remove them from the heat. Let them rest for just a minute or two before slicing them in half diagonally with a sharp knife. This diagonal cut not only looks appealing but also reveals all the glorious layers of chicken, cheese, and vegetables inside.
Serve your Cheesy Garlic Chicken Wraps immediately while they are still warm and the cheese is wonderfully molten. They are fantastic on their own, but you could also offer a side of extra sour cream, salsa, or even a simple green salad to complete the meal. Enjoy every single savory, cheesy, garlicky bite!
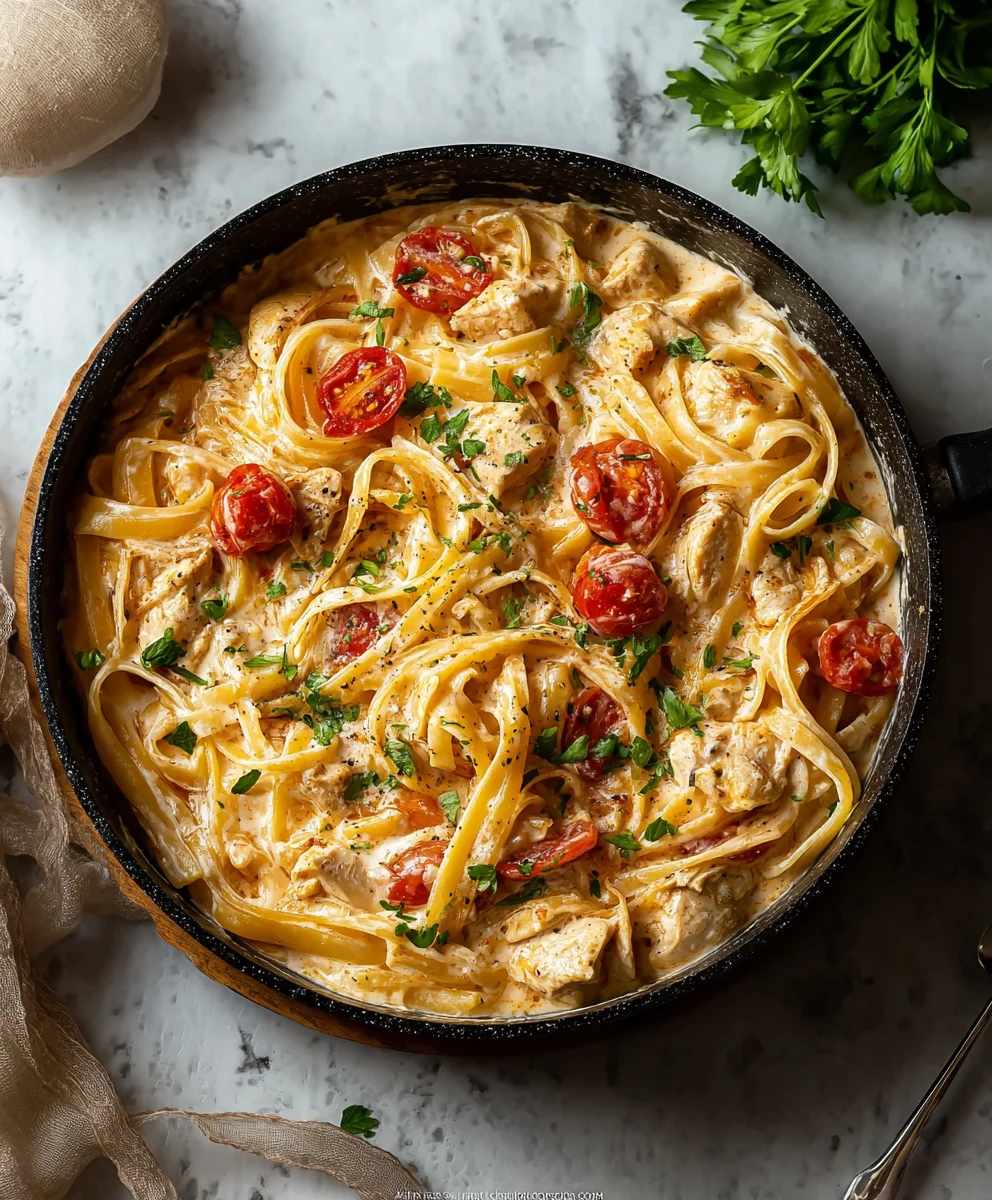
Conclusion:
Well, there you have it, my friends! We’ve journeyed through the simple steps to create a truly unforgettable meal. I genuinely believe that these aren’t just any wraps; they are a ticket to a world of flavor that will quickly become a staple in your kitchen.
I’m absolutely thrilled to share this recipe with you because it embodies everything I love about home cooking: delicious, approachable, and incredibly satisfying. The magic of these Cheesy Garlic Chicken Wraps lies in their perfect balance. Imagine tender, seasoned chicken, infused with aromatic garlic, generously coated in melty cheese, all nestled within a warm, soft tortilla. It’s a symphony of textures and tastes that hits all the right notes every single time. This isn’t just a quick fix; it’s a delightful experience that feels both comforting and exciting. It’s the kind of dish that makes you close your eyes and savor each bite, a true testament to how simple ingredients can come together to create something extraordinary. Whether you’re a seasoned chef or just starting your culinary journey, this recipe is designed for success. It’s foolproof, quick enough for a weeknight, and impressive enough for weekend entertaining. Trust me, once you try these, you’ll understand why I can’t stop raving about them. They offer a fantastic way to transform everyday ingredients into something truly special, elevating your mealtime without demanding hours of effort in the kitchen. The robust garlic flavor, combined with the savory chicken and the creamy, gooey cheese, creates an irresistible combination that will have everyone asking for seconds. It’s a dish that brings joy and satisfaction with minimal fuss.
Elevate Your Experience: Serving Suggestions & Creative Variations
While these wraps are absolutely phenomenal on their own, I always love to offer a few ideas to make your meal even more complete or to inspire your own culinary creativity. Think of them as a fantastic base, ready to be customized!
Perfect Pairings:
- Crisp Green Salad: A simple side salad with a tangy vinaigrette cuts through the richness beautifully, offering a refreshing contrast.
- Tomato Soup: A warm bowl of classic tomato soup makes for a comforting and nostalgic pairing, perfect for dipping.
- Sweet Potato Fries: For a more substantial meal, a side of crispy sweet potato fries or regular French fries always hits the spot.
- Roasted Vegetables: Broccoli, asparagus, or bell peppers roasted with a touch of olive oil and herbs add nutritional value and another layer of flavor.
Unleash Your Inner Chef: Creative Variations:
Don’t be afraid to experiment! This recipe is incredibly forgiving and adaptable:
- Cheese Choices: While cheddar or mozzarella are fantastic, consider a blend of Monterey Jack, pepper jack for a kick, or even a smoked gouda for a deeper flavor profile.
- Veggies Galore: Sautéed onions, bell peppers, spinach, or mushrooms can be added to the chicken mixture for extra nutrition and flavor. Even a sprinkle of fresh cilantro or green onions at the end brightens things up.
- Spice It Up: A pinch of red pepper flakes in the chicken mixture, a dash of hot sauce, or a spread of spicy mayo inside the wrap will add a wonderful kick.
- Saucy Additions: A drizzle of ranch, a dollop of sour cream, a dollop of guacamole, or even a sweet chili sauce can elevate the wraps to new heights.
- Protein Swap: If chicken isn’t your preference, this recipe works beautifully with shredded turkey, ground beef, or even plant-based protein crumbles.
- Low-Carb Option: For those watching their carb intake, skip the tortilla and serve the cheesy garlic chicken mixture over a bed of lettuce, as a stuffed bell pepper, or alongside cauliflower rice.
Your Turn! Share Your Cheesy Garlic Chicken Wraps Experience!
Now that you have all the tools, the inspiration, and the delicious details, it’s your turn to bring these incredible Cheesy Garlic Chicken Wraps to life in your own kitchen! I genuinely cannot wait for you to experience the joy of making and tasting them. Cooking should be an adventure, a creative outlet, and most importantly, a source of delicious happiness, and I truly believe this recipe delivers on all fronts.
When you whip up a batch, please don’t keep it a secret! I absolutely love seeing your culinary creations. Snap a picture, share your thoughts, and tell me how they turned out. Did you try a fun variation? What did you serve them with? Your feedback and shared experiences are what make this community so vibrant and inspiring. Head to the comments section below, or share your masterpieces on social media – I’m always eager to hear from you. Happy cooking, and get ready to enjoy one of the most satisfying meals you’ll make all week!
Flavorful Cheesy Garlic Chicken Wraps | Easy Weeknight Meal
Cheesy Garlic Chicken Wraps are an absolute game-changer for busy weeknights, and I’m thrilled to share this irresistible recipe with you today. Imagine sinking your teeth into tender, juicy chicken, expertly seasoned with fragrant garlic, all perfectly enveloped in a rich, gooey layer of melted cheese, and tucked into a warm, soft tortilla. It’s a culinary masterpiece that delivers on both flavor and convenience, making it the ultimate solution for those evenings when you crave something incredibly satisfying without spending hours in the kitchen.
I find that the universal appeal of wraps stems from their incredible versatility and the joy of a perfectly portable meal, a concept embraced across cultures for centuries. Our modern rendition of this classic form takes comfort food to an exciting new level. The harmonious blend of savory chicken, pungent garlic, and comforting cheese ensures that every single bite is an absolute delight. This dish isn’t just about ease; it’s about creating a memorable meal that truly excites the taste buds, making it incredibly popular with both adults and children alike. I truly believe these Cheesy Garlic Chicken Wraps will become a cherished staple in your home.
Ingredients
-
2 cups cooked chicken (shredded)
-
1/2 cup garlic aioli
-
1 cup cheddar cheese (shredded)
-
4 large tortillas
-
Salt and pepper to taste
Instructions
-
Step 1
Warm tortillas for optimal flexibility. You can microwave them (15-20 seconds), heat in a dry skillet (15-20 seconds per side), or warm in a 300°F (150°C) oven wrapped in foil (5-10 minutes). Keep warm until ready to use. -
Step 2
In a bowl, combine the shredded cooked chicken, garlic aioli, shredded cheddar cheese, salt, and pepper. Mix thoroughly until all ingredients are well combined. -
Step 3
Lay a warm tortilla flat. Spoon approximately ½ to ¾ cup of the chicken mixture onto the center, leaving a clear border of 1-2 inches around the edges. -
Step 4
To fold, first bring the bottom edge of the tortilla up and over the filling. Then, fold in the left and right sides towards the center. Finally, tightly roll the wrap from the bottom upwards into a compact cylinder. -
Step 5
Optional: For a golden, crispy exterior, heat a non-stick skillet, grill pan, or panini press over medium heat. Place the assembled wraps seam-side down and cook for 3-5 minutes, flipping once if using a pan, until golden-brown and heated through. -
Step 6
Rest the cooked wraps for a minute or two, then slice diagonally with a sharp knife and serve immediately while warm.
Important Information
Nutrition Facts (Per Serving)
It is important to consider this information as approximate and not to use it as definitive health advice.
Allergy Information
Please check ingredients for potential allergens and consult a health professional if in doubt.


Leave a Comment