

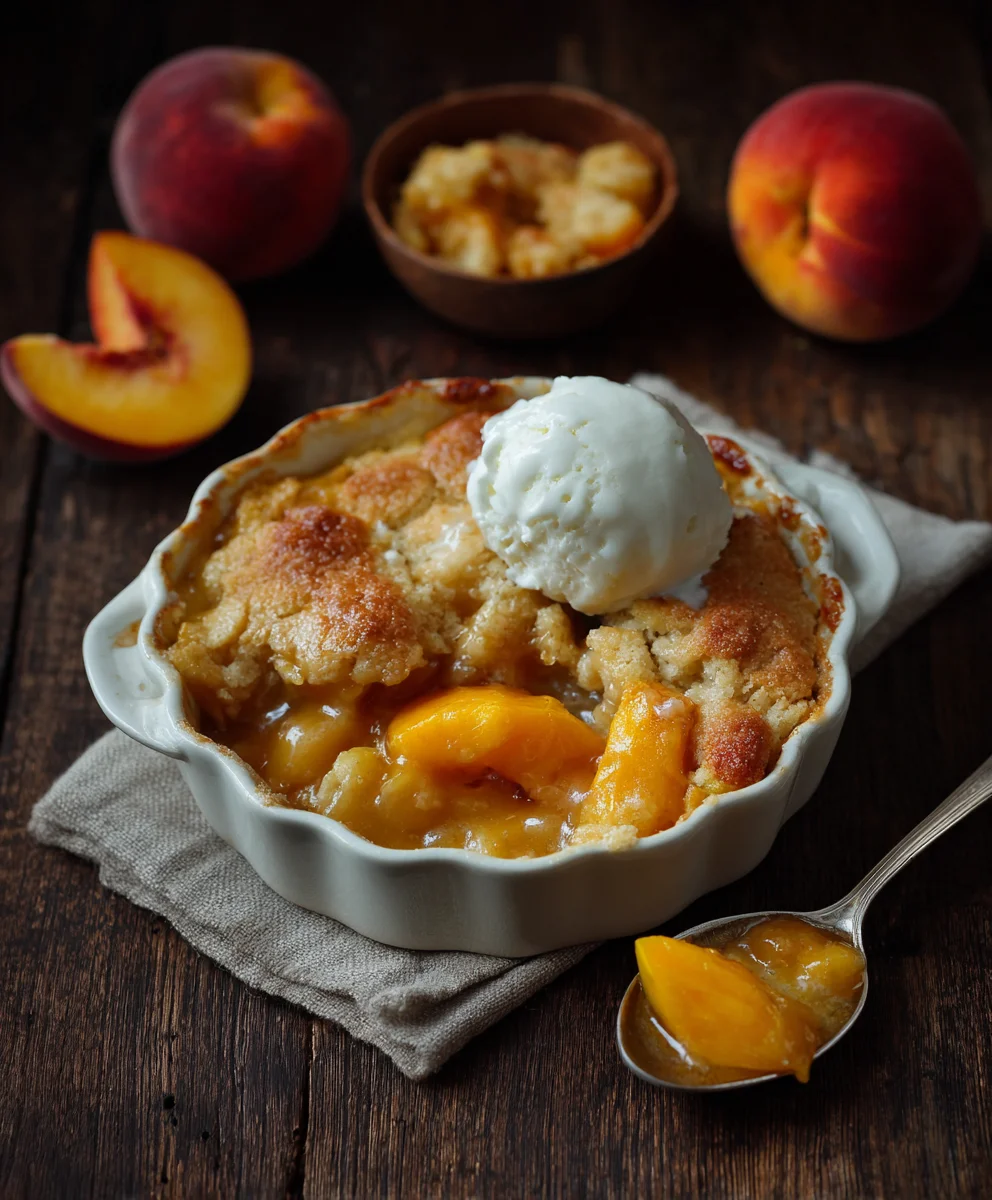
Caramel Apple Cookie Skillet – just the name itself promises a symphony of comforting, nostalgic flavors, and an irresistible treat. Imagine the enticing aroma filling your kitchen: sweet, crisp apples mingling with warm, gooey caramel, all baked into a luscious, tender cookie dough. This isn’t merely a dessert; it’s an experience, a delightful fusion that elevates two beloved classics into one truly show-stopping creation. While the beloved tradition of caramel apples dates back over a century, offering a quintessential handheld delight for autumn festivals and Halloween, and warm cookies have been a source of universal comfort for generations, combining them in a single, shareable skillet takes convenience and deliciousness to an entirely new level.
People absolutely adore this dish for its incredible layers of flavor and texture: the tender, slightly tart apples provide a beautiful, fresh counterpoint to the rich, buttery cookie, all enrobed in luscious, melted caramel. It’s the ultimate comfort food, perfect for sharing with loved ones, and remarkably simple to prepare, making the Caramel Apple Cookie Skillet an instant favorite for any gathering or quiet night in. Get ready to impress and delight with this perfectly balanced, deeply satisfying dessert.
Ingredients:
-
For the Cookie Dough Base:
- 2 ½ cups (300g) all-purpose flour: I always recommend sifting your flour for a lighter, more consistent cookie.
- 1 teaspoon baking soda: Essential for that perfect cookie rise.
- ½ teaspoon salt: Balances the sweetness and enhances all the flavors.
- 1 cup (226g) unsalted butter: Softened to room temperature. This is crucial for creaming properly!
- ¾ cup (150g) granulated sugar: For sweetness and a bit of crispness.
- ¾ cup (160g) packed light brown sugar: Adds moisture, chewiness, and that lovely molasses flavor.
- 2 large eggs: Also at room temperature. They incorporate better into the batter this way.
- 1 ½ teaspoons pure vanilla extract: Don’t skimp on the good stuff; it makes all the difference!
- 1 cup (170g) butterscotch chips or white chocolate chips: For an extra layer of flavor and texture that complements the apples and caramel beautifully.
-
For the Apple Filling:
- 6-8 medium-sized firm, crisp apples: I personally love using Granny Smith for their tartness, which beautifully balances the sweetness, or a mix of Honeycrisp and Braeburn for varied texture and sweetness. Peel, core, and slice them about ¼ inch thick.
- ¼ cup (50g) granulated sugar: To sweeten the apples just a touch.
- 1 ½ tablespoons all-purpose flour: Helps to thicken the apple juices, preventing a soggy cookie.
- 1 teaspoon ground cinnamon: The classic companion to apples!
- ¼ teaspoon ground nutmeg: Adds a warm, fragrant depth.
- 2 tablespoons unsalted butter: Melted, for tossing with the apples.
-
For the Homemade Salted Caramel Sauce:
- 1 cup (200g) granulated sugar: The base for our liquid gold.
- ¼ cup (60ml) water: Helps dissolve the sugar evenly.
- ½ cup (120ml) heavy cream: Warmed slightly. This is important to prevent seizing when added to the hot sugar.
- 4 tablespoons (56g) unsalted butter: Cut into small pieces, softened.
- ½ teaspoon sea salt flakes: For that irresistible sweet and salty contrast. (You can use regular fine sea salt if flakes aren’t available, but flakes offer a lovely textural pop.)
- 1 ½ teaspoons pure vanilla extract: Added at the end for flavor.
-
For Serving (Optional but Highly Recommended!):
- Vanilla bean ice cream or whipped cream.
- Extra drizzle of caramel sauce.
- A sprinkle of sea salt flakes.
Prepping Our Apples for the Caramel Apple Cookie Skillet
Let’s get those beautiful apples ready! This is a simple but important first step to ensure your “Caramel Apple Cookie Skillet” is absolutely perfect.
- Choose Your Apples Wisely: I always recommend using firm, crisp apples. My personal favorites are Granny Smiths for their vibrant tartness, which cuts through the sweetness of the cookie and caramel so delightfully. If you prefer a sweeter profile, Honeycrisp or Fuji apples work wonderfully too, or even a blend of a tart and sweet apple for more complexity.
- Peel, Core, and Slice: Begin by peeling all of your apples. I find a good quality vegetable peeler makes this quick work. Next, core each apple. You can use an apple corer or carefully cut around the core. Then, slice the apples into uniform ¼-inch thick pieces. Uniformity is key here; it ensures they cook evenly and soften to the perfect tender-crisp texture without becoming mushy in some spots and too firm in others.
- Toss with Flavor and Thickener: In a large mixing bowl, combine the sliced apples with ¼ cup granulated sugar, 1 ½ tablespoons all-purpose flour, 1 teaspoon ground cinnamon, and ¼ teaspoon ground nutmeg. Pour in 2 tablespoons of melted unsalted butter. Toss everything gently but thoroughly until all the apple slices are evenly coated. The flour will help absorb any excess moisture released by the apples during baking, preventing a watery filling and keeping our cookie base crisp. The cinnamon and nutmeg, of course, infuse that classic apple pie warmth that we all adore.
- Set Aside: Once coated, set your apple mixture aside while you prepare the other components. The apples will start to release some of their natural juices, which is exactly what we want.
Crafting the Homemade Caramel Sauce (Optional but Recommended!)
While a good quality store-bought caramel sauce is perfectly acceptable, I promise you, making your own for this “Caramel Apple Cookie Skillet” is incredibly rewarding and tastes divine! It’s worth the extra effort, and I’ll walk you through it carefully.
- Prepare Your Ingredients: Have all your caramel ingredients measured out and ready to go. This includes the granulated sugar, water, warm heavy cream, softened butter pieces, sea salt flakes, and vanilla extract. Working quickly and having everything prepped is crucial for successful caramel making. Gently warm your heavy cream in a small saucepan or microwave; this prevents the caramel from seizing when you add it later.
- Start the Sugar Syrup: In a medium-sized, heavy-bottomed saucepan (a light-colored pan helps you see the color change better), combine the 1 cup of granulated sugar and ¼ cup of water. Place the pan over medium heat. Stir gently to dissolve the sugar.
- Boil Without Stirring: Once the sugar is dissolved, stop stirring. Allow the mixture to come to a boil. Watch it carefully. The sugar will bubble vigorously and then begin to change color around the edges. Avoid the urge to stir once it’s boiling, as this can encourage crystallization. If you see sugar crystals forming on the sides of the pan, you can gently brush them down with a wet pastry brush.
- Achieve Amber Perfection: Continue to boil until the sugar syrup turns a rich, deep amber color. This usually takes about 8-12 minutes, but it can vary. Keep a close eye on it, as it can go from perfect to burnt very quickly. You’re looking for the color of an old copper penny.
- Add Warm Cream (Carefully!): As soon as the caramel reaches that beautiful amber color, immediately remove the pan from the heat. Carefully and slowly pour the warm heavy cream into the hot sugar, stirring continuously with a whisk. Be extremely careful, as the mixture will bubble up vigorously and release a lot of steam. This is why the warm cream is important; cold cream would cause a more violent reaction. Continue to whisk until the mixture is smooth.
- Whisk in Butter and Salt: Add the softened butter pieces, one at a time, whisking until each piece is fully incorporated and the sauce is smooth and glossy. Finally, whisk in the sea salt flakes.
- Finish with Vanilla: Stir in the vanilla extract. Pour the finished caramel sauce into a heatproof jar or bowl. It will be quite thin at this stage but will thicken considerably as it cools. Allow it to cool for at least 30 minutes before using it in your “Caramel Apple Cookie Skillet.”
-
Caramel Troubleshooting Tips:
- Crystallization: If your sugar starts to crystalize, you can sometimes save it by adding a few tablespoons of water and gently reheating until it dissolves again, but prevention is best (don’t stir while boiling!).
- Burnt Smell: If it smells burnt, it is. Unfortunately, there’s no saving burnt caramel; you’ll need to start over. It’s better to undercook slightly and have a lighter caramel than to burn it.
- Too Thick/Thin: If your cooled caramel is too thick, you can gently reheat it with a tablespoon or two of cream or water until it reaches your desired consistency. If it’s too thin, simmer it gently for a few more minutes, being careful not to burn it.
Whipping Up the Perfect Cookie Dough Base
This cookie dough is the heart of our “Caramel Apple Cookie Skillet” – it needs to be chewy, rich, and sturdy enough to hold all that delicious apple and caramel goodness. Let’s make it!
- Prepare Your Dry Ingredients: In a medium bowl, whisk together the 2 ½ cups of all-purpose flour, 1 teaspoon of baking soda, and ½ teaspoon of salt. I like to make sure these are thoroughly combined so the leavening agent is evenly distributed. Set this aside.
- Cream Butter and Sugars: In a large mixing bowl, using an electric mixer (either a stand mixer with a paddle attachment or a hand mixer), cream together the 1 cup of softened unsalted butter, ¾ cup of granulated sugar, and ¾ cup of packed light brown sugar. Beat on medium speed for about 3-5 minutes, until the mixture is light, fluffy, and pale in color. This creaming process is vital as it incorporates air, which contributes to the cookie’s texture and rise. Scrape down the sides of the bowl as needed to ensure everything is evenly mixed.
- Add Eggs and Vanilla: Beat in the large eggs, one at a time, mixing well after each addition. This allows each egg to fully emulsify into the butter mixture, creating a smoother dough. Once the eggs are incorporated, stir in the 1 ½ teaspoons of pure vanilla extract until just combined. Vanilla is truly the soul of a good cookie, in my opinion!
- Incorporate Dry Ingredients: With the mixer on low speed, gradually add the dry ingredient mixture to the wet ingredients, mixing just until almost combined. It’s important not to overmix at this stage, as overworking the gluten in the flour can lead to a tough cookie. You want to stop mixing when there are still a few streaks of flour visible.
- Fold in the Chips: Remove the bowl from the mixer and, using a rubber spatula, gently fold in the 1 cup of butterscotch chips (or white chocolate chips). Mix until they are evenly distributed throughout the dough. The spatula allows for gentle incorporation without overmixing.
- Prepare for Skillet: Your cookie dough is now ready for assembly! It should be a soft, pliable dough.
Assembling and Baking Our Delightful Caramel Apple Cookie Skillet
Now for the exciting part – bringing all these wonderful components together to create your masterpiece, the “Caramel Apple Cookie Skillet”! This is where the magic truly happens.
- Preheat and Prepare Skillet: Preheat your oven to 375°F (190°C). Lightly grease a 10-inch cast iron skillet or an equivalent oven-safe baking dish with butter or a non-stick spray. A cast iron skillet is fantastic because it retains heat wonderfully, giving us those perfectly crisp edges and a gooey center.
- Form the Cookie Base: Take about two-thirds of your prepared cookie dough and press it evenly into the bottom of the greased skillet. I like to use my fingertips, making sure to spread it all the way to the edges, creating a solid, even base. You don’t want any thin spots. This forms the delicious foundation for our “Caramel Apple Cookie Skillet.”
- Layer the Apple Filling: Arrange your prepared apple slices evenly over the cookie dough base. You can make a beautiful pattern, or simply spread them out in an even layer. Try to avoid piling them too high in the center to ensure even baking. The apples should cover the cookie dough completely.
- Drizzle with Caramel: Generously drizzle about half of your homemade (or store-bought) caramel sauce over the apple layer. Don’t be shy here; this is where a lot of that incredible caramel flavor comes from!
- Add the Top Cookie Layer: Take the remaining one-third of your cookie dough. Instead of pressing it out, I like to crumble small pieces of this dough over the top of the apples and caramel. This creates a beautiful, rustic, and textured topping that will bake up wonderfully golden and slightly crisp, allowing peeks of the apple and caramel beneath.
- Bake to Perfection: Place the skillet into your preheated oven. Bake for approximately 35-45 minutes. Baking time can vary based on your oven and the thickness of your apple slices. You’re looking for the cookie edges to be deeply golden brown, the apple filling to be bubbling around the sides, and the top cookie crumbles to be set and golden. The center might still look a little soft and gooey, and that’s perfectly normal – it will firm up as it cools. If the top starts to brown too quickly before the center is cooked, you can loosely tent it with aluminum foil for the last 10-15 minutes of baking.
- Cooling Down (The Hard Part!): Once baked, carefully remove the “Caramel Apple Cookie Skillet” from the oven. Let it cool on a wire rack for at least 15-20 minutes before serving. This cooling period is essential; it allows the skillet cookie to set, the caramel to thicken slightly, and the apples to finish tenderizing. Trust me, it’s worth the wait!
The Grand Finale: Serving Your Caramel Apple Cookie Skillet
The moment has arrived! Your kitchen smells absolutely incredible, and your “Caramel Apple Cookie Skillet” is ready to be devoured. This is how I love to serve it to truly make it an unforgettable dessert experience.
- Warm is Best: While it needs to cool for a bit to set, this dessert is absolutely divine served warm, straight from the skillet. The warmth brings out all the incredible flavors of the spiced apples, the gooey caramel, and the soft, chewy cookie.
- Scoop and Serve: Use a large spoon or spatula to scoop generous portions directly from the skillet onto individual plates or bowls. There’s something incredibly satisfying about digging into a skillet dessert right at the table!
-
The Perfect Companions:
- Vanilla Bean Ice Cream: This is my absolute favorite pairing. A big scoop of cold, creamy vanilla bean ice cream melting into the warm “Caramel Apple Cookie Skillet” creates a heavenly contrast of temperatures and textures. The vanilla notes enhance all the other flavors beautifully.
- Whipped Cream: If you prefer something lighter, a dollop of freshly whipped cream is a wonderful addition. Its airy lightness provides a lovely balance to the richness of the skillet.
- Extra Caramel Drizzle: Don’t forget that remaining homemade caramel sauce! A generous extra drizzle over each serving elevates the presentation and the flavor to another level.
- Sea Salt Flakes: For those who love a sophisticated sweet-and-salty kick, a final sprinkle of flaky sea salt on top of the ice cream or caramel drizzle adds an irresistible finish.
-
Storage Instructions:
- If you happen to have any leftovers (a rare occurrence in my house!), cover the skillet tightly with plastic wrap or transfer individual portions to an airtight container.
- Store the “Caramel Apple Cookie Skillet” at room temperature for up to 2 days, or in the refrigerator for up to 4-5 days.
- Reheating: To enjoy warm again, you can gently reheat individual servings in the microwave for 30-60 seconds, or pop the entire skillet (if cast iron) back into a 300°F (150°C) oven for about 10-15 minutes, until warmed through.
-
A Treat for Any Occasion:
This “Caramel Apple Cookie Skillet” is truly a showstopper dessert that’s perfect for cozy nights in, impressing guests, or simply treating yourself to something wonderfully comforting. I hope you enjoy every single delicious bite!
Conclusion:
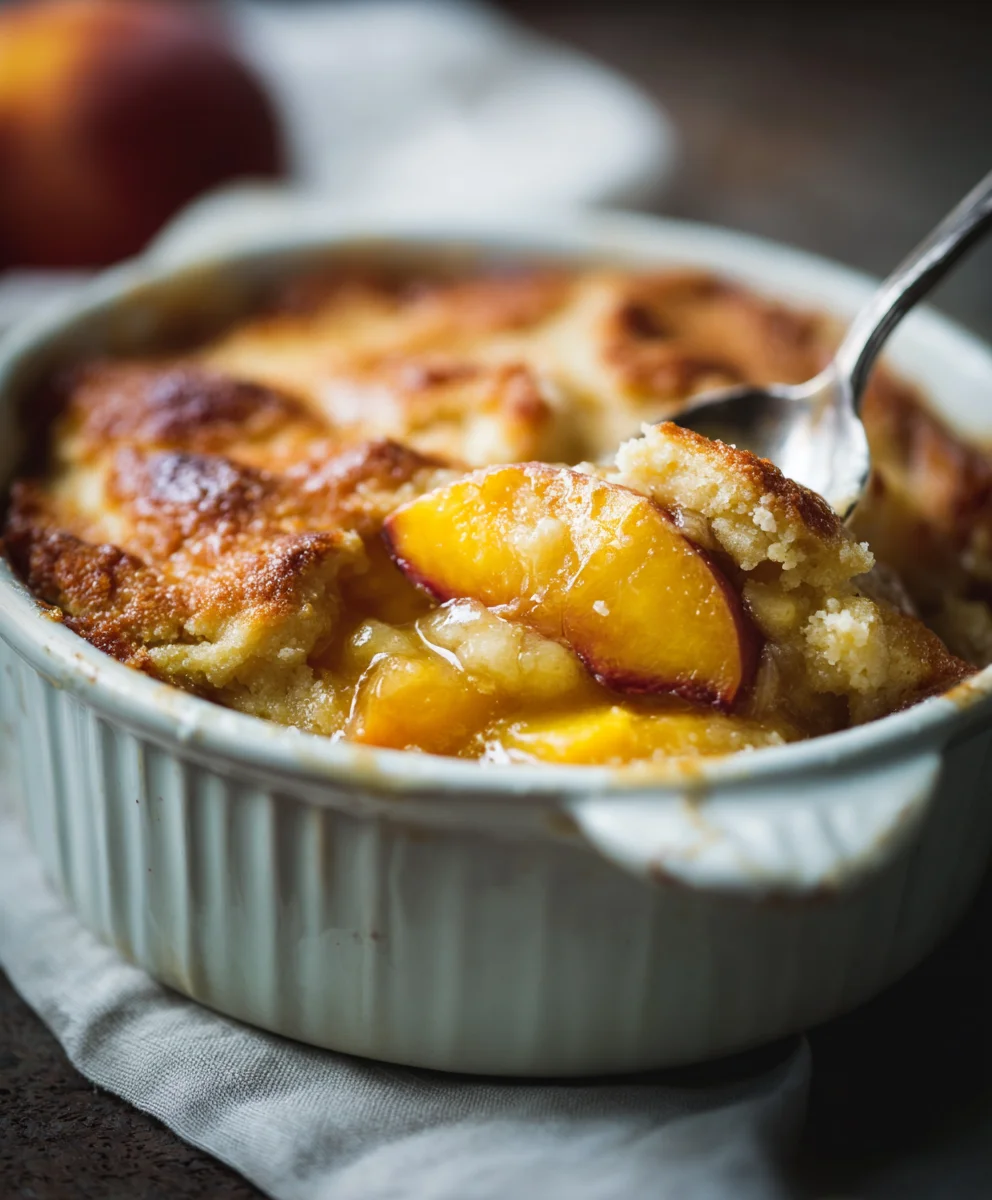
Well, my friends, we’ve reached the sweet end of our journey through this incredible dessert, and I genuinely hope you’re feeling as inspired and hungry as I am right now! I truly believe this isn’t just another recipe; it’s an experience waiting to happen in your very own kitchen. It embodies everything you could possibly want in a comfort dessert: a harmonious blend of warm, gooey, and subtly crisp textures, an intoxicating aroma that will fill your home with joy, and a flavor profile that is both nostalgic and utterly sophisticated.
I can’t stress enough why this particular creation is a definite must-try. Imagine the sheer delight of a golden, perfectly baked cookie base, still warm from the oven, providing that quintessential comforting chew. Now, layer that with tender, sweet-tart apple slices, their natural juiciness enhanced by a hint of cinnamon and sugar. And finally, the crowning glory: a rich, luscious caramel sauce that seeps into every crevice, creating pockets of intensely buttery sweetness. It’s a symphony of flavors and sensations that truly captures the essence of indulgent homemade goodness. It’s the kind of dessert that elicits “oohs” and “aahs” even before the first bite, and happy sighs of contentment after. This isn’t just dessert; it’s a warm hug in a skillet, perfect for making any ordinary evening feel extraordinary or for bringing a smile to everyone at your next gathering. I promise you, the effort, minimal as it is, pays off in spades with every single spoonful.
When it comes to serving, the classic pairing for this magnificent treat is, of course, a generous scoop of vanilla bean ice cream. The cold, creamy ice cream melting into the warm, gooey Caramel Apple Cookie Skillet creates a truly magical contrast in temperature and texture that is simply unbeatable. But don’t let that be your only option! For those who prefer a different touch, a dollop of freshly whipped cream, perhaps infused with a hint of cinnamon or maple, would be absolutely divine. You could also drizzle a little extra caramel sauce right before serving, or even a touch of sea salt to truly elevate the sweet and savory notes. A sprinkle of chopped toasted pecans or walnuts would add a lovely crunch and nutty dimension, while a dusting of cinnamon sugar can enhance the autumnal feel. I love serving it directly from the skillet at the center of the table, allowing everyone to scoop their own portions – it makes for such a communal and cozy dining experience, perfect for family nights or intimate get-togethers. Don’t forget that a steaming mug of coffee, a glass of cold milk, or even a warm cup of apple cider makes a wonderful companion to this decadent delight.
Expand Your Culinary Horizon with These Variations:
One of the beautiful aspects of this recipe is its adaptability. Feel free to get creative! For a different flavor profile, consider adding a pinch of nutmeg, allspice, or even a tiny touch of cardamom to your apple mixture – these spices beautifully complement the apples and caramel. You could experiment with different apple varieties; while crisp, slightly tart apples like Granny Smith or Honeycrisp work wonderfully, a mix of two or three types can add depth. For the cookie base, while my preferred dough is a fantastic starting point, an oatmeal cookie dough would add a wonderful textural element and a different kind of chew. If you’re feeling adventurous, stir in some chocolate chips to the cookie dough for a caramel-apple-chocolate trifecta of deliciousness. You could also swirl in a bit of cream cheese frosting on top of the warm skillet after baking for an extra layer of richness and tang. The possibilities are truly endless, limited only by your imagination!
Your Turn to Create Sweet Memories!
Now that I’ve shared all my secrets and tips, it’s truly your turn to bring this recipe to life. Don’t just admire the thought of it; gather your ingredients, preheat your oven, and embark on this delicious adventure. I promise you that the simple act of baking this dessert, from the sweet aroma filling your home to the first glorious bite, is an incredibly rewarding experience. It’s a fantastic recipe for beginners and seasoned bakers alike, offering impressive results with minimal fuss. I really encourage you to set aside some time this week to whip up this treat for yourself, your family, or your friends.
And when you do, please, please come back and share your experience with me! I absolutely adore hearing about your kitchen escapades. What did you love most about it? Did you try any of the variations, or did you come up with your own ingenious twist? Who did you share it with, and what were their reactions? Did you manage to snap any mouth-watering photos? Your feedback and stories inspire me endlessly, and I can’t wait to read all about your culinary successes. So go forth, bake with joy, and enjoy every single delightful moment of this incredible dessert. Happy baking, my friends!
Caramel Apple Cookie Skillet
An easy, gooey, warm fall dessert combining sweet, crisp apples with warm, gooey caramel baked into a luscious, tender cookie dough in a single skillet. This comforting treat offers incredible layers of flavor and texture, perfect for sharing.
Ingredients
-
2 ½ cups all-purpose flour
-
1 tsp baking soda
-
½ tsp salt
-
1 cup unsalted butter, softened
-
¾ cup granulated sugar
-
¾ cup packed light brown sugar
-
2 large eggs
-
1 ½ tsp pure vanilla extract
-
1 cup butterscotch or white chocolate chips
-
6-8 medium firm apples, peeled, cored, sliced ¼ inch thick
-
¼ cup granulated sugar (for apples)
-
1 ½ tbsp all-purpose flour (for apples)
-
1 tsp ground cinnamon
-
¼ tsp ground nutmeg
-
2 tbsp unsalted butter, melted (for apples)
-
1 cup granulated sugar (for caramel sauce)
-
¼ cup water
-
½ cup heavy cream, warmed
-
4 tbsp unsalted butter, softened (for caramel sauce)
-
½ tsp sea salt flakes
-
1 ½ tsp pure vanilla extract (for caramel sauce)
Instructions
-
Step 1
Prepare Apples: Peel, core, and slice 6-8 medium apples ¼-inch thick. Toss with ¼ cup granulated sugar, 1 ½ tbsp flour, 1 tsp cinnamon, ¼ tsp nutmeg, and 2 tbsp melted butter. Set aside. -
Step 2
Make Caramel Sauce (Optional): In a heavy-bottomed saucepan, combine 1 cup granulated sugar and ¼ cup water. Heat over medium until sugar dissolves, then boil without stirring until deep amber. Immediately remove from heat. Slowly whisk in ½ cup warm heavy cream (be cautious of steam). Whisk in 4 tbsp softened butter, then ½ tsp sea salt flakes, and 1 ½ tsp vanilla extract. Pour into a heatproof jar and cool for at least 30 minutes. (Alternatively, use good quality store-bought caramel). -
Step 3
Prepare Cookie Dough: Whisk together 2 ½ cups flour, 1 tsp baking soda, and ½ tsp salt. In a large bowl, cream 1 cup softened butter with ¾ cup granulated sugar and ¾ cup packed light brown sugar until light and fluffy (3-5 min). Beat in 2 large eggs, one at a time, then 1 ½ tsp vanilla extract. Gradually add dry ingredients, mixing on low speed until just combined. Fold in 1 cup butterscotch or white chocolate chips. -
Step 4
Assemble and Bake: Preheat oven to 375°F (190°C). Lightly grease a 10-inch cast iron skillet. Press two-thirds of the cookie dough evenly into the skillet. Arrange apple slices over the dough. Drizzle about half of the prepared caramel sauce over the apples. Crumble the remaining one-third of cookie dough over the top. Bake for 35-45 minutes, until edges are golden, apples are bubbling, and top crumbles are set. (Tent with foil if browning too quickly). -
Step 5
Cool and Serve: Remove from oven and cool on a wire rack for 15-20 minutes. Serve warm, scooped directly from the skillet, optionally topped with vanilla bean ice cream, whipped cream, extra caramel drizzle, and a sprinkle of sea salt flakes. -
Step 6
Storage: Store leftovers covered at room temperature for up to 2 days, or in the refrigerator for up to 4-5 days. Reheat gently in the microwave or oven.
Important Information
Nutrition Facts (Per Serving)
It is important to consider this information as approximate and not to use it as definitive health advice.
Allergy Information
Please check ingredients for potential allergens and consult a health professional if in doubt.


Leave a Comment