
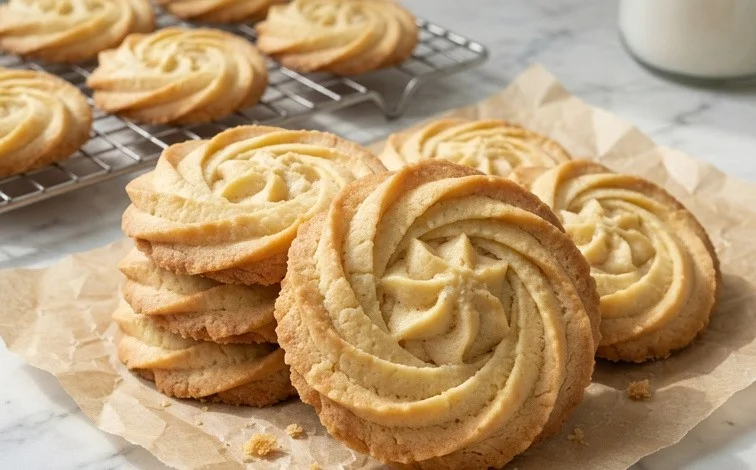
The scent of pure butter baking is one of my favorite things, especially when it comes from a batch of simple, melt-in-your-mouth butter cookies. These are the kind of cookies that don’t need fancy decorations to impress. Their rich, buttery flavor and delicate crumb speak for themselves. They’re perfect with a cup of tea, a glass of milk, or just as a sweet treat any time of day. Making them from scratch is surprisingly straightforward, and the results are so much better than anything store-bought. This easy homemade butter cookies recipe focuses on that classic, comforting taste that brings a smile with every bite. They are wonderfully tender and have a delightful crumb that crumbles perfectly in your mouth. Whether you’re a beginner baker or looking for a reliable go-to recipe, these butter cookies will become a staple in your baking repertoire. They are a testament to the fact that simple ingredients, handled with care, can create something truly special.
Easy Homemade Butter Cookies
The scent of pure butter baking is one of my favorite things, especially when it comes from a batch of simple, melt-in-your-mouth butter cookies. These are the kind of cookies that don’t need fancy decorations to impress. Their rich, buttery flavor and delicate crumb speak for themselves. They’re perfect with a cup of tea, a glass of milk, or just as a sweet treat any time of day. Making them from scratch is surprisingly straightforward, and the results are so much better than anything store-bought.
Ingredients:
- 4 cups All-Purpose Flour
- 1 tsp Baking Powder
- 1/2 tsp Salt
- 1 cup Unsalted Butter (room temperature)
- 2 cups Granulated Sugar
- 2 Large Eggs (room temperature)
- 2 tsp Vanilla Extract
Preparing the Dough
Dry Ingredients Preparation
The first step in creating our wonderfully tender butter cookies is to get our dry ingredients ready. In a medium-sized bowl, I like to whisk together the 4 cups of All-Purpose Flour, 1 teaspoon of Baking Powder, and 1/2 teaspoon of Salt. Whisking them together ensures that the leavening agent (baking powder) and the salt are evenly distributed throughout the flour. This is important for consistent texture and rise in the cookies. If the baking powder isn’t well distributed, you might end up with pockets of a different texture in your cookies. Once they’re nicely combined, I set this bowl aside.
Creaming the Butter and Sugar
Now for the heart of our butter cookies: the creaming process. In a large mixing bowl, or the bowl of your stand mixer fitted with the paddle attachment, you’ll want to beat 1 cup of Unsalted Butter that has been softened to room temperature. Make sure it’s truly at room temperature – not melted, but soft enough that your finger leaves an indentation easily. If your butter is too cold, it won’t cream properly, and if it’s too warm, your cookies might spread too much. To the softened butter, add 2 cups of Granulated Sugar. Cream these together on medium speed for about 3 to 5 minutes, until the mixture is light, fluffy, and pale yellow. This aeration process is key to creating a tender cookie. Scrape down the sides and bottom of the bowl a few times during this creaming process to make sure everything is incorporated evenly.
Adding the Wet Ingredients
Once the butter and sugar are beautifully creamed, it’s time to add the eggs and vanilla. We’ll add the 2 Large Eggs, one at a time, beating well after each addition until fully incorporated. Again, make sure your eggs are also at room temperature, as this helps them emulsify better with the butter and sugar mixture. After the eggs are mixed in, add 2 teaspoons of Vanilla Extract. Beat until everything is just combined. The mixture should look smooth and creamy. Be careful not to overmix at this stage; we just want to incorporate the eggs and vanilla.
Combining Wet and Dry
Now we’ll bring the two parts of our cookie dough together. With the mixer on low speed, gradually add the flour mixture (from the first step) to the wet ingredients. Mix only until the flour is just incorporated and no dry streaks remain. It’s very important not to overmix the dough once the flour is added. Overmixing can develop the gluten in the flour, resulting in tough cookies instead of the tender, crumbly texture we’re aiming for. If you find it difficult to mix the last bit of flour in, you can switch to a sturdy spatula or wooden spoon to finish mixing by hand, ensuring you stop as soon as the flour disappears.
Shaping and Baking the Cookies
Chilling the Dough (Optional but Recommended)
For best results and easier handling, I highly recommend chilling the dough for at least 30 minutes. You can wrap the dough in plastic wrap and flatten it into a disk, or simply cover the bowl. Chilling the dough helps to firm up the butter, making it less likely to spread excessively during baking. This also makes the dough much easier to handle, especially if you plan on rolling and cutting out shapes. If you’re short on time, you can skip this step, but be aware the cookies might be a bit flatter.
Forming the Cookies
There are a few ways to form these cookies. If you chilled the dough as a disk, you can roll it out on a lightly floured surface to about 1/4 inch thickness and use cookie cutters for fun shapes. This is great for holidays or special occasions. Alternatively, you can simply roll the dough into small balls, about 1 inch in diameter, and place them about 2 inches apart on a baking sheet lined with parchment paper. For a slightly flatter cookie, you can gently press the tops of the balls with the bottom of a glass or your palm. If you’re going for a simpler approach, you can also just drop rounded tablespoons of dough onto the baking sheet.
Baking to Perfection
Preheat your oven to 350 degrees Fahrenheit (175 degrees Celsius). Arrange the formed cookies on baking sheets lined with parchment paper, ensuring there’s enough space between them so they don’t run into each other as they bake. Bake for 10 to 12 minutes, or until the edges are lightly golden brown. The centers might still look a little soft, but they will continue to set as they cool on the baking sheet. Keep an eye on them, as ovens can vary, and we don’t want them to get too dark. The goal is a pale golden edge and a still-light center.
Cooling and Storage
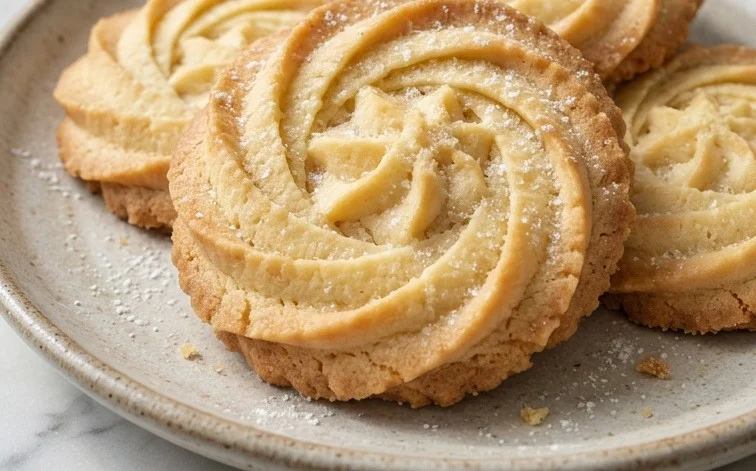
Once baked, let the cookies cool on the baking sheet for about 5 minutes. This allows them to firm up enough to be moved without breaking. Then, carefully transfer them to a wire rack to cool completely. Once fully cooled, you can enjoy them as is, or get creative with simple decorations like a light dusting of powdered sugar or a drizzle of melted chocolate. Store the completely cooled cookies in an airtight container at room temperature for up to a week. They also freeze beautifully, so you can make a big batch and enjoy them whenever the craving strikes.
Conclusion:
Making these easy homemade butter cookies is a truly rewarding experience. The simple ingredients come together to create a cookie with a perfect balance of richness and tenderness. They’re ideal for any occasion, from a casual afternoon tea to a more festive gathering. Don’t be afraid to experiment with variations. You can add a touch of lemon zest to the dough for a bright note, or dip the cooled cookies halfway in melted chocolate for an extra indulgence. For storage, keep them in an airtight container at room temperature for up to a week; they often taste even better on the second day. They also freeze beautifully, making them a great make-ahead treat. I hope you find this recipe as comforting and delightful as I do. Enjoy baking them and sharing them with loved ones!
Frequently Asked Questions:
What is the best way to store butter cookies?
Store your cooled butter cookies in an airtight container at room temperature. Avoid stacking them too high, as they can be delicate. They will keep well for about a week.
Can I add anything to the dough for flavor?
Absolutely! You can add about 1 teaspoon of citrus zest (like lemon or orange), or even a pinch of cardamom or cinnamon to the dry ingredients for a different flavor profile. Just make sure to incorporate it evenly.
My cookies spread too much, what did I do wrong?
This can happen if the butter was too soft, or if the dough was overworked. Ensure your butter is at room temperature, not melted. Cream the butter and sugar until light and fluffy, but avoid overmixing once the flour is added. Chilling the dough for 30 minutes before baking can also help prevent excessive spreading.
Easy Homemade Butter Cookies
Simple and delicious butter cookies that are perfect for any occasion.
Ingredients
-
4 cups All-Purpose Flour
-
1 tsp Baking Powder
-
1/2 tsp Salt
-
1 cup Unsalted Butter (room temperature)
-
2 cups Granulated Sugar
-
2 Large Eggs (room temperature)
-
2 tsp Vanilla Extract
Instructions
-
Step 1
Preheat oven to 375°F (190°C). Line baking sheets with parchment paper. -
Step 2
In a medium bowl, whisk together the flour, baking powder, and salt. Set aside. -
Step 3
In a large bowl, cream together the softened butter and granulated sugar until light and fluffy. -
Step 4
Beat in the eggs one at a time, then stir in the vanilla extract. -
Step 5
Gradually add the dry ingredients to the wet ingredients, mixing until just combined. Do not overmix. -
Step 6
Drop rounded tablespoons of dough onto the prepared baking sheets, about 2 inches apart. -
Step 7
Bake for 8-10 minutes, or until the edges are lightly golden brown. -
Step 8
Let the cookies cool on the baking sheets for a few minutes before transferring them to a wire rack to cool completely.
Important Information
Nutrition Facts (Per Serving)
It is important to consider this information as approximate and not to use it as definitive health advice.
Allergy Information
Please check ingredients for potential allergens and consult a health professional if in doubt.



Leave a Comment