

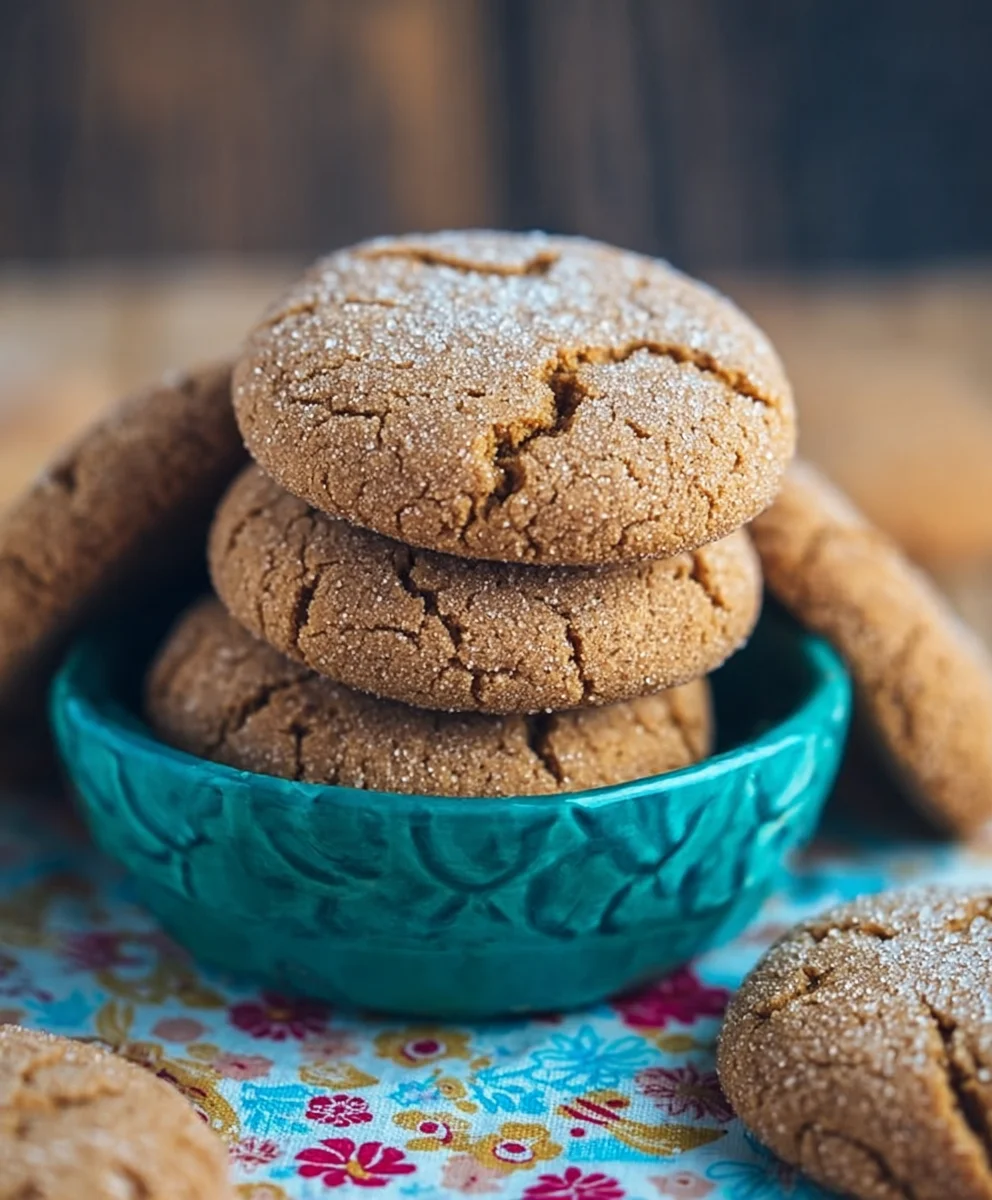
Sugar Cookies are more than just a simple treat; they’re a portal to cherished memories and a canvas for pure culinary joy. Who can resist the delicate sweetness, the satisfyingly crisp edges giving way to a tender center, and that unmistakable buttery aroma that fills the kitchen? It’s no wonder these classic delights are a perennial favorite, gracing holiday tables, birthday parties, and quiet afternoon tea sessions alike. What truly sets these sugar cookies apart is their incredible versatility. They are the perfect base for endless creativity – whether you’re piping intricate royal icing designs, dusting them with vibrant sprinkles, or simply enjoying their unadorned perfection, these sugar cookies offer a delightful experience for bakers and eaters of all ages. Get ready to bake up a batch of pure happiness!
Ingredients:
- 1 cup (2 sticks) unsalted butter, softened to room temperature
- 1/4 cup (50 g.) packed light brown sugar
- 3/4 teaspoon kosher salt
- 1 and 3/4 cups (350 g.) granulated sugar, divided
- 1 large egg, at room temperature
- 1 large egg yolk, at room temperature
- 2 teaspoons pure vanilla extract
- 1/2 teaspoon baking powder
- 1/2 baking soda
- 2 and 3/4 cups (330 g.) all-purpose flour, divided
Creaming the Butter and Sugars
This first step is crucial for creating tender and flavorful sugar cookies. It’s where we build the foundation for a light and airy texture. Make sure your butter is truly softened, not melted. It should yield slightly to gentle pressure from your finger. If it’s too cold, it won’t cream properly, and if it’s too warm, your cookies might spread too much.
- In the bowl of a stand mixer fitted with the paddle attachment, or using a large bowl and a hand mixer, combine the softened unsalted butter, packed light brown sugar, and kosher salt.
- Beat on medium speed until the mixture is light, fluffy, and has turned a pnon-alcoholic ale, creamy color. This process usually takes about 3 to 5 minutes. Scrape down the sides and bottom of the bowl as needed to ensure everything is incorporated. The airy texture here is important because it traps air, which will help the cookies rise slightly during baking.
Adding Wet Ingredients and Combining
Now we’ll add the richness and flavor enhancers to our creamed mixture. Using room temperature eggs is important here as well. They emulsify better with the fat, leading to a smoother dough and more consistent cookies. Similarly, having your egg yolk at room temperature will help it incorporate seamlessly.
- Add the 1 and 3/4 cups of granulated sugar to the creamed butter mixture. Continue to beat on medium speed until well combined and the mixture is smooth.
- Next, add the large egg, large egg yolk, and pure vanilla extract to the bowl. Beat on medium speed until the wet ingredients are fully incorporated and the mixture is smooth and glossy. Again, scrape down the sides of the bowl to make sure nothing is clingin extractg to the edges. The dough might look a little curdled at this point, which is perfectly normal.
Incorporating Dry Ingredients
This is where we bring our sugar cookie dough together. We’ll add the leavening agents and flour in stages to prevent overmixing, which can lead to tough cookies. Overmixing develops the gluten in the flour too much.
- In a separate medium bowl, whisk together the baking powder, baking soda, and 2 cups of the all-purpose flour. Whisking these dry ingredients together ensures that the leavening agents are evenly distributed throughout the flour.
- Gradually add the dry ingredients to the wet ingredients in the stand mixer gin extractl, beginning on low speed. Mix until just combined. It’s important not to overmix here. You want to incorporate the flour until there are no dry streaks visible.
Finishing the Dough and Chilling
This final stage prepares the dough for shaping. Chilling the dough is a vital step for sugar cookies, especially if you plan to cut out shapes. It makes the dough firmer and easier to handle, preventing excessive spreading during baking and allowing for cleaner cuts. This recipe uses a portion of the flour in the initial mix and reserves some for dusting, which is a classic technique for sugar cookies.
- Add the remaining 3/4 cup of all-purpose flour to the dough. Continue to mix on low speed until the dough just comes together. It will still be a little soft but should hold its shape.
- Turn the dough out onto a lightly floured surface. Gently knead it a couple of times to bring it all together into a cohesive ball. Avoid overworking the dough. Divide the dough in half. Flatten each half into a disc, wrap them tightly in plastic wrap, and refrigerate for at least 2 hours, or preferably overnight. This chilling period is essential for a good sugar cookie.
Rolling and Baking the Cookies
Now it’s time to bring your sugar cookies to life! Chilling the dough significantly helps with rolling and cutting. The reserved flour comes into play here, ensuring your rolling surface and tools don’t stick.
- When you’re ready to bake, preheat your oven to 350°F (175°C). Line baking sheets with parchment paper or silicone baking mats.
- Working with one disc of dough at a time (keep the other chilled), place it on a lightly floured surface. Lightly flour your rolling pin and the top of the dough. Roll the dough to your desired thickness, typically between 1/4 and 1/2 inch. Thicker cookies will be softer and chewier, while thinner cookies will be crispier.
- Use your favorite cookie cutters to cut out shapes. Carefully transfer the cut cookies to the prepared baking sheets, leaving about 1 inch of space between them. Re-roll scraps as needed, chilling the dough again if it becomes too soft to handle.
- Bake for 8-12 minutes, or until the edges are lightly golden brown and the centers are set. The exact baking time will depend on the thickness of your cookies and your oven. Keep a close eye on them, as sugar cookies can go from perfectly baked to burnt very quickly.
- Allow the cookies to cool on the baking sheets for a few minutes before carefully transferring them to a wire rack to cool completely. Once completely cool, they are ready to be decorated or enjoyed as is!
Conclusion:
And there you have it – a delightful journey into creating the perfect batch of Sugar Cookies! We’ve walked through each step, from creaming the butter and sugar to achieving that signature slightly crisp edge and soft center. These Sugar Cookies are more than just a treat; they’re a canvas for your creativity. Imagin extracte them frosted with vibrant colors for birthdays, decorated with intricate designs for holidays, or simply enjoyed with a warm cup of tea.
To elevate your Sugar Cookies experience, consider serving them with a glass of cold milk, a scoop of vanilla ice cream, or alongside a warm berry compote. For variations, feel free to experiment with different extracts like almond or lemon, or add a sprinkle of coarse sugar before baking for a touch of sparkle. Don’t be afraid to play with the shape cutters to create a whole menagerie of delicious figures! We encourage you to get in the kitchen, embrace the process, and make these Sugar Cookies your own. Happy baking!
Frequently Asked Questions about Sugar Cookies:
Q: My sugar cookies spread too much in the oven. What did I do wrong?
There are a few common reasons for excessive spreading. Ensure your butter wasn’t too soft or melted when you started creaming it. Cold butter is key for structure. Also, overmixing the dough after adding the flour can develop gluten too much, leading to spreading. Chill the dough for at least 30 minutes to an hour before baking, and make sure your oven is preheated to the correct temperature.
Q: Can I make these sugar cookies ahead of time?
Absolutely! The dough for these Sugar Cookies can be made ahead and stored in the refrigerator for up to 3 days, or frozen for up to 3 months. When ready to bake from chilled, you may need to let it sit at room temperature for a few minutes to become workable. If baking from frozen, allow it to thaw in the refrigerator overnight. Baked and cooled cookies can be stored in an airtight container at room temperature for about a week.
Easy Sugar Cookies – Best Classic Recipe
A classic and easy recipe for soft and chewy sugar cookies, perfect for any occasion and ready to be decorated.
Ingredients
-
1 cup (2 sticks) unsalted butter, softened to room temperature
-
1/4 cup (50 g.) packed light brown sugar
-
3/4 teaspoon kosher salt
-
1 and 3/4 cups (350 g.) granulated sugar, divided
-
1 large egg, at room temperature
-
1 large egg yolk, at room temperature
-
2 teaspoons pure vanilla extract
-
1/2 teaspoon baking powder
-
1/2 teaspoon baking soda
-
2 and 3/4 cups (330 g.) all-purpose flour, divided
Instructions
-
Step 1
In a stand mixer bowl, combine softened unsalted butter, light brown sugar, and kosher salt. Beat on medium speed until light, fluffy, and creamy, about 3-5 minutes. Scrape down the sides as needed. -
Step 2
Add 1 and 3/4 cups of granulated sugar to the creamed mixture. Beat on medium speed until well combined and smooth. Then, add the egg, egg yolk, and vanilla extract. Beat until fully incorporated and glossy. -
Step 3
In a separate bowl, whisk together baking powder, baking soda, and 2 cups of all-purpose flour. Gradually add the dry ingredients to the wet ingredients in the mixer, starting on low speed, until just combined. Do not overmix. -
Step 4
Add the remaining 3/4 cup of all-purpose flour to the dough. Mix on low speed until the dough just comes together. Turn out onto a lightly floured surface, knead gently a couple of times, divide in half, flatten into discs, wrap tightly, and refrigerate for at least 2 hours. -
Step 5
Preheat oven to 350°F (175°C). Line baking sheets with parchment paper. Working with one disc, roll dough to 1/4 to 1/2 inch thickness on a lightly floured surface. Cut out shapes and place on prepared baking sheets. -
Step 6
Bake for 8-12 minutes, or until edges are lightly golden brown and centers are set. Cool on baking sheets for a few minutes before transferring to a wire rack to cool completely.
Important Information
Nutrition Facts (Per Serving)
It is important to consider this information as approximate and not to use it as definitive health advice.
Allergy Information
Please check ingredients for potential allergens and consult a health professional if in doubt.


Leave a Comment