

Rocky Road Candy, a beloved confectionery classic, holds a special place in the hearts of many, often evoking cherished memories of childhood treats and festive gatherings. There’s an undeniable magic in the simple yet sophisticated combination of rich chocolate, fluffy marshmallows, and crunchy nuts, all coming together in one irresistible bite. As a passionate home baker, I find immense joy in recreating these nostalgic delights, and this particular recipe for Rocky Road Candy is not only incredibly satisfying to make but also promises to deliver that perfect balance of sweetness and texture that everyone adores.
While its precise origins are a delightful subject of debate, with compelling claims from both Australia and the United States – particularly during the Great Depression as an ingenious way to utilize leftover confectionery and inexpensive ingredients – its enduring popularity is undeniable. People adore this dish not just for its indulgent taste and diverse textures (the creamy chocolate, the chewy marshmallow, and the crisp nuttiness), but also for its remarkable convenience. It requires no baking, making it an ideal treat for any occasion, whether you’re short on time or simply seeking a delightful, no-fuss dessert. It’s this delightful interplay of textures and flavors that makes it truly irresistible.
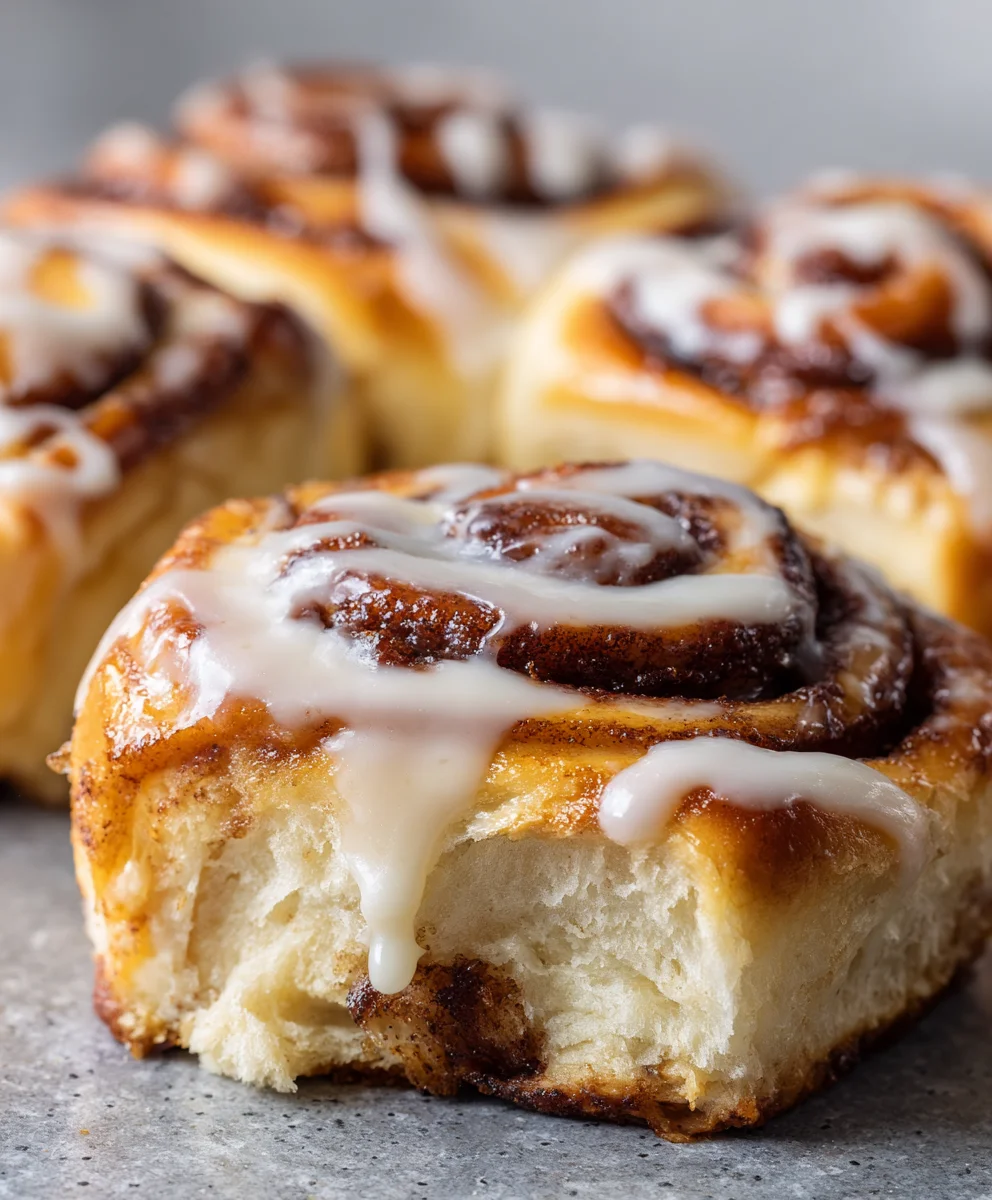
Ingredients:
- 18 ounces (approx. 510g) High-Quality Dark Chocolate (I personally love using a blend of 70% cacao for depth and a slightly less sweet 55% for balance, chopped into small, even pieces for easier melting. Good quality chocolate makes a world of difference for your Rocky Road Candy!)
- 12 ounces (approx. 340g) Semi-Sweet Chocolate Chips or Bar (Again, quality matters! These will add to the overall richness and provide a lovely texture when melted. Chopping a bar is often better than chips as chips sometimes contain stabilizers that can affect melting.)
- 6 tablespoons (85g) Unsalted Butter (Cut into smaller pieces to help it melt more evenly with the chocolate. This adds a beautiful richness and silkiness to our base.)
- 1 tablespoon Pure Vanilla Extract (Don’t skimp on the good stuff here; it truly enhances all the chocolatey flavors.)
- 1/2 teaspoon Fine Sea Salt (A touch of salt is crucial for balancing the sweetness and intensifying the chocolate. Trust me on this one!)
- 6 cups Mini Marshmallows (Regular-sized marshmallows can be cut into smaller pieces, but minis integrate so much more beautifully into the mix.)
- 2 cups Roasted and Lightly Salted Peanuts (Or your favorite nuts like pecans, walnuts, or almonds. I find the light saltiness of roasted peanuts provides an excellent counterpoint to the sweet chocolate and marshmallows. Roughly chopped is perfect.)
- 1 cup Graham Cracker Crumbs or Crushed Digestive Biscuits (This is my secret ingredient for an extra layer of texture and a subtle, buttery crunch that just elevates the whole experience. Coarsely crushed is ideal.)
- Optional: 1/2 cup Unsweetened Shredded Coconut (For an added tropical chew and flavor dimension – totally optional, but highly recommended if you love coconut!)
- Optional: 1/2 cup Dried Cranberries or Cherries (Adds a delightful tartness and a chewy texture that breaks up the richness beautifully.)
Preparing Your Pan and Mix-ins for the Ultimate Rocky Road Candy
- Prepare Your Baking Pan: First things first, we need to get our pan ready. I typically use a 9×13-inch (23×33 cm) baking pan for a good thickness of Rocky Road Candy, but an 8×8-inch pan will give you thicker squares, which some people absolutely adore. The key here is to line it properly. I always recommend using parchment paper. Cut a piece of parchment paper that extends over the sides of the pan; this will create “handles” that make it incredibly easy to lift your finished Rocky Road Candy out of the pan once it’s set. You might even want to lightly grease the pan first with a little butter or non-stick spray before laying down the parchment, just to ensure it stays put. This step is often overlooked, but proper pan preparation ensures a clean release and perfect squares every time. If you don’t have parchment, aluminum foil can work, but you’ll definitely want to grease it generously to prevent sticking.
-
Gather and Prepare Your Mix-ins: Now for the fun part – getting all those delicious textures ready!
- Marshmallows: Measure out your 6 cups of mini marshmallows. If you’re using larger marshmallows, grab a pair of kitchen shears or a sharp knife and cut them into smaller, bite-sized pieces. We want them distributed evenly throughout our Rocky Road Candy, so smaller pieces work best.
- Nuts: For the peanuts (or whatever nuts you’ve chosen), ensure they are roughly chopped. If you bought whole nuts, take a moment to chop them to a good size – not too fine that they disappear, but not so large that they’re overwhelming. If your nuts aren’t already roasted, a quick toast in a dry pan over medium heat for 5-7 minutes, stirring frequently until fragrant, will bring out an incredible depth of flavor. Let them cool completely before adding them to the mix. This toasting step is a game-changer for enhancing flavor!
- Graham Crackers/Biscuits: Place your graham crackers or digestive biscuits in a sturdy Ziploc bag and gently crush them with a rolling pin or the bottom of a heavy pan. We’re aiming for coarse crumbs, not a fine powder. You want distinct pieces that will provide delightful textural pockets in your Rocky Road Candy. Alternatively, you can pulse them a few times in a food processor, being careful not to over-process.
- Optional Add-ins: If you’re including shredded coconut, make sure it’s unsweetened for the best balance. For dried cranberries or cherries, give them a quick chop if they seem too large.
Once all your mix-ins are prepped, combine the marshmallows, nuts, graham cracker crumbs, and any optional add-ins (like coconut or dried fruit) in a very large, heatproof mixing bowl. Give them a good toss to ensure they’re well distributed. Setting them aside means they’ll be ready to incorporate the moment our luscious chocolate base is perfectly melted.
Crafting the Luxurious Chocolate Base for Your Rocky Road Candy
- Prepare Your Chocolate and Butter for Melting: In a separate, large heatproof bowl, combine your chopped dark chocolate, semi-sweet chocolate, and the unsalted butter pieces. Using good quality chocolate is paramount for Rocky Road Candy; it will give you a superior flavor and texture that truly sets your creation apart. Chopping the chocolate into small, uniform pieces helps it melt more evenly and prevents scorching.
-
Melting the Chocolate – The Gentle Approach: We want to melt our chocolate gently to achieve a smooth, glossy, and workable base. There are a couple of excellent methods for this:
- Double Boiler Method (My Preferred Method): Set up a double boiler by placing your heatproof bowl containing the chocolate and butter over a saucepan filled with about 1-2 inches of simmering water. Ensure the bottom of the bowl does not touch the water. The steam from the simmering water will gently and evenly heat the bowl, melting the chocolate and butter. Stir occasionally with a rubber spatula, patiently, until the mixture is completely smooth and glossy. This method offers the most control and significantly reduces the risk of scorching your chocolate. It might take 10-15 minutes, but it’s worth the wait for that perfect consistency.
- Microwave Method (With Caution): If you’re using a microwave, place the chocolate and butter in a microwave-safe bowl. Heat on 50% power in 30-second intervals, stirring thoroughly after each interval. Chocolate retains its shape even when melted, so it’s crucial to stir well each time to assess how much it has melted. Do not overheat the chocolate, as this can cause it to seize and become grainy or burnt. Remove it from the microwave when there are still a few small lumps, and continue stirring until they melt from the residual heat. This method is quicker but requires much more vigilance.
Regardless of the method, the goal is a perfectly smooth, velvety chocolate mixture with no lumps.
- Infusing Flavor: Once your chocolate and butter mixture is completely melted and beautifully smooth, remove it from the heat (if using a double boiler). Now is the time to stir in the pure vanilla extract and the fine sea salt. The vanilla adds a comforting warmth and depth that complements the chocolate so well, and the salt—oh, the salt! A touch of salt is truly transformative in chocolate desserts, as it highlights and intensifies the chocolate’s natural flavors while cutting through the sweetness, making each bite even more satisfying. Stir these in until they are fully incorporated, ensuring the chocolate base is uniformly flavored. You should have a gorgeously glossy, aromatic chocolate base ready to embrace all your wonderful mix-ins.
Assembling Your Irresistible Rocky Road Candy
-
Combining the Chocolate and Mix-ins: Remember that large bowl of prepared marshmallows, nuts, graham cracker crumbs, and any other optional goodies we set aside? Now it’s their moment to shine! Pour the entire luscious, melted chocolate mixture over the mix-ins.
The Art of Folding:
This next step is crucial for achieving that perfectly distributed Rocky Road texture. Using your sturdy rubber spatula, begin to gently fold the chocolate into the mix-ins. The key here is gentle but thorough folding. You want to coat every single marshmallow, every nut, and every crumb with that rich chocolate, but you also want to avoid crushing the marshmallows or breaking up the nuts too much. Start by scooping from the bottom of the bowl and folding it over the top, repeating this motion. Turn the bowl as you go to ensure even coverage. Continue folding until everything is beautifully enrobed in chocolate and you see no dry spots. It might feel like a lot of mix-ins for the amount of chocolate, but trust the process; they will all come together. This step ensures that every bite of your Rocky Road Candy will be a delightful medley of flavors and textures.
- Pressing into the Prepared Pan: Once everything is thoroughly coated and mixed, immediately transfer the Rocky Road Candy mixture into your parchment-lined baking pan. Use your rubber spatula or the back of a spoon to spread the mixture evenly across the pan. Now, this next part is important for a firm, cohesive Rocky Road: press down firmly and evenly. Compacting the mixture well is vital to ensure it holds together beautifully when sliced and doesn’t crumble apart. You want a consistent thickness throughout the pan. You can even use another piece of parchment paper on top and press down with your hands or a flat bottomed glass to achieve a super-smooth and even surface. The more firmly you press, the less likely your Rocky Road Candy will fall apart when you cut into it.
Setting, Cutting, and Storing for Perfection
- Chilling Your Rocky Road Candy to Perfection: With your Rocky Road Candy firmly pressed into the pan, it’s time to let it set. Place the entire pan in the refrigerator. This chilling process is essential for the chocolate to firm up completely and for all the elements to bind together. I recommend letting it chill for at least 2-3 hours. If you’re not in a rush, letting it chill for 4 hours or even overnight will ensure it’s perfectly firm and easy to cut. Avoid the temptation to put it in the freezer to speed things up too quickly, as rapid cooling can sometimes lead to chocolate blooming (a harmless but aesthetically unpleasing grayish film on the surface). Patience here is key to achieving that beautifully firm, ready-to-cut consistency.
-
Cutting Your Rocky Road Candy: Once your Rocky Road Candy is thoroughly chilled and completely firm, it’s time for the grand reveal! Use the parchment paper “handles” to gently lift the entire block of Rocky Road out of the baking pan and place it on a clean cutting board. Now, for cutting, a large, sharp knife is your best friend.
Tips for Clean Cuts:
- Warm Your Knife: For really clean slices, especially through the sticky marshmallows and firm chocolate, I like to warm my knife. You can do this by running it under hot water for a few seconds, then wiping it completely dry before each cut. The warm blade glides through the chocolate much more smoothly.
- Wipe Between Cuts: You’ll likely get some sticky residue on your knife from the marshmallows and chocolate. For the neatest pieces, wipe your knife clean and re-warm it (if needed) after every few cuts.
- Desired Size: Cut the slab into squares or rectangles of your desired size. I usually aim for about 1.5 to 2-inch squares, which are perfect for a satisfying bite without being overly indulgent.
Each piece should reveal a delightful cross-section of marshmallows, nuts, and graham crackers suspended in the rich, dark chocolate.
-
Storing Your Delicious Rocky Road Candy: To keep your Rocky Road Candy fresh and delicious, store the cut pieces in an airtight container.
- Room Temperature: If your kitchen isn’t too warm (below 70°F or 21°C), your Rocky Road Candy can be stored at cool room temperature for up to 1 week.
- Refrigerator: For longer storage or if your home is warm, I recommend storing it in the refrigerator. It will last beautifully for up to 2-3 weeks. Just be aware that chilled chocolate can be quite firm, so you might want to let the pieces sit out for 10-15 minutes before serving to allow them to soften slightly for a more enjoyable chew.
- Layering: If you’re stacking the pieces, you might want to place small squares of parchment paper between the layers to prevent them from sticking together.
This Rocky Road Candy also makes a fantastic homemade gift! Just wrap a few pieces in cellophane bags with a pretty ribbon, and you have a delightful treat ready to share. Enjoy every single amazing bite of your homemade creation!
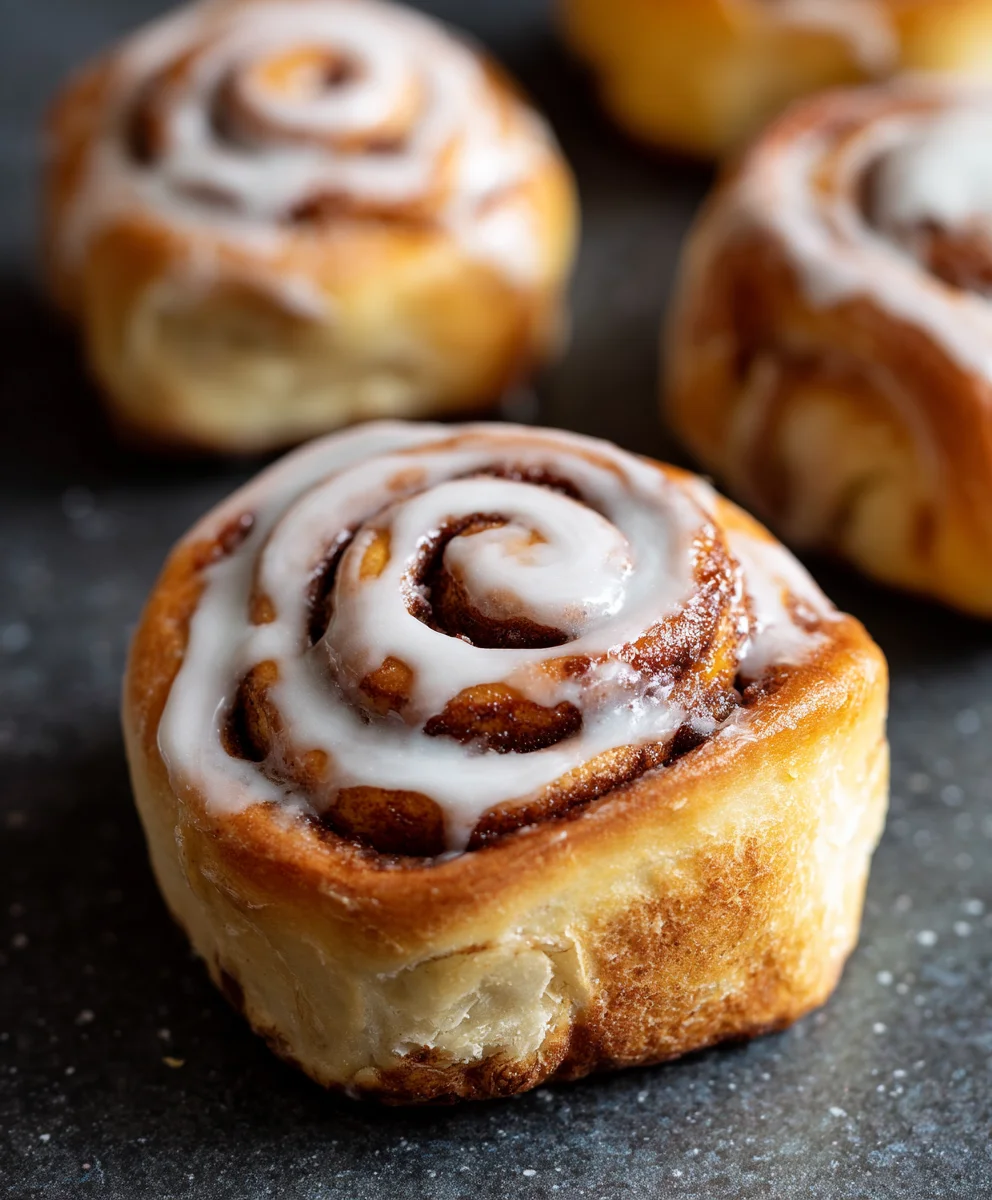
Conclusion:
And there you have it, friends! We’ve journeyed through what I truly believe is one of the most delightfully simple yet incredibly satisfying sweet treats you can whip up in your own kitchen. This isn’t just another recipe; it’s an invitation to experience pure joy with minimal effort. I absolutely adore this particular method because it truly emphasizes ease without ever compromising on flavor or that utterly irresistible texture. Think about it: a harmonious blend of creamy chocolate, soft, chewy marshmallows, and the satisfying crunch of nuts, all coming together in mere minutes. It’s a recipe that effortlessly delivers gourmet results, making it perfect for those busy weeknights when you crave something special but lack the time for an elaborate dessert, or for impromptu gatherings where you need a show-stopping treat that looks far more complicated than it actually is. Trust me when I say, once you taste your homemade version, you’ll wonder why you ever bought it from a store!
The beauty of this sweet confection lies not only in its delightful taste but also in its incredible versatility. When it comes to serving, your delectable creation is truly a star in its own right. Imagine presenting a beautiful platter of neatly cut squares after a dinner party – it’s a sophisticated yet comforting end to any meal, pairing wonderfully with a strong cup of coffee or a delicate herbal tea. For a casual get-together, simply arrange pieces in a rustic bowl, allowing guests to pick at their leisure. It also makes for a fantastic homemade gift; package a few pieces in a decorative tin or cellophane bag, tie with a pretty ribbon, and you have a thoughtful, personalized present that everyone will adore. Don’t underestimate its power as a lunchbox surprise, either; a small piece tucked alongside a sandwich can bring an instant smile to anyone’s face, or perhaps a much-needed energy boost during a long afternoon.
Unleash Your Creativity: Endless Variations Await!
But let’s talk about taking things to the next level, because this recipe is practically begging for your personal touch. This is where the real fun begins! While the classic combination of chocolate, marshmallows, and nuts is undeniably perfect, don’t shy away from experimenting with different mix-ins to truly make this recipe your own. Consider swapping out the pecans for roasted almonds, crunchy walnuts, or even sophisticated macadamia nuts for a different textural dimension and flavor profile. If you’re a fan of a little zest, dried cranberries or tart cherries can introduce a lovely fruity counterpoint to the richness of the chocolate. For those who love an extra layer of sweetness and chewiness, a handful of chewy caramels, cut into small pieces, or even crushed cookie bits like Oreos, can be absolutely divine. You could even introduce a hint of mint extract for a festive holiday twist, or a dash of almond extract to complement the nutty flavors beautifully. Another fantastic idea is to swirl in a contrasting chocolate; a drizzle of melted white chocolate over the top before it sets can create a visually stunning effect and add another layer of sweetness.
Want to get even more adventurous? How about adding a sprinkle of sea salt flakes over the top just as it begins to set? That sweet and salty combination is always a winner and elevates the flavors significantly. Or, for an adult-only version, a splash of your favorite liqueur – a touch of Kahlua or Amaretto, perhaps – can add a sophisticated depth to the chocolate. The possibilities are genuinely endless, and each small alteration can transform your treat into something uniquely yours. This flexibility is precisely why I love this dessert so much; it’s a blank canvas for your culinary imagination. This foundational recipe for what I confidently call the best homemade Rocky Road Candy truly invites you to play around and discover your own favorite combinations.
So, now it’s your turn! I genuinely hope you feel inspired to give this recipe a try very soon. It’s more than just mixing ingredients; it’s about creating something delicious with your own hands and sharing that joy with others. I promise you, the reward of seeing those happy faces (and perhaps a few chocolate-smudged smiles!) after they taste your homemade treat is absolutely worth every moment in the kitchen, minimal as those moments may be. Don’t hesitate to dive in and make a batch for your family, friends, or even just for yourself – you absolutely deserve a delicious indulgence. I am so excited for you to experience the magic of this easy, delightful dessert. Once you’ve made it, I would absolutely love to hear about your experience! What variations did you try? Did you stick to the classic, or did you venture into new flavor territories? Please share your thoughts, your successes, and even your creative mishaps in the comments below. Let’s build a community of sweet-toothed enthusiasts sharing our culinary adventures. Happy baking, and enjoy every single bite!
Easy Rocky Road Candy Recipe: Chewy & Delicious Treat!
Rocky Road Candy, a beloved confectionery classic, offers an irresistible combination of rich chocolate, fluffy marshmallows, and crunchy nuts. This no-bake recipe is incredibly satisfying and delivers the perfect balance of sweetness and texture. It’s adored for its indulgent taste, diverse textures, and remarkable convenience, making it an ideal treat for any occasion.
Ingredients
-
18 oz (510g) Dark Chocolate, chopped
-
12 oz (340g) Semi-Sweet Chocolate, chopped
-
6 tbsp (85g) Unsalted Butter, cubed
-
1 tbsp Pure Vanilla Extract
-
1/2 tsp Fine Sea Salt
-
6 cups Mini Marshmallows (can add up to 1 extra cup for chewier texture)
-
2 cups Roasted & Lightly Salted Peanuts, roughly chopped
-
1 cup Graham Cracker Crumbs or Crushed Digestive Biscuits
-
Optional: 1/2 cup Unsweetened Shredded Coconut
-
Optional: 1/2 cup Dried Cranberries or Cherries
Instructions
-
Step 1
Line a 9×13-inch (23×33 cm) baking pan with parchment paper, leaving overhang for handles. Lightly grease the pan first if desired. -
Step 2
In a very large, heatproof mixing bowl, combine 6 cups mini marshmallows, 2 cups roughly chopped roasted peanuts, 1 cup coarsely crushed graham crackers, and any optional add-ins (coconut, dried fruit). Toss gently to distribute and set aside. -
Step 3
In a separate large heatproof bowl, combine chopped dark chocolate, semi-sweet chocolate, and cubed unsalted butter. Melt gently over a double boiler (ensuring bowl doesn’t touch water) or in a microwave (50% power, 30-second intervals, stirring each time) until completely smooth and glossy. -
Step 4
Remove the melted chocolate from heat. Stir in 1 tablespoon pure vanilla extract and 1/2 teaspoon fine sea salt until fully incorporated and the chocolate base is uniformly flavored. -
Step 5
Pour the luscious melted chocolate mixture over the prepared mix-ins. Gently fold with a sturdy rubber spatula until every marshmallow, nut, and crumb is beautifully enrobed in chocolate. Transfer the mixture immediately to the parchment-lined pan and press down firmly and evenly with a spatula or the back of a spoon to compact it. -
Step 6
Place the pan in the refrigerator and chill for at least 2-3 hours, or preferably 4 hours to overnight, until completely firm. Once set, use the parchment handles to lift the Rocky Road out onto a cutting board. For clean slices, warm a large, sharp knife under hot water, wipe it dry, and cut into desired squares (approx. 1.5-2 inches). Wipe and re-warm the knife after every few cuts for neatest results. -
Step 7
Store the cut Rocky Road Candy in an airtight container at cool room temperature (below 70°F/21°C) for up to 1 week, or in the refrigerator for 2-3 weeks. If stacking, place small pieces of parchment paper between layers to prevent sticking. Allow chilled pieces to sit at room temperature for 10-15 minutes before serving for a softer chew.
Important Information
Nutrition Facts (Per Serving)
It is important to consider this information as approximate and not to use it as definitive health advice.
Allergy Information
Please check ingredients for potential allergens and consult a health professional if in doubt.



Leave a Comment