

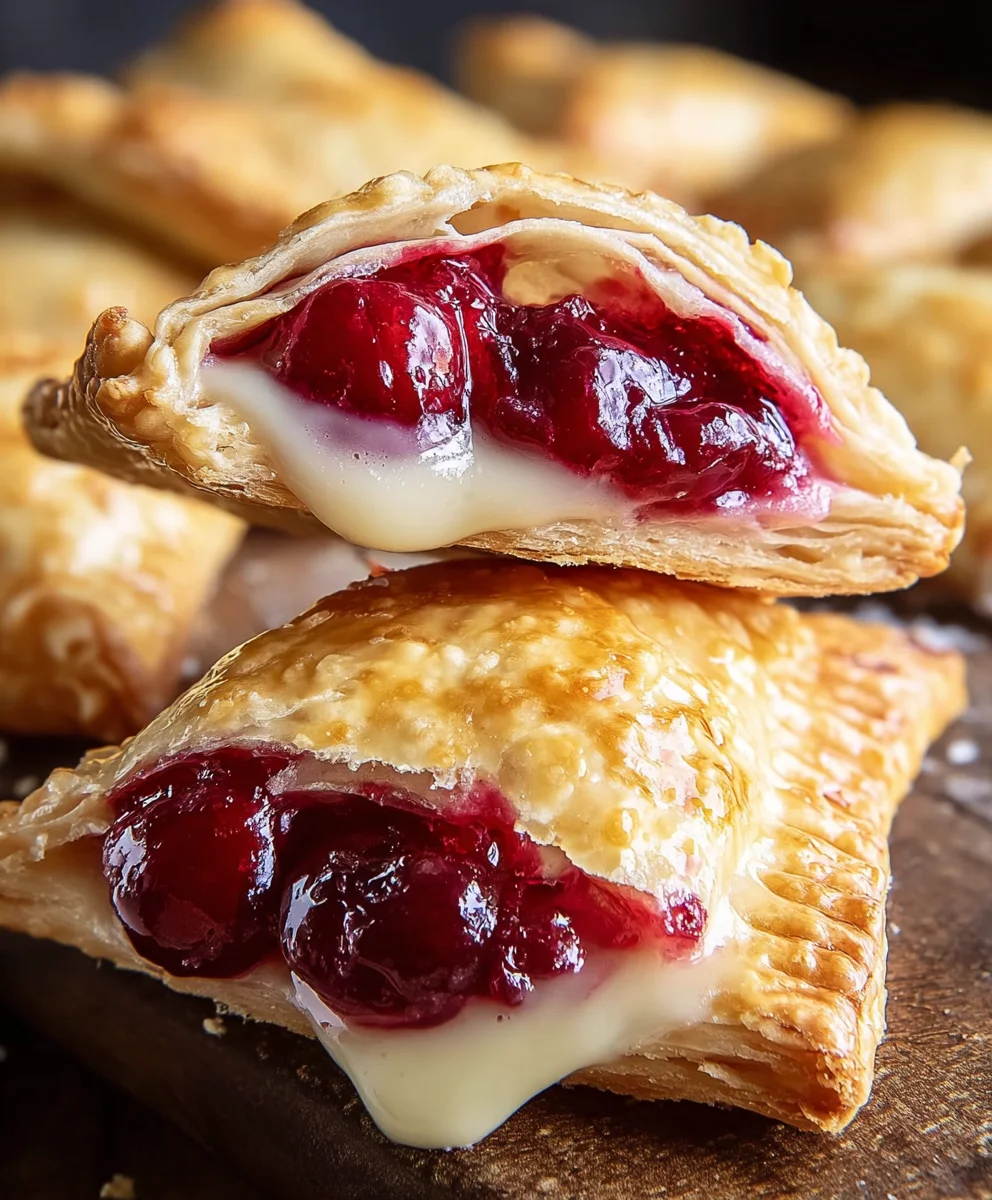
Raspberry Cheesecake Bars are the delightful fusion of two iconic desserts, offering a luscious, creamy cheesecake experience elevated by the vibrant burst of fresh raspberries. Have you ever craved that perfect balance of sweet and tangy, the smooth richness of cheesecake without the fuss of a whole pie? These bars deliver exactly that, making them an absolute crowd-pleaser for any occasion, from casual get-togethers to more elegant celebrations. What truly sets these Raspberry Cheesecake Bars apart is their irresistible texture: a buttery, crumbly graham cracker crust provides a satisfying foundation for the velvety smooth cheesecake filling, studded with juicy, slightly tart raspberries that create beautiful crimson swirls. It’s the kind of dessert that makes you close your eyes with the first bite and instantly feel a sense of pure bliss.
Ingredients:
- 1½ cups graham cracker crumbs
- ¼ cup granulated sugar
- ½ cup unsalted butter, melted
- 16 oz cream cheese, softened
- ¾ cup granulated sugar
- 2 large eggs
- 1 tsp vanilla extract
- 1 cup fresh raspberries (or raspberry puree)
Prepare the Crust
The foundation of any great bar dessert is a sturdy and flavorful crust, and these Raspberry Cheesecake Bars are no exception. We’ll be using classic graham cracker crumbs for that nostalgic, slightly sweet base. First, ensure you have your 1½ cups of graham cracker crumbs ready. If you’re crushing your own graham crackers, aim for a fine, sand-like consistency. In a medium-sized bowl, combine the graham cracker crumbs with ¼ cup of granulated sugar. This sugar will help bind the crumbs and add a subtle sweetness to the crust, preventing it from being too bland. Next, pour in the ½ cup of melted unsalted butter. Use good quality butter for the best flavor; it really makes a difference. Stir everything together thoroughly with a fork or your hands until the crumbs are evenly moistened and resemble wet sand. This step is crucial for a crust that holds its shape.
Now, it’s time to press the crust into your prepared baking pan. I recommend using an 8×8 inch square baking pan for these bars. Line it with parchment paper, leaving an overhang on two opposite sides. This overhang will act as handles, making it incredibly easy to lift the finished cheesecake bars out of the pan later. Evenly distribute the graham cracker mixture into the bottom of the lined pan. Use the flat bottom of a measuring cup or the heel of your hand to firmly press the crumbs into a compact, even layer. A tightly packed crust will prevent it from crumbling apart when you cut into the bars. Once pressed, place the pan in the refrigerator for at least 10-15 minutes while you prepare the cheesecake filling. This chilling time helps the butter solidify, creating a firmer crust that won’t become soggy.
Make the Cheesecake Filling
For the luscious cheesecake filling, we’ll start with the star ingredient: 16 ounces of softened cream cheese. It’s absolutely essential that your cream cheese is softened to room temperature. This means taking it out of the refrigerator about an hour or two before you plan to start mixing. Softened cream cheese will whip up smoothly without any lumps, which is key to a silky-smooth cheesecake texture. Place the softened cream cheese in a large mixing bowl. Add ¾ cup of granulated sugar. This amount of sugar provides the perfect level of sweetness to complement the tartness of the raspberries.
Using an electric mixer (a stand mixer with a paddle attachment or a hand mixer), beat the cream cheese and sugar together on medium speed until the mixture is light, fluffy, and completely smooth. Scrape down the sides of the bowl periodically to ensure all the cream cheese and sugar are incorporated. Next, add the 2 large eggs, one at a time, beating well after each addition until just combined. Be careful not to overmix once the eggs are added, as this can incorporate too much air, which might cause the cheesecake to crack during baking. Finally, stir in the 1 teaspoon of vanilla extract. The vanilla extract enhances the overall flavor profile and adds a warm aroma. Beat on low speed or stir by hand until just incorporated. The filling should be thick, smooth, and creamy.
Incorporate the Raspberry Swirl
Now comes the beautiful and delicious raspberry swirl that gives these bars their name and vibrant flavor. You’ll need 1 cup of fresh raspberries. If using fresh raspberries, you can gently mash about half of them with a fork to release some of their juice, leaving the rest whole for bursts of fruitiness. Alternatively, if fresh raspberries aren’t readily available or you prefer a smoother swirl, you can use ½ cup of raspberry puree.
Gently fold about ¾ of the raspberries (or raspberry puree) into the cheesecake filling. You want to create streaks and swirls, not fully incorporate them. Use a spatula or spoon and make gentle folding motions. Don’t overmix; the goal is to see ribbons of red running through the pale cheesecake batter. You can also reserve the remaining ¼ cup of raspberries to dot on top of the batter before baking for extra visual appeal and flavor.
Bake and Chill
Preheat your oven to 325°F (160°C). Once the oven is preheated and the crust has chilled, pour the raspberry-swirled cheesecake filling evenly over the chilled graham cracker crust. Use your spatula to spread it out smoothly. If you reserved any whole raspberries, you can gently press them into the top of the cheesecake batter.
Carefully place the pan in the preheated oven. Bake for 30-40 minutes, or until the edges of the cheesecake are set but the center is still slightly jiggly when the pan is gently shaken. This slight jiggle indicates that the cheesecake will continue to set as it cools, resulting in a perfectly creamy texture. Overbaking can lead to a dry and crumbly cheesecake. Once baked, remove the pan from the oven and let it cool completely on a wire rack at room temperature. This gradual cooling process is just as important as the baking for preventing cracks. After it has cooled to room temperature, cover the pan loosely with plastic wrap and refrigerate for at least 4 hours, or preferably overnight. Chilling is absolutely crucial for the cheesecake to set properly and for the flavors to meld together beautifully.
Cut and Serve
Once the Raspberry Cheesecake Bars are thoroughly chilled and set, it’s time to cut them into individual bars. Use the parchment paper overhangs to carefully lift the entire cheesecake block out of the pan and onto a cutting board. For clean cuts, it’s helpful to use a large, sharp knife. Wipe the knife clean with a damp cloth between each cut to prevent the raspberry swirl from smearing. Cut the cheesecake into desired bar sizes – typically 12 or 16 bars, depending on how large you prefer them. You can serve these delightful Raspberry Cheesecake Bars chilled, perhaps garnished with a few extra fresh raspberries or a dollop of whipped cream for an extra touch of indulgence. Enjoy!
Conclusion:
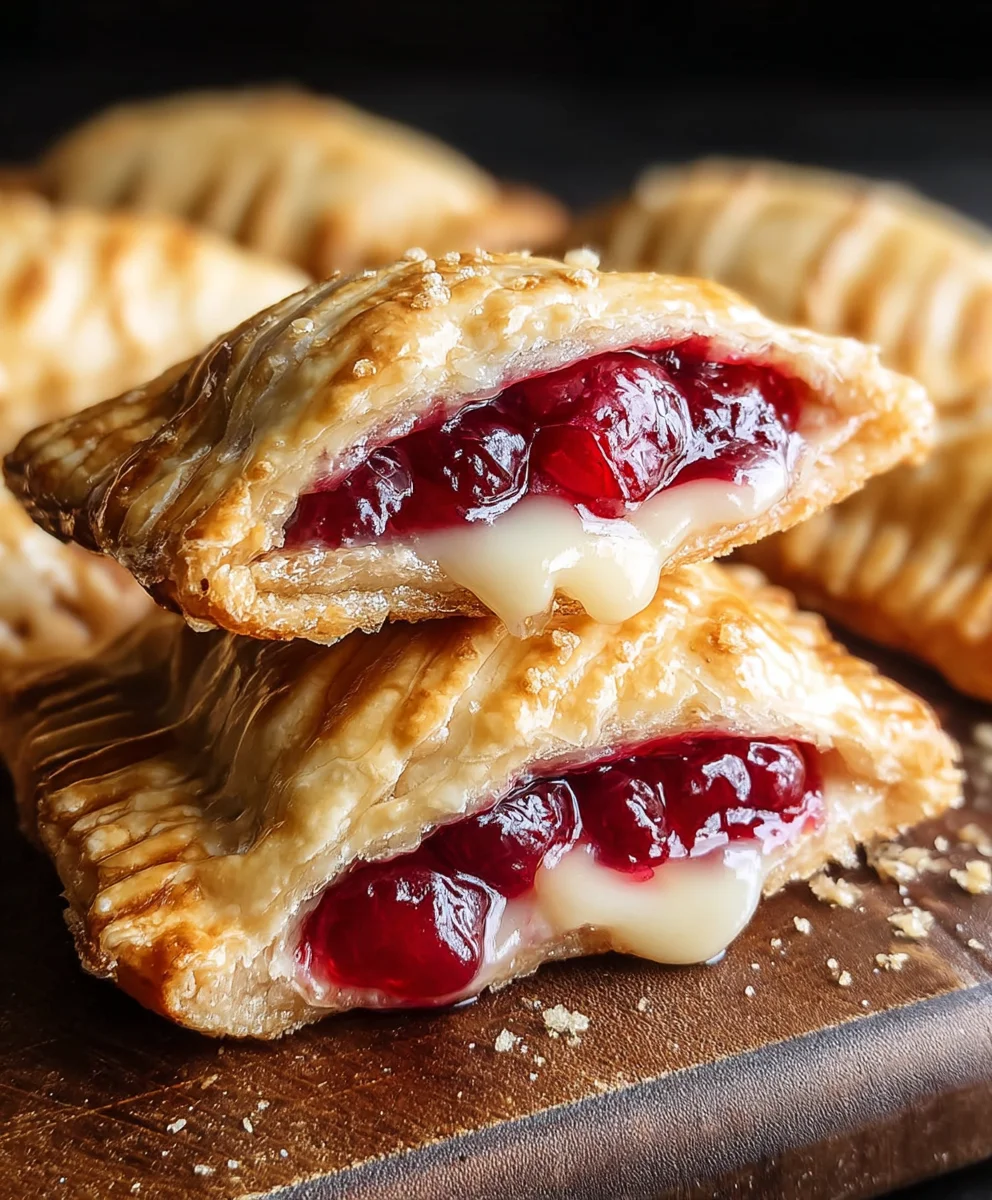
And there you have it – your guide to creating delicious and beautiful Raspberry Cheesecake Bars! These bars are the perfect blend of creamy, tangy cheesecake and sweet, slightly tart raspberries, all nestled on a buttery graham cracker crust. They are surprisingly simple to make and always a crowd-pleaser, whether you’re serving them at a potluck, a holiday gathering, or just enjoying a sweet treat at home. I truly hope you give these Raspberry Cheesecake Bars a try and fall in love with them as much as I have. Don’t be afraid to experiment and make them your own!
For serving, I love to enjoy these chilled, cut into neat squares. They are fantastic on their own, but a dollop of whipped cream or a few fresh raspberries on top can elevate them even further. These bars also keep wonderfully in the refrigerator for several days, making them a great make-ahead dessert.
Thinking about variations? You could swap the raspberries for other berries like blueberries or a mixed berry blend. A hint of lemon zest in the cheesecake batter adds an extra layer of brightness. For a richer crust, consider using shortbread cookies instead of graham crackers. The possibilities are endless! I encourage you to have fun with this recipe and enjoy the process.
Frequently Asked Questions about Raspberry Cheesecake Bars:
Q: How should I store leftover Raspberry Cheesecake Bars?
Store any leftover Raspberry Cheesecake Bars in an airtight container in the refrigerator. They will stay fresh and delicious for up to 3-4 days. The texture remains excellent when kept chilled.
Q: Can I make these bars ahead of time?
Absolutely! Raspberry Cheesecake Bars are an excellent make-ahead dessert. You can prepare them a day or two in advance and keep them refrigerated until ready to serve. This makes them perfect for parties or when you need a dessert that can be prepared ahead of schedule.
Easy Raspberry Cheesecake Bars
Delicious and easy-to-make raspberry cheesecake bars with a graham cracker crust and a vibrant raspberry swirl.
Ingredients
-
1½ cups graham cracker crumbs
-
¼ cup granulated sugar
-
½ cup unsalted butter, melted
-
16 oz cream cheese, softened
-
¾ cup granulated sugar
-
2 large eggs
-
1 tsp vanilla extract
-
1 cup fresh raspberries (or raspberry puree)
Instructions
-
Step 1
Prepare the crust by combining graham cracker crumbs and ¼ cup sugar in a bowl. Pour in melted butter and stir until moistened. Press firmly into a parchment-lined 8×8 inch pan and chill for 10-15 minutes. -
Step 2
Make the cheesecake filling: Beat softened cream cheese and ¾ cup sugar until smooth. Add eggs one at a time, beating well after each. Stir in vanilla extract. -
Step 3
Gently fold in ¾ cup of raspberries (or puree) into the cheesecake filling, creating swirls. Reserve remaining raspberries for topping if desired. -
Step 4
Pour the filling over the chilled crust. If using reserved raspberries, dot them on top. Bake at 325°F (160°C) for 30-40 minutes, until edges are set and center is slightly jiggly. -
Step 5
Let the cheesecake cool completely on a wire rack, then cover loosely and refrigerate for at least 4 hours, or preferably overnight, to set. -
Step 6
Lift the cheesecake out of the pan using parchment paper overhangs. Cut into bars with a sharp knife, wiping the knife between cuts for clean slices. Serve chilled.
Important Information
Nutrition Facts (Per Serving)
It is important to consider this information as approximate and not to use it as definitive health advice.
Allergy Information
Please check ingredients for potential allergens and consult a health professional if in doubt.



Leave a Comment