

Cheesy Garlic Chicken Wraps are more than just a meal; they are a delightful culinary experience that promises to transform your weeknight dinner routine into something truly special. Imagine perfectly seasoned, tender chicken, infused with aromatic garlic, generously coated in gooey, melted cheese, all lovingly nestled within a soft, warm tortilla. This isn’t just a recipe; it’s a vibrant symphony of flavors and textures designed to captivate your taste buds and leave you utterly satisfied.
While the concept of wrapping fillings in flatbreads has roots stretching back centuries across various cultures, the modern chicken wrap has evolved into a beloved staple for its incredible convenience and adaptability. It represents the perfect fusion of traditional comfort food elements with contemporary demands for quick, wholesome, and utterly delicious meals. I’ve always found an immense joy in dishes that offer both speed and a robust flavor profile, making this particular creation a firm favorite in my kitchen.
Why Everyone Loves These Cheesy Garlic Chicken Wraps
People adore this dish for a multitude of reasons. The irresistible combination of savory chicken, the pungent kick of garlic, and the luxurious creaminess of melted cheese creates a flavor profile that is both comforting and exciting. The tender chicken contrasts beautifully with the soft tortilla, offering a delightful textural experience with every bite. Furthermore, the ease of preparation makes Cheesy Garlic Chicken Wraps an ideal solution for busy evenings, yet they are impressive enough to serve guests. It’s a versatile, crowd-pleasing option that consistently delivers on taste and satisfaction.
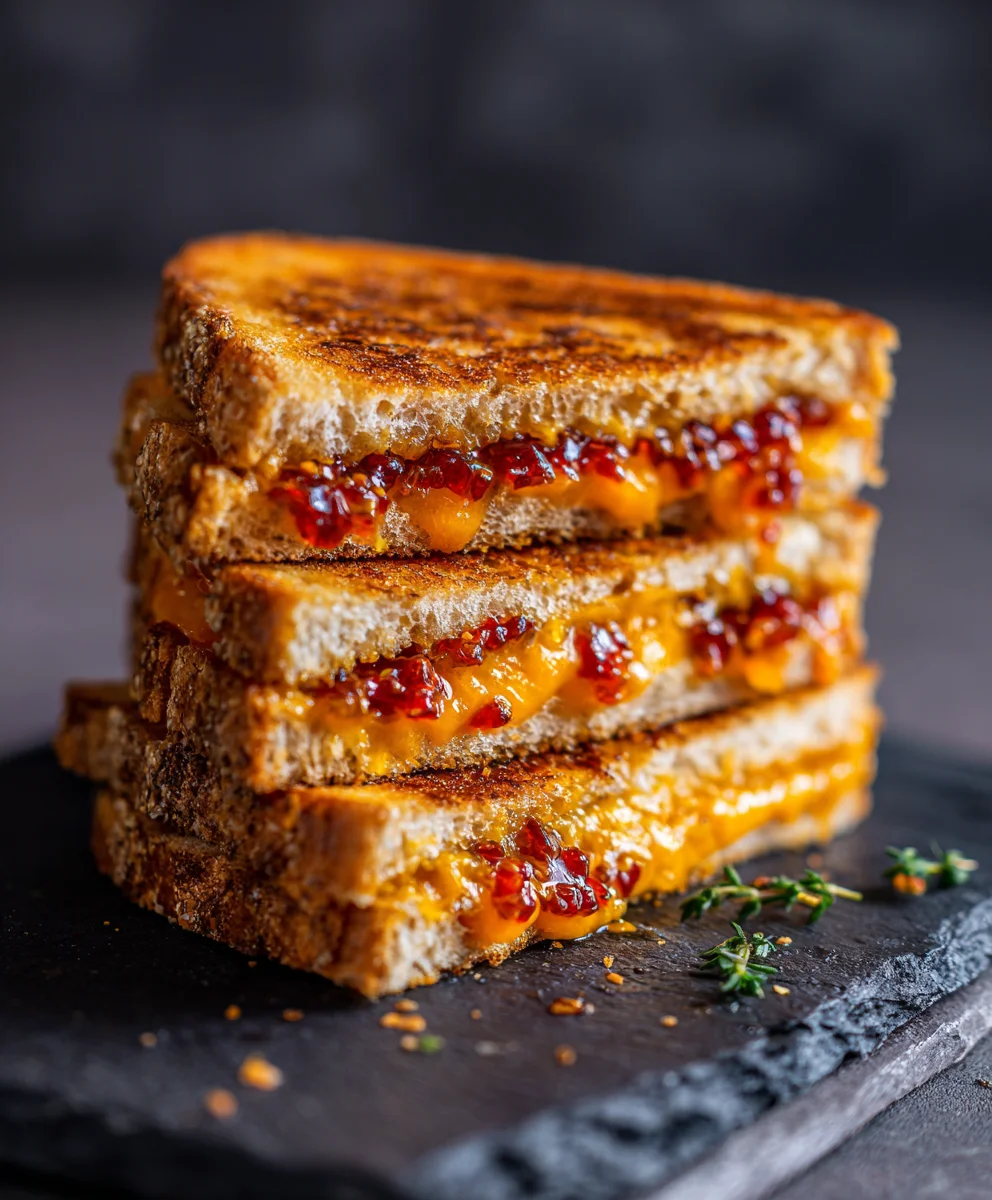
Ingredients:
- For the Cheesy Garlic Chicken Filling:
- 1.5 lbs boneless, skinless chicken breasts or thighs (I find thighs add a lovely moisture, but breasts are leaner and work wonderfully too for these Cheesy Garlic Chicken Wraps)
- 2 tablespoons olive oil (for cooking the chicken)
- 1 teaspoon smoked paprika (for a hint of warmth and color)
- 1/2 teaspoon black pepper (freshly ground, always best!)
- 1 teaspoon salt (adjust to your taste)
- 1 teaspoon onion powder
- 1 teaspoon garlic powder (we’re going for garlicky goodness, after all!)
- 1/2 cup chicken broth (low sodium, for deglazing and adding moisture)
- For the Creamy Garlic Sauce:
- 2 tablespoons unsalted butter (for sautéing aromatics)
- 6-8 cloves garlic, minced (yes, that much! It’s what makes these Cheesy Garlic Chicken Wraps so irresistible)
- 1/4 cup all-purpose flour (to thicken our luscious sauce)
- 2 cups whole milk (or half-and-half for an extra rich sauce)
- 1 teaspoon dried Italian seasoning (or a mix of oregano, basil, and thyme)
- 1/4 teaspoon red pepper flakes (optional, for a subtle kick that really brightens the flavor profile)
- Salt and freshly ground black pepper to taste
- 1 cup shredded Monterey Jack cheese (melts beautifully and has a mild, creamy flavor)
- 1/2 cup shredded sharp cheddar cheese (for that classic cheesy tang)
- 1/4 cup freshly grated Parmesan cheese (adds a salty, umami depth)
- 2 tablespoons fresh parsley, chopped (for a pop of color and freshness, stirred in at the end)
- For Assembling the Wraps:
- 8-10 large flour tortillas (10-inch size, sturdy enough to hold all that delicious filling without tearing)
- 2 tablespoons olive oil or butter (for pan-frying the assembled wraps to golden perfection)
- Optional additions for serving: shredded lettuce, diced tomatoes, sour cream or Greek yogurt, extra fresh parsley
Preparing the Cheesy Garlic Chicken Filling
Let’s dive into making the heart of our Cheesy Garlic Chicken Wraps – that incredibly flavorful and tender chicken filling! This step is all about building layers of taste, ensuring every bite is absolutely delicious.
- Prepare the Chicken: First things first, pat your chicken breasts or thighs dry with paper towels. This helps immensely with browning. If you’re using breasts, you might want to slice them horizontally to create thinner cutlets, ensuring they cook more evenly and quickly. Thighs are generally more forgiving and can be cooked whole. In a medium bowl, toss the chicken with 1 tablespoon of olive oil, the smoked paprika, 1 teaspoon of salt, 1/2 teaspoon of black pepper, onion powder, and garlic powder. Make sure every piece of chicken is nicely coated with these vibrant spices. This initial seasoning is key to developing a deep flavor profile right from the start for our Cheesy Garlic Chicken Wraps.
- Cook the Chicken: Heat the remaining 1 tablespoon of olive oil in a large skillet or cast-iron pan over medium-high heat. Once the oil is shimmering, carefully add the seasoned chicken to the hot pan. Don’t overcrowd the pan; you might need to cook the chicken in batches to ensure proper browning, which is crucial for flavor development. Cook for about 5-7 minutes per side, or until the chicken is golden brown and cooked through, reaching an internal temperature of 165°F (74°C). You’ll know it’s done when the juices run clear.
- Shred the Chicken: Once cooked, remove the chicken from the skillet and transfer it to a cutting board. Resist the urge to shred it immediately; let it rest for 5-10 minutes. This resting period allows the juices to redistribute, keeping the chicken wonderfully moist. After resting, use two forks to shred the chicken into bite-sized pieces. Alternatively, if you prefer a neater texture, you can dice it. I find shredding really helps absorb the creamy sauce later, making for truly satisfying Cheesy Garlic Chicken Wraps.
- Deglaze the Pan (Optional but Recommended): While the chicken rests, you can add 1/2 cup of chicken broth to the hot skillet (the same one you cooked the chicken in). Scrape up any browned bits from the bottom of the pan with a wooden spoon. These bits are pure flavor! Let the broth simmer for a minute or two until slightly reduced. This flavorful liquid will be added back into our sauce or directly into the chicken to boost its moisture and taste.
- Prepare the Creamy Garlic Sauce: In the same skillet (no need to clean it, those chicken bits are delicious!), melt 2 tablespoons of unsalted butter over medium heat. Once the butter has melted and is gently bubbling, add the minced garlic. Sauté for about 1-2 minutes until fragrant. Be careful not to burn the garlic, as burnt garlic can taste bitter. We want it aromatic and slightly golden.
- Create the Roux: Sprinkle the 1/4 cup of all-purpose flour over the melted butter and garlic. Stir continuously with a whisk for 1-2 minutes. This creates a roux, which is essential for thickening our sauce. It will look like a paste, and cooking it for a minute helps to cook out the raw flour taste.
- Whisk in the Milk: Gradually, and I mean gradually, pour in the 2 cups of whole milk (or half-and-half), whisking constantly to prevent lumps. Start with a small amount, whisk until smooth, then add more. This slow addition ensures a velvety smooth sauce. Continue to whisk as the sauce comes to a gentle simmer and begins to thicken, which usually takes about 5-7 minutes. It should be thick enough to coat the back of a spoon.
- Season and Melt the Cheese: Once the sauce has thickened, reduce the heat to low. Stir in the dried Italian seasoning, red pepper flakes (if using), and adjust salt and black pepper to your preference. Now for the star of the show: slowly add the shredded Monterey Jack, sharp cheddar, and grated Parmesan cheeses. Stir continuously until all the cheese has melted into a smooth, glossy, irresistible sauce. Make sure the heat is low during this process to prevent the cheese from becoming oily or stringy. This cheesy goodness is what elevates our Cheesy Garlic Chicken Wraps to an extraordinary level!
- Combine Chicken and Sauce: Finally, add the shredded cooked chicken back into the skillet with the creamy garlic cheese sauce. Stir everything together until the chicken is thoroughly coated. If you deglazed the pan earlier, you can add that flavorful liquid now too. Stir in the fresh chopped parsley. Taste the filling and adjust any seasonings if needed. Keep the filling warm over very low heat while you prepare your tortillas.
Assembling the Cheesy Garlic Chicken Wraps
Now that we have our incredibly flavorful Cheesy Garlic Chicken filling ready, it’s time to bring everything together into those satisfying wraps! Proper assembly ensures a neat, sturdy wrap that’s a joy to eat.
- Warm the Tortillas: This is a crucial step! Warming your tortillas makes them pliable and much less likely to crack when you fold them, preventing any delicious filling from escaping. You have a few options:
- Microwave: Stack 3-4 tortillas, wrap them in a damp paper towel, and microwave for 30-45 seconds until warm and flexible.
- Stovetop: Heat a dry skillet over medium-high heat. Place one tortilla at a time in the hot pan for about 15-20 seconds per side, until soft and slightly puffed.
- Oven: Wrap a stack of tortillas in foil and warm them in a 300°F (150°C) oven for about 10-15 minutes.
Keep the warmed tortillas covered with a clean kitchen towel to retain their heat and flexibility as you work.
- Portion the Filling: Lay one warm tortilla flat on a clean work surface. Scoop about 1/2 to 3/4 cup of the warm Cheesy Garlic Chicken filling onto the lower third of the tortilla, leaving a good 1.5-inch border on the bottom and sides. Don’t overfill, or it will be hard to roll!
- Add Optional Freshness: If you’re incorporating optional additions like shredded lettuce or diced tomatoes, this is the time to add a small amount directly over the chicken filling. This adds a lovely crunch and freshness that contrasts beautifully with the rich, creamy chicken.
- Fold the Wrap: This is a simple but important technique for a sturdy wrap.
- First, fold the bottom edge of the tortilla up over the filling, tucking it snugly.
- Next, fold in the left and right sides of the tortilla over the folded bottom edge, creating an envelope shape.
- Finally, starting from the bottom (where you just folded), tightly roll the tortilla upwards until you reach the top. Apply gentle but firm pressure as you roll to ensure the wrap is tight and secure. You want a snug roll that holds all the delicious Cheesy Garlic Chicken filling without bursting.
Place the assembled wrap seam-side down on a plate or baking sheet while you continue assembling the rest.
- Repeat: Continue this process with the remaining tortillas and filling until all your Cheesy Garlic Chicken Wraps are assembled and ready for their final cooking step.
Cooking and Serving Your Cheesy Garlic Chicken Wraps
The final step is to give our Cheesy Garlic Chicken Wraps that perfect golden, crispy exterior and ensure the cheese inside is wonderfully gooey and melted. This truly transforms them into something special.
- Prepare for Pan-Frying: Heat 1 tablespoon of olive oil or butter in a large skillet or non-stick pan over medium heat. You want enough oil to lightly coat the bottom of the pan but not so much that the wraps become greasy. The goal here is a lovely golden crust.
- Pan-Fry the Wraps: Carefully place 2-3 assembled Cheesy Garlic Chicken Wraps into the hot skillet, seam-side down first. This helps to seal the wrap and prevent it from unraveling. Cook for about 3-4 minutes per side, or until each side is beautifully golden brown and crispy. You’ll notice the cheese inside will be bubbling and wonderfully melted. Adjust the heat as needed to prevent burning; we want a nice even cook. Repeat this process with the remaining wraps, adding more oil or butter to the pan as needed for each batch.
- Serve Immediately: Once your Cheesy Garlic Chicken Wraps are perfectly golden and crispy, transfer them to a serving plate. I love to cut them in half diagonally to reveal the luscious, cheesy interior.
- Garnish and Enjoy: These wraps are fantastic on their own, but a sprinkle of fresh parsley or cilantro really brightens them up. For an extra touch, you can serve them with a side of sour cream, Greek yogurt, or even a simple fresh salsa. The contrast of the warm, rich filling with a cool, tangy condiment is simply delightful. These Cheesy Garlic Chicken Wraps make an amazing quick lunch, an easy weeknight dinner, or even a fun party appetizer if you make them smaller!
- Storage and Reheating: If you happen to have any leftover Cheesy Garlic Chicken Wraps (a rare occurrence in my house!), you can store them in an airtight container in the refrigerator for up to 3 days. To reheat, I highly recommend using a toaster oven or even a regular oven at 350°F (175°C) for about 10-15 minutes, or until heated through and crispy again. Microwaving is an option, but you’ll lose that wonderful crispy texture we worked so hard to achieve. You can also pan-fry them again in a lightly oiled skillet for a few minutes on each side to regain some crispness.
A Note on Customization for Your Perfect Cheesy Garlic Chicken Wraps:
One of the best things about these Cheesy Garlic Chicken Wraps is how versatile they are! Feel free to experiment with different cheeses – a smoky gouda or a spicy pepper jack could add an exciting twist. For more vegetables, consider finely diced bell peppers or spinach stirred into the chicken filling. If you like heat, a dash of your favorite hot sauce or a pinch more red pepper flakes in the sauce will certainly deliver. Don’t be afraid to make this recipe your own!
I truly hope you enjoy making and devouring these incredibly satisfying Cheesy Garlic Chicken Wraps. They’re quickly becoming a favorite in my home, and I’m sure they will in yours too!
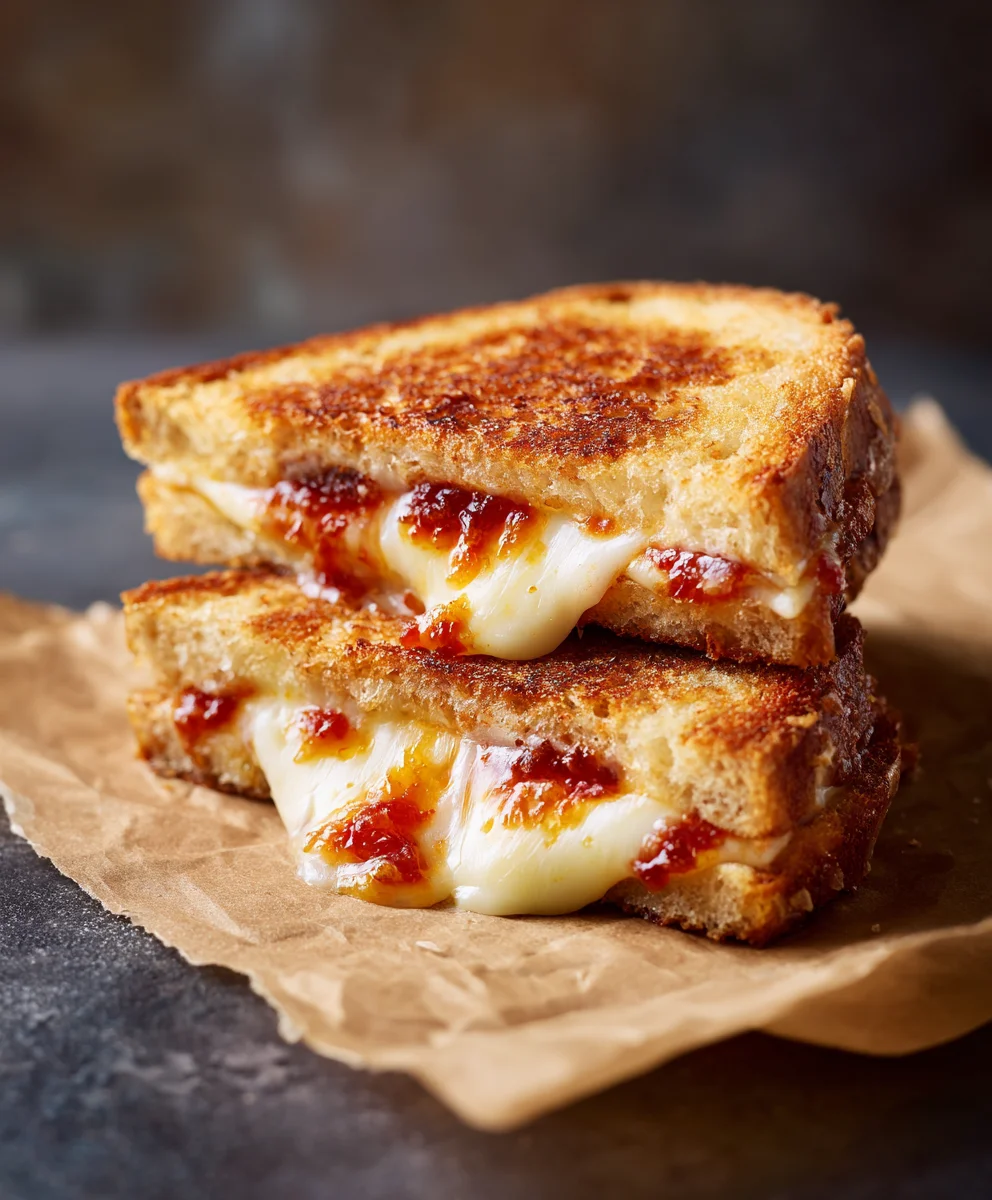
Conclusion:
And there you have it, my friends! We’ve reached the delicious culmination of our culinary journey, and I genuinely hope you’re as excited as I am about what we’ve just created. If there’s one recipe I could implore you to try from my collection, it would undoubtedly be these incredible Cheesy Garlic Chicken Wraps. Why, you ask? Because they are more than just a meal; they are a comforting embrace for your taste buds, a weeknight savior, and a guaranteed crowd-pleaser all rolled into one delightful package. Imagine that perfect symphony of tender, juicy chicken, infused with fragrant garlic and savory seasonings, all nestled amidst a generous layer of gooey, melted cheese. This delectable filling is then wrapped snugly in a warm, soft tortilla, creating a portable masterpiece that delivers a burst of flavor in every single bite. It’s the kind of dish that makes you close your eyes and savor the moment, truly a standout recipe that effortlessly combines simplicity with spectacular taste.
The beauty of these wraps lies not only in their irresistible flavor but also in their incredible versatility. While they are absolutely phenomenal on their own, served hot off the pan, I love playing around with how I present them and what I pair them with. For a complete and satisfying main course, consider serving them alongside a crisp, vibrant green salad dressed with a light vinaigrette. The freshness of the greens provides a wonderful contrast to the richness of the wraps. Alternatively, a bowl of warm, hearty tomato soup or a creamy roasted red pepper bisque would make for an exceptionally cozy pairing, especially on a chilly evening. If you’re hosting a gathering, you can easily transform these into perfect appetizers by slicing each wrap into smaller, bite-sized pinwheels before serving. Arrange them artfully on a platter, perhaps with a side of extra ranch dressing, a zesty cilantro-lime crema, or even a spicy sriracha mayonnaise for an added kick, and watch them disappear in mere moments!
But the fun doesn’t stop there. One of my favorite things about cooking is experimenting, and this recipe is practically begging for your creative touch. Don’t hesitate to customize these wraps to suit your preferences or whatever you have on hand. Want to amp up the spice? Finely dice a jalapeño or two and mix it into the chicken filling, or sprinkle in some red pepper flakes. Looking for more veggies? Sauté some thinly sliced bell peppers, onions, or even a handful of fresh spinach and incorporate them into the chicken mixture before wrapping. You could even add some black beans or corn for a Southwestern twist. Experiment with different cheeses too! While cheddar and mozzarella are classics, Monterey Jack, pepper jack for a spicy kick, or even a smoked gouda could offer exciting new flavor dimensions. For those who prefer a different protein, cooked ground turkey or shredded pork could easily stand in for the chicken, making this recipe incredibly adaptable. You could even swap out the tortillas for whole wheat, spinach, or gluten-free options to cater to various dietary needs. And for a truly unique variation, consider turning this recipe into a quesadilla by grilling the filled tortillas until crispy, or even deconstruct it into a delicious bowl over a bed of fluffy rice or quinoa for a gluten-free meal without the wrap!
Seriously, don’t let another day pass without experiencing the sheer delight of these Cheesy Garlic Chicken Wraps. I truly believe they will become a cherished staple in your kitchen, just as they have in mine. They’re quick enough for a busy weeknight, impressive enough for casual entertaining, and utterly satisfying every single time. My greatest joy comes from knowing that you, my wonderful readers, are trying my recipes and creating delicious memories in your own homes. So, please, gather your ingredients, follow the simple steps, and give this recipe a whirl. And when you do, I would absolutely love to hear all about your experience! Did you make any fun modifications? What did you serve them with? Did your family rave about them? Share your thoughts, your photos, and your triumphs in the comments below or on social media. Your feedback and culinary adventures truly inspire me, and I can’t wait to see your wonderful creations. Happy cooking, and enjoy every savory, cheesy bite!
Easy Cheesy Garlic Chicken Wraps Recipe
Cheesy Garlic Chicken Wraps are a delightful culinary experience featuring tender, garlic-infused chicken, generously coated in gooey melted cheese, all nestled within a soft, warm tortilla. Perfect for a quick, wholesome, and utterly delicious weeknight dinner.
Ingredients
-
1.5 lbs boneless, skinless chicken breasts or thighs
-
2 tbsp olive oil
-
1 tsp smoked paprika
-
1/2 tsp black pepper
-
1 tsp salt
-
1 tsp onion powder
-
1 tsp garlic powder
-
1/2 cup chicken broth (low sodium)
-
2 tbsp unsalted butter
-
6-8 cloves garlic, minced
-
1/4 cup all-purpose flour
-
2 cups whole milk
-
1 tsp dried Italian seasoning
-
1/4 tsp red pepper flakes (optional)
-
Salt and freshly ground black pepper to taste
-
1 cup shredded Monterey Jack cheese
-
1/2 cup shredded sharp cheddar cheese
-
1/4 cup freshly grated Parmesan cheese
-
2 tbsp fresh parsley, chopped
-
8-10 large flour tortillas (10-inch size)
-
Optional additions: shredded lettuce, diced tomatoes, sour cream or Greek yogurt
Instructions
-
Step 1
Pat chicken dry; slice breasts horizontally if desired. In a bowl, toss chicken with 1 tbsp olive oil, smoked paprika, 1 tsp salt, 1/2 tsp black pepper, onion powder, and garlic powder. -
Step 2
Heat 1 tbsp olive oil in a large skillet over medium-high heat. Cook chicken 5-7 mins per side until golden brown and internal temperature reaches 165°F (74°C). Remove, rest 5-10 mins, then shred or dice. -
Step 3
Add 1/2 cup chicken broth to the hot skillet, scraping up any browned bits. Simmer for 1-2 mins until slightly reduced. Set aside. -
Step 4
In the same skillet, melt 2 tbsp unsalted butter over medium heat. Add minced garlic and sauté for 1-2 mins until fragrant (do not burn). Sprinkle in 1/4 cup all-purpose flour and whisk continuously for 1-2 mins to create a roux. -
Step 5
Gradually whisk in 2 cups whole milk until smooth. Continue whisking as the sauce comes to a gentle simmer and thickens (5-7 mins), coating the back of a spoon. -
Step 6
Reduce heat to low. Stir in dried Italian seasoning, red pepper flakes (optional), salt, and black pepper. Slowly add shredded Monterey Jack, sharp cheddar, and Parmesan cheeses, stirring until melted into a smooth, glossy sauce. Keep heat low to prevent oiliness. -
Step 7
Add shredded chicken and the deglazed broth (if used) to the creamy garlic cheese sauce. Stir in 2 tbsp fresh chopped parsley. Taste and adjust seasonings. Keep warm over very low heat. -
Step 8
Warm tortillas (microwave 30-45 secs, stovetop 15-20 secs/side, or oven 300°F/150°C for 10-15 mins) to make them pliable. Keep covered to retain warmth and flexibility. -
Step 9
Lay a warm tortilla flat. Scoop 1/2 to 3/4 cup of warm chicken filling onto the lower third. Add optional shredded lettuce or diced tomatoes. Fold the bottom edge over the filling, then fold in the left and right sides. Tightly roll the tortilla upwards from the bottom. -
Step 10
Heat 1 tbsp olive oil or butter in a large skillet over medium heat. Place 2-3 assembled wraps seam-side down. Cook for 3-4 mins per side until beautifully golden brown and crispy, and cheese is bubbling. Repeat for remaining wraps, adding more oil as needed. -
Step 11
Serve immediately, cut diagonally. Garnish with fresh parsley or cilantro. Optional: serve with sour cream, Greek yogurt, or fresh salsa. -
Step 12
Store leftover wraps in an airtight container in the refrigerator for up to 3 days. Reheat in a toaster oven or oven at 350°F (175°C) for 10-15 minutes until crispy and heated through. Avoid microwaving to retain crispness.
Important Information
Nutrition Facts (Per Serving)
It is important to consider this information as approximate and not to use it as definitive health advice.
Allergy Information
Please check ingredients for potential allergens and consult a health professional if in doubt.


Leave a Comment