

Fried Mashed Potato Balls are more than just a delightful snack; they represent the ultimate transformation of a humble side dish into a culinary showstopper that captivates with every bite. I’m sure we can all agree that classic mashed potatoes are a beloved comfort food, but sometimes, even the most cherished dishes deserve a glamorous makeover. This recipe takes that creamy, comforting goodness and elevates it to an entirely new level, offering a golden-brown, irresistibly crispy exterior that perfectly encases a warm, fluffy, and seasoned interior.
Historically, potatoes have been a foundational ingredient in countless cuisines worldwide, cherished for their versatility and ability to provide hearty sustenance. Recipes like these highlight how culinary ingenuity can turn simple, everyday ingredients into extraordinary experiences. They are a testament to creative cooking, often born from a desire to reinvent leftovers or simply to craft a truly irresistible appetizer or side dish for any occasion.
Why Everyone Loves This Dish
What I truly adore about these golden spheres is their universal appeal. Whether served at a sophisticated dinner party as an elegant appetizer or enjoyed casually during a family gathering, they are always a crowd-pleaser. The incredible contrast between the crispy outer shell and the tender, seasoned potato within is simply irresistible, making them a fantastic alternative to traditional potato sides. Get ready to discover your new favorite way to enjoy potatoes – these Fried Mashed Potato Balls are guaranteed to impress and become a cherished recipe in your repertoire!
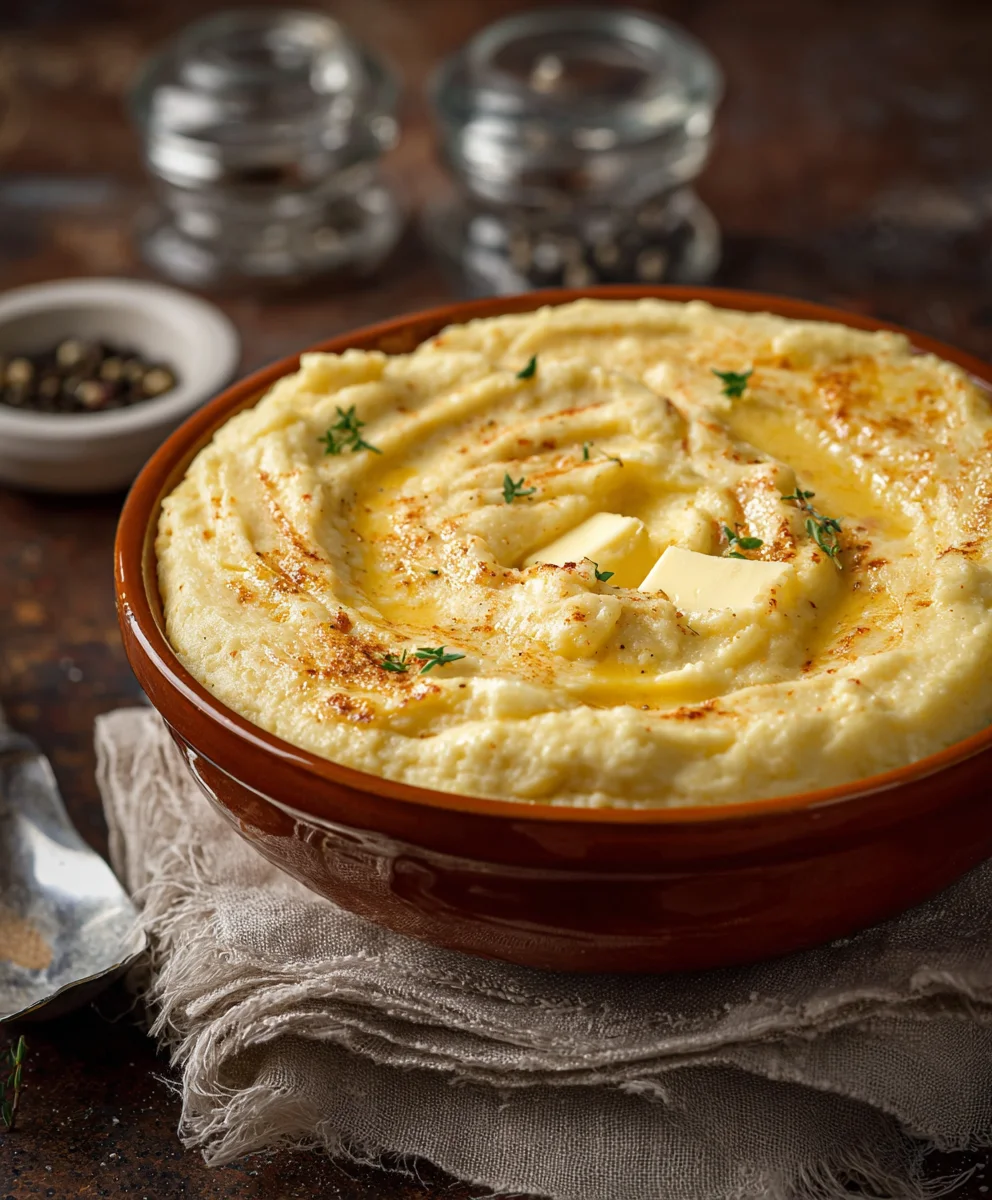
Ingredients:
- 2.5 lbs Russet Potatoes: These starchy potatoes are perfect for mashing as they break down beautifully, yielding a fluffy and creamy base for our Fried Mashed Potato Balls. Look for firm, unblemished potatoes.
- 4 tablespoons Unsalted Butter: Divided. Two tablespoons will be for enriching the mashed potatoes, adding that signature creamy taste, and the other two will be for a touch of flavor during the initial sauté if you’re making a savory version.
- ½ cup Whole Milk or Half-and-Half: Warmed slightly. This will help achieve a smooth, lump-free mash without cooling down the potatoes too much, ensuring a wonderfully creamy texture.
- 1 teaspoon Sea Salt: Or to taste. Essential for seasoning the potatoes properly from the inside out.
- ½ teaspoon Black Pepper: Freshly ground is always best for a more vibrant flavor.
- ½ teaspoon Garlic Powder: Adds a subtle, savory depth to the mashed potatoes.
- ¼ teaspoon Onion Powder: Complements the garlic powder, enhancing the overall savory profile.
- ¼ cup Fresh Chives or Parsley: Finely chopped. These fresh herbs add a delightful burst of color and a fresh, aromatic finish to our Fried Mashed Potato Balls.
- 4 oz Mozzarella or Cheddar Cheese: Cut into ½-inch cubes. This is our delightful secret center, providing a gooey, melty surprise when you bite into these golden spheres.
- 1 cup All-Purpose Flour: For dredging. This creates the first layer of our crispy coating, helping the egg adhere.
- 2 Large Eggs: Lightly beaten with 1 tablespoon of water or milk. This egg wash acts as the glue for our breadcrumbs.
- 2 cups Panko Breadcrumbs: Panko is key here! Its coarse, flaky texture ensures an incredibly crispy, light, and airy crust, far superior to regular breadcrumbs for our Fried Mashed Potato Balls.
- 4-6 cups Vegetable Oil or Canola Oil: For deep frying. You’ll need enough oil to submerge the potato balls completely, ensuring even cooking and a beautiful golden-brown finish.
Preparing the Mashed Potato Base
- Prepare the Potatoes: First things first, we need to get our potatoes ready. Carefully peel all 2.5 pounds of your Russet potatoes using a sturdy vegetable peeler. Once peeled, cut them into roughly 1-inch uniform pieces. This ensures they cook evenly. Place the cut potatoes in a large pot and cover them with cold water by about an inch. Add a generous pinch of salt to the water – this seasons the potatoes from the inside out as they cook, which is crucial for overall flavor.
- Boil Until Tender: Bring the pot to a rolling boil over high heat. Once boiling, reduce the heat to medium-low and simmer the potatoes for about 15-20 minutes, or until they are fork-tender. You should be able to easily pierce a potato piece with a fork without it offering much resistance. Be careful not to overcook them, as overly waterlogged potatoes can lead to a mushy, less flavorful mash.
- Drain and Dry Thoroughly: This step is incredibly important for achieving the perfect texture for your Fried Mashed Potato Balls. Once the potatoes are tender, drain them thoroughly in a colander. For an even drier result, return the drained potatoes to the empty hot pot over very low heat for 1-2 minutes, shaking the pot occasionally. This gentle heat will evaporate any residual moisture, ensuring a fluffy and flavorful mash rather than a watery one.
- Mash the Potatoes: Remove the pot from the heat. Add 2 tablespoons of unsalted butter and the warmed milk or half-and-half to the hot potatoes. Using a potato masher, sturdy fork, or even a potato ricer (my personal favorite for the smoothest results!), mash the potatoes until they are mostly smooth, with very few to no lumps.
The key here is to mash efficiently and avoid overworking the potatoes, which can make them gummy.
- Season the Mash: Now it’s time to infuse our mash with flavor! Stir in the sea salt, black pepper, garlic powder, onion powder, and the finely chopped fresh chives or parsley. Mix everything thoroughly but gently, just until combined. Taste your mashed potatoes at this stage! Adjust any seasonings as needed. This is your primary chance to get the flavor profile just right before frying. You want a robust, savory flavor that will stand up to frying.
- Chill the Potato Mixture: For easier handling and to prevent the balls from falling apart during frying, it’s essential to chill the mashed potato mixture. Transfer the seasoned mash to a bowl, cover it with plastic wrap, and refrigerate for at least 1-2 hours, or even overnight. A well-chilled mash will be much firmer and easier to shape, giving you perfectly formed Fried Mashed Potato Balls.
Forming the Fried Mashed Potato Balls
- Prepare Your Workspace: Before you start shaping, set up a clean workspace. Have your chilled mashed potato mixture, your cheese cubes, and a baking sheet lined with parchment paper ready. You might also want a small bowl of water nearby to moisten your hands if the potato mixture starts to stick too much.
- Portion the Potato Mix: Take about 2 tablespoons of the chilled mashed potato mixture in the palm of your hand. Gently flatten it into a disc, roughly 2-3 inches in diameter. The thickness should be even, about ½ inch.
- Add the Cheesy Center (Optional but Recommended!): Place one ½-inch cube of mozzarella or cheddar cheese directly in the center of your flattened potato disc. This is the secret ingredient that elevates these Fried Mashed Potato Balls from good to absolutely incredible!
- Enclose the Cheese: Carefully gather the edges of the potato disc around the cheese cube, pinching them together at the top to completely enclose the cheese.
- Shape into a Ball: Once the cheese is fully enclosed, gently roll the potato mixture between your palms to form a smooth, uniform ball, about 1.5 to 2 inches in diameter.
Aim for a firm, compact ball with no cracks, as any fissures could allow the cheese to leak out during frying.
If your hands become too sticky, lightly moisten them with water.
- Arrange on Baking Sheet: Place each perfectly formed potato ball onto your parchment-lined baking sheet. Continue this process until you’ve used up all the mashed potato mixture and cheese. You should end up with approximately 25-30 potato balls, depending on their size.
- Chill Again (Optional, but Recommended for Stability): For the best results, especially if your kitchen is warm or if you won’t be frying immediately, cover the baking sheet loosely with plastic wrap and refrigerate the formed potato balls for another 30 minutes. This extra chill time really helps them hold their shape during the breading and frying process.
The Breading Station
Creating a good breading station is crucial for achieving that irresistible crispy coating on your Fried Mashed Potato Balls. Proper setup makes the process much more efficient and less messy.
- Set Up Your Bowls: You’ll need three shallow bowls or dishes, wide enough to easily roll your potato balls. Arrange them in a line on your counter:
- Bowl 1 (Flour): Pour the 1 cup of all-purpose flour into the first bowl.
- Bowl 2 (Egg Wash): In the second bowl, whisk the 2 large eggs with 1 tablespoon of water or milk until well combined and slightly frothy. This is your “glue.”
- Bowl 3 (Panko Breadcrumbs): Pour the 2 cups of Panko breadcrumbs into the third bowl. Make sure they are spread evenly.
Having a clean hand and a wet hand approach can minimize mess.
Use one hand for handling the dry ingredients (flour, panko) and the other for the wet (egg wash).
- The Breading Process: Take one chilled mashed potato ball at a time and begin the three-step breading process:
- Flour: Gently roll the potato ball in the flour, ensuring it’s completely coated. Tap off any excess flour. The flour helps create a surface for the egg wash to adhere to.
- Egg Wash: Transfer the flour-coated ball to the egg wash. Roll it around until it’s fully coated. Lift it out, letting any excess egg drip off.
- Panko Breadcrumbs: Immediately transfer the egg-coated ball to the Panko breadcrumbs. Roll it thoroughly, pressing gently if needed, to ensure every inch is covered with a thick layer of Panko. This Panko layer is what gives our Fried Mashed Potato Balls their signature crunch!
- Return to Baking Sheet: Place each fully breaded potato ball back onto the clean, parchment-lined baking sheet. Continue this process until all of your potato balls are beautifully coated.
- Final Chill (Highly Recommended!): Once all the Fried Mashed Potato Balls are breaded, I highly recommend placing the baking sheet back into the refrigerator for at least 30 minutes, or even an hour. This final chill helps the breading adhere firmly to the potato balls, preventing it from flaking off during frying and ensuring a truly crisp crust.
Frying the Mashed Potato Balls
This is where the magic happens! Frying transforms our humble potato balls into golden, crispy delights.
- Heat the Oil: Pour 4-6 cups of vegetable or canola oil into a large, heavy-bottomed pot or Dutch oven. You need enough oil so that the potato balls will be fully submerged. Attach a deep-fry thermometer to the side of the pot, making sure the tip doesn’t touch the bottom. Heat the oil over medium-high heat until it reaches a consistent temperature of 350°F (175°C).
Maintaining the correct oil temperature is paramount for perfect results.
Too low, and your Fried Mashed Potato Balls will be greasy; too high, and they’ll burn on the outside before heating through.
- Fry in Batches: Once the oil is at temperature, carefully lower 3-4 breaded potato balls into the hot oil using a slotted spoon or spider. Do not overcrowd the pot! Frying too many at once will drop the oil temperature significantly, leading to uneven cooking and soggy results.
- Cook Until Golden Brown: Fry the potato balls for about 3-5 minutes, turning them occasionally with your slotted spoon or spider, until they are gloriously golden brown and perfectly crisp on all sides. The internal mashed potato mixture is already cooked, so we’re focusing on crisping the exterior and melting that cheesy center. You’ll hear the delightful sizzle and see the beautiful transformation.
- Drain Excess Oil: As each batch finishes frying, carefully remove the golden-brown Fried Mashed Potato Balls from the oil using your slotted spoon or spider. Transfer them to a plate lined with several layers of paper towels. This will help drain any excess oil, ensuring they remain wonderfully crisp and not greasy.
- Maintain Oil Temperature: Allow the oil to return to 350°F (175°C) between batches before adding more potato balls. This usually takes a minute or two. Continue frying in batches until all your delicious potato balls are cooked.
- Season Immediately: While they are still hot and freshly out of the oil, you can lightly sprinkle the Fried Mashed Potato Balls with a touch more sea salt if desired. This enhances their flavor right before serving.
Serving Suggestions & Tips
These Fried Mashed Potato Balls are absolutely divine on their own, but a little accompaniment can take them to the next level. They are incredibly versatile and make a fantastic appetizer, side dish, or even a fun snack.
- Classic Dips: A simple sour cream dip with fresh chives, a tangy ranch dressing, or a spicy sriracha mayo would be phenomenal. For something a little more adventurous, try a sweet chili sauce or a roasted red pepper aioli. The creamy texture of the dip provides a lovely contrast to the crispy exterior of the potato balls.
- Garnish for Flair: A sprinkle of freshly chopped chives, parsley, or even a dash of smoked paprika can add visual appeal and an extra layer of flavor. Don’t underestimate the power of a fresh herb garnish!
- Pairing with Meals: These potato balls are a fantastic alternative to traditional mashed potatoes or fries. They pair wonderfully with roasted chicken, grilled steak, or even a simple green salad for a lighter meal. Imagine them alongside a hearty stew on a cold evening – pure comfort!
- Make Ahead Tips: You can prepare the mashed potato mixture a day in advance and store it in the refrigerator. You can also form and bread the potato balls several hours before frying, keeping them chilled in the fridge on a parchment-lined baking sheet until ready to cook. This makes entertaining so much easier!
- Freezing Instructions: If you have leftovers or want to prep a large batch, you can freeze these Fried Mashed Potato Balls. After breading (but before frying), place the balls on a baking sheet in a single layer and freeze until solid. Once frozen, transfer them to a freezer-safe bag or container for up to 2-3 months. To cook from frozen, simply deep-fry as directed, but increase the cooking time by a few minutes (around 6-8 minutes total), or until golden brown and heated through. You might also choose to bake them from frozen at 400°F (200°C) for 20-25 minutes, flipping halfway, for a slightly less crispy but still delicious result.
- Reheating: For best results, reheat leftover fried potato balls in an oven or air fryer at 375°F (190°C) for 8-12 minutes, or until crisp and heated through. Microwaving them will make them soft and lose their delightful crunch, which we definitely want to avoid!
- Vary the Fillings: While cheese is my favorite, don’t be afraid to experiment! You could add a small cube of cooked ham, some finely chopped cooked bacon, or even a tiny bit of cream cheese mixed with herbs for a different twist. Just make sure any additions are pre-cooked and not too moist.
- Spice it Up: For those who love a bit of heat, consider adding a pinch of cayenne pepper or a dash of your favorite hot sauce to the mashed potato mixture. You could also offer a spicy dipping sauce.
- Safety First: When deep frying, always be mindful of hot oil. Use appropriate kitchen tools, keep children and pets away from the cooking area, and never leave hot oil unattended. Have a fire extinguisher designed for grease fires nearby, just in case.
- Enjoyment is Key: Remember, the most important part of cooking is to have fun and enjoy the process. These homemade Fried Mashed Potato Balls are a labor of love, and every bite will be worth the effort. Serve them warm, and watch them disappear! They are a fantastic crowd-pleaser and a truly satisfying treat.
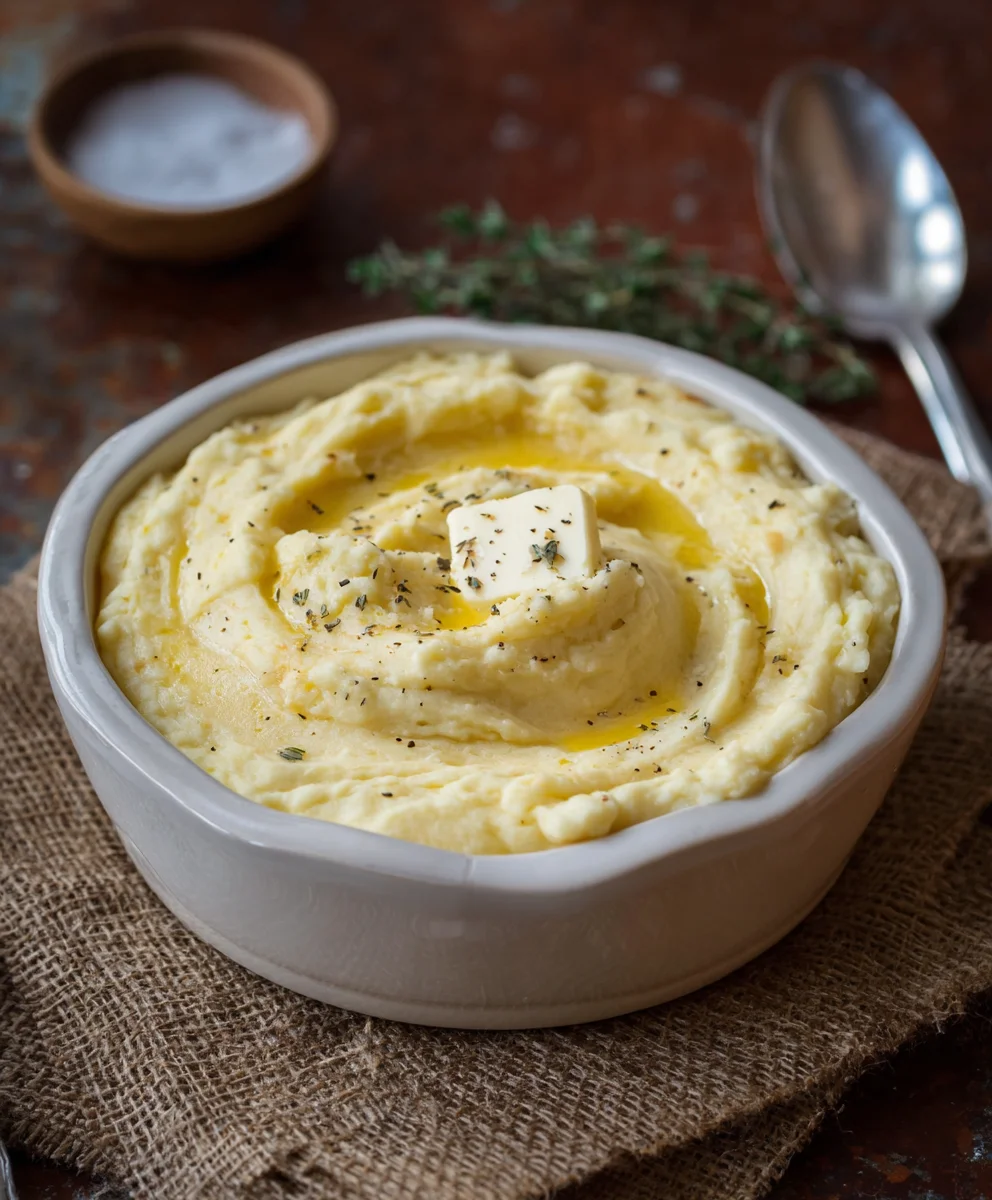
Conclusion:
And there you have it, my friends! We’ve reached the delicious culmination of our journey with what I genuinely believe will become one of your new favorite go-to recipes. If you’ve been following along, you now hold the key to creating truly spectacular Fried Mashed Potato Balls – a dish that transcends the ordinary and delivers an experience far beyond your expectations. Why is this recipe a non-negotiable must-try for everyone, from seasoned home cooks to those just starting their culinary adventures? It’s simple: it’s the masterful interplay of textures and flavors.
Imagine biting into a perfectly golden, undeniably crispy exterior, followed immediately by the luxurious embrace of a warm, creamy, and impeccably seasoned mashed potato interior. It’s a textural symphony that dances on your palate, offering a comforting warmth alongside an exciting crunch. These aren’t just any potato snacks; they are little pockets of pure joy, designed to delight and satisfy. They embody that perfect balance of being incredibly decadent yet surprisingly easy to prepare, making them an ideal candidate for almost any occasion. Whether you’re looking for an impressive appetizer that disappears in minutes, a fun and unique side dish to elevate a weeknight meal, or the ultimate crowd-pleasing snack for your next gathering, these delightful potato balls consistently hit all the right notes. I promise you, once you try them, you’ll understand why I’m so enthusiastic. They are a true testament to how simple ingredients can come together to create something truly extraordinary, leaving everyone clamoring for more.
Now, let’s talk about making these beauties truly your own! The versatility of these Fried Mashed Potato Balls is one of their most charming attributes. When it comes to serving, the possibilities are practically endless. For a casual gathering, arrange them artfully on a platter with a selection of dipping sauces: a classic tangy ketchup, a zesty sriracha mayo for those who love a little heat, a creamy garlic aioli for an elegant touch, or even a rich marinara sauce. They also make an excellent accompaniment to a hearty main course, perhaps replacing traditional roasted potatoes or fries, offering a unique and memorable side. Consider pairing them with grilled chicken, a juicy steak, or even a simple fresh salad for a balanced and exciting meal. For a fun twist, serve them alongside mini sliders or as part of a brunch spread, perhaps with a poached egg and hollandaise sauce.
But don’t stop there! The base recipe is a canvas waiting for your creative strokes. Want to add an extra layer of flavor? Try incorporating finely diced crispy bacon bits into your mashed potato mixture for a smoky, savory dimension. For a cheesy delight, mix in some shredded sharp cheddar, smoked Gouda, or a blend of Parmesan and mozzarella – the melted cheese inside will be an absolute revelation. If you’re a fan of fresh herbs, a generous sprinkle of finely chopped chives, parsley, or even a hint of rosemary or thyme can elevate the aroma and taste profile significantly. For a spicy kick, a pinch of cayenne pepper or some finely minced jalapeños (deseeded for less heat) will awaken the taste buds. You could also experiment with different spice blends – a touch of smoked paprika, onion powder, or a dash of curry powder can transport these potato balls to an entirely new culinary landscape. For a different crunch, consider using panko breadcrumbs for an even crispier, lighter coating, or a gluten-free breadcrumb alternative to accommodate dietary needs. The beauty is, there’s no right or wrong way to personalize them; just let your imagination and taste preferences guide you.
I truly hope this recipe inspires you to step into your kitchen and create something wonderfully delicious. There’s an immense satisfaction that comes from making something from scratch and seeing the pure enjoyment on the faces of those you share it with. So, please, gather your ingredients, follow these simple steps, and prepare to be amazed. Once you’ve had the pleasure of tasting these incredible creations, I wholeheartedly encourage you to share your experience with us! Did you try a unique serving suggestion? Did you come up with an amazing variation that you think others should know about? We’d absolutely love to hear about it. Share your photos, your tips, and your triumphs! Your feedback and creative twists not only inspire me but also help build a vibrant community of fellow food lovers. Happy cooking, and I can’t wait to see what deliciousness you bring to life!
Crispy Fried Mashed Potato Balls: Easy & Delicious Recipe
Elevate classic mashed potatoes into irresistibly crispy, golden-brown Fried Mashed Potato Balls with a warm, fluffy, and seasoned interior, often with a gooey cheese center. Perfect as an appetizer or side dish.
Ingredients
-
2.5 lbs Russet Potatoes
-
4 tbsp Unsalted Butter, divided
-
½ cup Whole Milk or Half-and-Half, warmed
-
1 tsp Sea Salt
-
½ tsp Black Pepper, freshly ground
-
½ tsp Garlic Powder
-
¼ tsp Onion Powder
-
¼ cup Fresh Chives or Parsley, finely chopped
-
4 oz Mozzarella or Cheddar Cheese, ½-inch cubes
-
1 cup All-Purpose Flour
-
2 Large Eggs, lightly beaten with 1 tbsp water or milk
-
2 cups Panko Breadcrumbs
-
4-6 cups Vegetable Oil or Canola Oil, for frying
Instructions
-
Step 1
{‘@type’: ‘HowToSection’, ‘name’: ‘Preparing the Mashed Potato Base’, ‘itemListElement’: [{‘@type’: ‘HowToStep’, ‘text’: ‘Peel and cut 2.5 lbs Russet potatoes into 1-inch pieces. Place in a large pot, cover with salted cold water.’}, {‘@type’: ‘HowToStep’, ‘text’: ‘Bring to a boil, then simmer for 15-20 minutes until fork-tender.’}, {‘@type’: ‘HowToStep’, ‘text’: ‘Drain thoroughly; return to hot pot over low heat for 1-2 minutes to dry.’}, {‘@type’: ‘HowToStep’, ‘text’: ‘Remove from heat. Mash with 2 tbsp butter and warmed milk until smooth. Do not overwork.’}, {‘@type’: ‘HowToStep’, ‘text’: ‘Stir in salt, pepper, garlic powder, onion powder, and chives/parsley. Taste and adjust seasoning.’}, {‘@type’: ‘HowToStep’, ‘text’: ‘Transfer to a bowl, cover, and chill for at least 1-2 hours.’}]} -
Step 2
{‘@type’: ‘HowToSection’, ‘name’: ‘Forming the Fried Mashed Potato Balls’, ‘itemListElement’: [{‘@type’: ‘HowToStep’, ‘text’: ‘Prepare workspace with chilled mash, cheese cubes, and parchment-lined baking sheet.’}, {‘@type’: ‘HowToStep’, ‘text’: ‘Take 2 tbsp mash, flatten into a 2-3 inch disc.’}, {‘@type’: ‘HowToStep’, ‘text’: ‘Place a ½-inch cheese cube in the center.’}, {‘@type’: ‘HowToStep’, ‘text’: ‘Gather edges of mash to enclose the cheese.’}, {‘@type’: ‘HowToStep’, ‘text’: ‘Roll into a smooth, compact 1.5-2 inch ball without cracks.’}, {‘@type’: ‘HowToStep’, ‘text’: ‘Place on parchment-lined baking sheet. Repeat for all mash (approx. 25-30 balls).’}, {‘@type’: ‘HowToStep’, ‘text’: ‘Chill formed balls for another 30 minutes.’}]} -
Step 3
{‘@type’: ‘HowToSection’, ‘name’: ‘The Breading Station’, ‘itemListElement’: [{‘@type’: ‘HowToStep’, ‘text’: ‘Set up three shallow bowls: one with 1 cup flour, one with 2 beaten eggs (with 1 tbsp water or milk), and one with 2 cups Panko breadcrumbs. Use a dry hand/wet hand method.’}, {‘@type’: ‘HowToStep’, ‘text’: ‘Dredge each potato ball in flour, tap off excess. Dip in egg wash, let excess drip. Roll in Panko breadcrumbs, pressing to coat completely.’}, {‘@type’: ‘HowToStep’, ‘text’: ‘Place breaded balls on the parchment-lined baking sheet.’}, {‘@type’: ‘HowToStep’, ‘text’: ‘Chill breaded balls for at least 30 minutes.’}]} -
Step 4
{‘@type’: ‘HowToSection’, ‘name’: ‘Frying the Mashed Potato Balls’, ‘itemListElement’: [{‘@type’: ‘HowToStep’, ‘text’: ‘Heat 4-6 cups vegetable or canola oil in a heavy pot to 350°F (175°C).’}, {‘@type’: ‘HowToStep’, ‘text’: ‘Fry 3-4 potato balls at a time. Do not overcrowd.’}, {‘@type’: ‘HowToStep’, ‘text’: ‘Fry for 3-5 minutes, turning occasionally, until golden brown and crispy.’}, {‘@type’: ‘HowToStep’, ‘text’: ‘Remove with a slotted spoon and drain on paper towels.’}, {‘@type’: ‘HowToStep’, ‘text’: ‘Maintain oil temperature between batches. Continue frying all balls.’}, {‘@type’: ‘HowToStep’, ‘text’: ‘Lightly sprinkle with sea salt immediately after frying, if desired.’}]} -
Step 5
{‘@type’: ‘HowToSection’, ‘name’: ‘Serving Suggestions & Tips’, ‘itemListElement’: [{‘@type’: ‘HowToStep’, ‘text’: ‘Serve warm with classic dips like sour cream, ranch, or sriracha mayo. Garnish with fresh chives or parsley.’}, {‘@type’: ‘HowToStep’, ‘text’: ‘Make Ahead: Prepare mash a day in advance, or form and bread balls hours before frying, keeping them chilled.’}, {‘@type’: ‘HowToStep’, ‘text’: ‘Freezing: Freeze breaded, un-fried balls on a baking sheet until solid, then transfer to a freezer bag for up to 2-3 months. Fry from frozen (increase time to 6-8 mins) or bake at 400°F (200°C) for 20-25 mins.’}, {‘@type’: ‘HowToStep’, ‘text’: ‘Reheating: Reheat leftover fried balls in an oven or air fryer at 375°F (190°C) for 8-12 minutes to restore crispness.’}, {‘@type’: ‘HowToStep’, ‘text’: ‘Variations: Experiment with different cheese fillings (e.g., pepper jack, cooked beef bacon bits) or add a pinch of cayenne to the mash.’}, {‘@type’: ‘HowToStep’, ‘text’: ‘Safety: Always use caution when deep frying with hot oil.’}]}
Important Information
Nutrition Facts (Per Serving)
It is important to consider this information as approximate and not to use it as definitive health advice.
Allergy Information
Please check ingredients for potential allergens and consult a health professional if in doubt.


Leave a Comment