These Halloween Deviled Eggs are a fun and festive twist on a classic appetizer. They’re surprisingly easy to make, and the colorful decorations really impress guests, especially the kids. I love bringing these to parties because they’re always a hit, and you can customize the colors to match any Halloween theme you have going on. Plus, they’re a great way to use up eggs and are perfect for a spooky gathering. Ingredients: 10 Eggs 5 TBSP Mayo 5 TBSP Mustard Purple Food Coloring Green Food Coloring Preparing the Eggs First things first, we need to hard-boil the eggs perfectly. Place all 10 eggs in a large saucepan. Cover them with cold water by about an inch. You want to ensure they are fully submerged. Place the saucepan over high heat and bring the water to a rolling boil. Once the water is boiling vigorously, immediately remove the saucepan from the heat. Cover the saucepan tightly with a lid. Let the eggs sit in the hot water for about 10-12 minutes. This method ensures that the yolks cook through evenly without becoming rubbery. While the eggs are sitting, prepare an ice bath. Fill a large bowl with cold water and add plenty of ice. Once the 10-12 minutes are up, carefully transfer the eggs from the hot water into the ice bath using a slotted spoon. Let them cool completely in the ice bath for at least 15 minutes. This rapid cooling stops the cooking process and makes the eggs much easier to peel. Peeling the eggs can sometimes be a bit tricky, especially if they’re not cooled properly. Gently tap the larger end of the egg first, then roll it on the counter to crack the shell all over. Start peeling from the wider end where the air pocket is; it should come off in larger pieces if they are cooled well. If you encounter stubborn spots, just run the egg under cool water as you peel. Once all eggs are peeled and cooled, slice each egg in half lengthwise. You’ll want to scoop out the yolks into a medium bowl. Arrange the egg whites on a serving platter. Be careful not to break them. They are the base for your spooky creations!
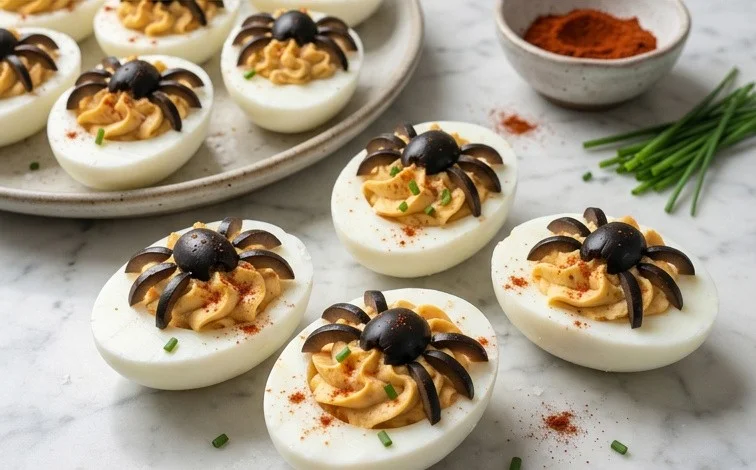
Halloween Deviled Eggs
These Halloween Deviled Eggs are a fun and festive twist on a classic appetizer. They’re surprisingly easy to make, and the colorful decorations really impress guests, especially the kids. I love bringing these to parties because they’re always a hit, and you can customize the colors to match any Halloween theme you have going on. Plus, they’re a great way to use up eggs and are perfect for a spooky gathering.
Ingredients:
- 10 Eggs
- 5 TBSP Mayo
- 5 TBSP Mustard
- Purple Food Coloring
- Green Food Coloring
Preparing the Eggs
- First things first, we need to hard-boil the eggs perfectly. Place all 10 eggs in a large saucepan. Cover them with cold water by about an inch. You want to ensure they are fully submerged. Place the saucepan over high heat and bring the water to a rolling boil. Once the water is boiling vigorously, immediately remove the saucepan from the heat. Cover the saucepan tightly with a lid. Let the eggs sit in the hot water for about 10-12 minutes. This method ensures that the yolks cook through evenly without becoming rubbery. While the eggs are sitting, prepare an ice bath. Fill a large bowl with cold water and add plenty of ice. Once the 10-12 minutes are up, carefully transfer the eggs from the hot water into the ice bath using a slotted spoon. Let them cool completely in the ice bath for at least 15 minutes. This rapid cooling stops the cooking process and makes the eggs much easier to peel.
- Peeling the eggs can sometimes be a bit tricky, especially when you need them to look nice. The best way I’ve found to peel them after they’ve been in the ice bath is to gently tap each egg on a hard surface to crack the shell all over, then roll it gently between your hands to loosen the shell. Start peeling from the wider end of the egg, as there’s usually an air pocket there that makes it easier to get started. If a bit of shell sticks, you can rinse the egg under cool running water while peeling; the water helps to wash away those stubborn bits. Once peeled, rinse each egg and pat it dry with a paper towel.
Creating the Spooky Filling
- Now it’s time to make the delicious filling that goes inside. Carefully slice each hard-boiled egg in half lengthwise. This is where you want to use a sharp knife to get a clean cut, so the egg whites look neat. Gently scoop out the egg yolks into a medium-sized bowl. You can use a small spoon or even a melon baller for this. Be careful not to tear the egg white halves.
- Mash the egg yolks thoroughly with a fork until they are as smooth as possible. Break up any large lumps. Add the 5 tablespoons of mayonnaise and 5 tablespoons of mustard to the bowl with the mashed yolks. Stir everything together really well. Continue mixing until the yolk mixture is completely smooth, creamy, and well combined. Taste the filling at this point and adjust the mustard or mayo if you prefer a different consistency or tang. You’re looking for a thick but spreadable texture.
Adding the Halloween Colors
- This is where the fun really begins! Divide the yolk mixture into two separate bowls. You’ll want to make one bowl purple and the other green. In the first bowl, add a few drops of purple food coloring. Start with just a little bit, because you can always add more, but you can’t take it away. Stir the food coloring into the yolk mixture until you achieve a uniform, spooky purple color. If it’s not as dark as you’d like, add another drop or two and mix again.
- In the second bowl, add a few drops of green food coloring. Again, begin with a small amount and stir until the color is consistent. You’re aiming for a nice, Halloween-appropriate shade of green.
- Now, it’s time to assemble the deviled eggs. You can fill the egg white halves using a spoon, but for a more professional look, I like to transfer the colored yolk mixtures into separate piping bags. If you don’t have piping bags, you can use clean, resealable plastic bags. Snip off a small corner of each bag and pipe the colored fillings back into the hollowed-out egg white halves. You can alternate the colors, fill each half with a different color, or even swirl them together if you’re feeling creative. For an extra spooky touch, you can gently swirl the purple and green fillings together in the same egg white half before they set.
Finishing Touches
Once all the egg white halves are filled, your Halloween Deviled Eggs are ready to be served! They look fantastic arranged on a platter. For an extra festive presentation, you can garnish them with a tiny bit of finely chopped chives or parsley, or even a small sprinkle of paprika for a touch of red. However, the vibrant purple and green fillings are usually enough to make them stand out on their own. These are best served chilled. You can make them a few hours in advance and keep them covered in the refrigerator. Just be sure to add any delicate garnishes right before serving.
Conclusion:
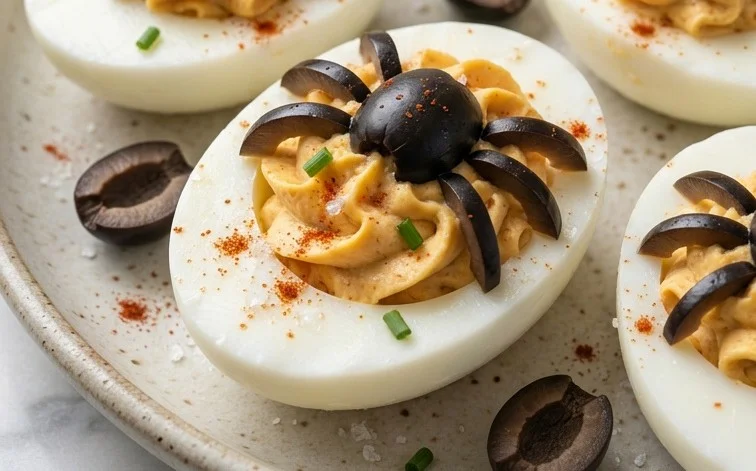
These Halloween Deviled Eggs are a fantastic addition to any spooky celebration. They take a classic party snack and give it a fun, festive makeover that kids and adults alike will adore. The customizable colors make them incredibly versatile, perfect for matching your party’s theme. The preparation is straightforward, with clear steps to ensure perfectly cooked eggs and smooth, creamy filling. Making these deviled eggs yourself is rewarding, especially when you see the delighted faces of your guests.
For serving, these are best presented chilled. You can place them on a platter surrounded by some lettuce leaves or even small Halloween-themed picks. They are also wonderful packed into a lunchbox for a fun surprise during Halloween week. Consider adding a tiny sprinkle of paprika or finely chopped chives to the top for an extra bit of color and flavor, though the food coloring already does a great job.
Variations to consider: Instead of just food coloring, you could use a tiny bit of pureed spinach for green or a drop of beet juice for a pinkish-red. For a different texture, you can add a pinch of garlic powder or onion powder to the yolk mixture. Experiment with different mustards too, like Dijon or honey mustard, for a slight flavor change.
Frequently Asked Questions:
How do I make the coloring really stand out?
For the most vibrant Halloween Deviled Eggs, make sure to add the food coloring to the yolk mixture while it’s still warm. This helps the color distribute more evenly. You can also add a little more coloring than you think you need, as the egg yolk can sometimes mute the shades slightly.
Can I make these ahead of time?
Absolutely! You can hard-boil the eggs and prepare the yolk filling up to two days in advance. Store the filling in an airtight container in the refrigerator. You can also peel and halve the egg whites and store them separately. Then, just assemble the deviled eggs a few hours before you plan to serve them. This makes party day much less stressful.
What if I don’t have purple or green food coloring?
No problem! Any color can work for Halloween. Orange and black are classic choices. You can even use natural coloring agents like turmeric for yellow or blueberry juice for a bluish-purple. The goal is festive fun!
Halloween Deviled Eggs
Spooky and festive deviled eggs perfect for Halloween parties, colored in eerie purple and green.
Ingredients
-
10 Eggs
-
5 TBSP Mayo
-
5 TBSP Mustard
-
Purple Food Coloring
-
Green Food Coloring
Instructions
-
Step 1
Hard boil the eggs. Place eggs in a saucepan, cover with cold water by 1 inch. Bring to a rolling boil, then immediately remove from heat, cover, and let stand for 10-12 minutes. -
Step 2
Cool the eggs in an ice bath for at least 10 minutes, then peel. -
Step 3
Halve the peeled eggs lengthwise and carefully scoop out the yolks into a medium bowl. Arrange the egg white halves on a serving platter. -
Step 4
Mash the egg yolks with a fork until smooth. Stir in the mayo and mustard until well combined and creamy. Season with salt and pepper to taste if desired. -
Step 5
Divide the yolk mixture into two separate bowls. Add a few drops of purple food coloring to one bowl and mix until evenly colored. Add a few drops of green food coloring to the other bowl and mix until evenly colored. -
Step 6
Spoon or pipe the colored yolk mixtures back into the egg white halves, alternating colors for a festive look.
Important Information
Nutrition Facts (Per Serving)
It is important to consider this information as approximate and not to use it as definitive health advice.
Allergy Information
Please check ingredients for potential allergens and consult a health professional if in doubt.

Leave a Comment