

Classic Beef Patty Melt is more than just a sandwich; it’s a nostalgic hug in edible form, a symphony of savory, melty goodness that whispers tnon-alcoholic ales of diner breakfasts and late-night cravings. What is it about this humble creation that captures our hearts and taste buds? Perhaps it’s the perfect harmony of textures: the slightly crisp, buttery rye bread giving way to the juicy, seasoned beef patty, all embraced by gooey, melted cheese. People adore the Classic Beef Patty Melt because it’s incredibly satisfying without being overly complicated. It’s the ultimate comfort food, a reliable friend on a busy weeknight or a delightful indulgence on a lazy weekend. It’s special because it elevates simple ingredients into something truly magical, proving that sometimes, the most beloved dishes are the ones that master the fundamentals with unwavering deliciousness.
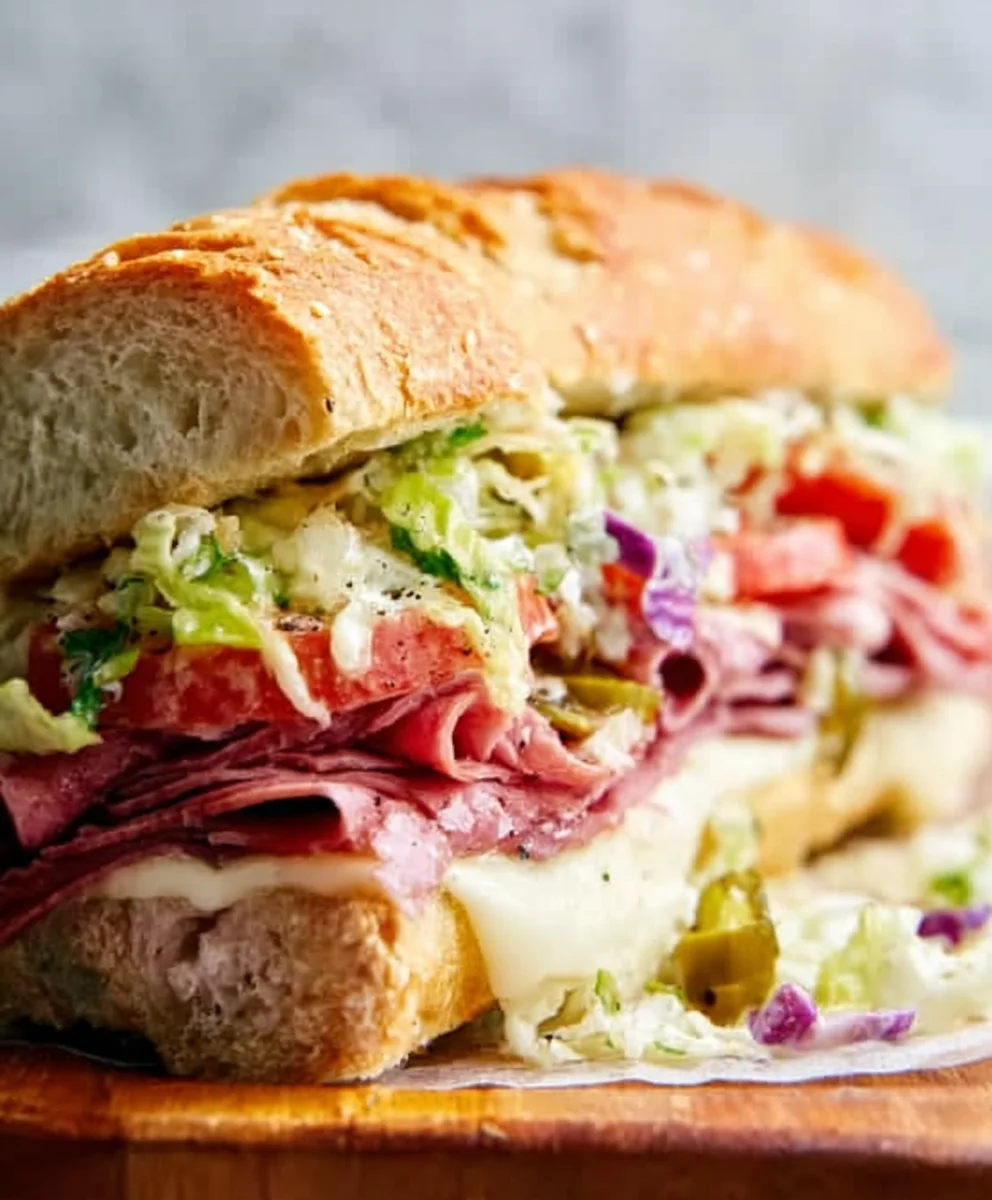
Ingredients:
- 1 pound Thomas Farms ground beef
- ½ teaspoon salt (for the beef)
- ½ teaspoon black pepper (for the beef)
- 1 teaspoon garlic powder (for the beef)
- 2 tablespoons unsalted butter (for sautéing onions and peppers)
- 1 red onion, sliced thinly
- 1 green pepper, sliced thinly
- ½ teaspoon salt (for sautéed vegetables)
- 4-8 slices of bread (Sourdough or sandwich bread work wonderfully)
- 5-6 slices of cheddar cheese
- ½ cup shredded Gruyere cheese
- 2-3 tablespoons butter (for grilling the sandwiches)
Preparing the Beef Patties
Forming the Patties
Let’s start by getting our beef ready. In a medium bowl, combine the 1 pound of Thomas Farms ground beef with ½ teaspoon of salt, ½ teaspoon of black pepper, and 1 teaspoon of garlic powder. It’s really important not to overwork the beef at this stage. Gently mix the seasonings into the meat with your hands just until they are incorporated. Overmixing can lead to tough patties, and we definitely don’t want that for our classic beef patty melt. Once mixed, divide the beef into 4 equal portions. Gently shape each portion into a patty, about ½ inch thick. Make a slight indentation in the center of each patty with your thumb. This little trick helps prevent the patties from puffing up in the middle as they cook, ensuring a nice, even patty.
Sautéing the Vegetables
Building Flavor with Onions and Peppers
While our beef is resting, let’s get those delicious sautéed vegetables ready. In a large skillet, melt the 2 tablespoons of unsalted butter over medium heat. Once the butter is melted and shimmering, add the thinly sliced 1 red onion and 1 green pepper. Sprinkle ½ teaspoon of salt over the vegetables. Stir them occasionally and let them cook for about 8-10 minutes, or until they are softened and begin extractning to caramelize. We’re looking for a nice sweetness and tenderness from the vegetables, which will add a wonderful depth of flavor to our patty melt. Don’t rush this step; the slow cooking of the onions and peppers is key to unlocking their full potential. Once they are tender and slightly golden, remove them from the skillet and set them aside.
Grilling the Patty Melts
Assembly and Golden-Brown Perfection
Now it’s time to bring it all together and cook our patty melts. You can use the same skillet you used for the vegetables, or a clean one. Heat 1 tablespoon of the remaining butter (from the 2-3 tablespoons) over medium heat. Place two slices of your chosen bread into the skillet. On one slice of bread, layer your components: start with a slice or two of cheddar cheese, then a prepared beef patty, a generous portion of your sautéed onions and peppers, a sprinkle of the shredded Gruyere cheese, and finally, another slice or two of cheddar cheese. Top with the second slice of bread. Repeat this process for the second sandwich.
The Perfect Sear
Once the sandwiches are assembled, cook them for about 4-5 minutes per side, or until the bread is golden brown and toasted, and the cheese is wonderfully melted and gooey. You’ll want to keep an eye on them to ensure they don’t burn. If the bread is browning too quickly, you can reduce the heat slightly. Gently press down on the sandwiches with your spatula occasionally to help them cook evenly and encourage the cheese to melt all the way through. Add the remaining butter to the skillet as needed for the second side of the sandwiches.
Ensuring Complete Cooking
For the beef patties, an internal temperature of 160°F (71°C) is recommended for safe consumption. You can check this with an instant-read thermometer inserted into the thickest part of the patty. If you don’t have a thermometer, you can ensure they are cooked through by observing them – the juices should run clear, and there should be no pink inside. The combination of perfectly cooked beef, sweet caramelized vegetables, and melted cheese between toasted bread is what makes the classic beef patty melt so irresistible.
Melting the Cheese
The key to a truly outstanding patty melt is beautifully melted cheese. As the sandwiches cook, the heat will gently melt the cheddar and Gruyere, creating a luscious, stringy center. You can even peek inside one of the sandwiches to ensure the cheese is fully melted before removing them from the pan. This combination of textures and flavors – the savory beef, the sweet and tender vegetables, the rich, melted cheese, and the crispy, buttery bread – is what defines this comfort food classic. Don’t be afraid to let that cheese ooze out a little; it’s part of the charm!
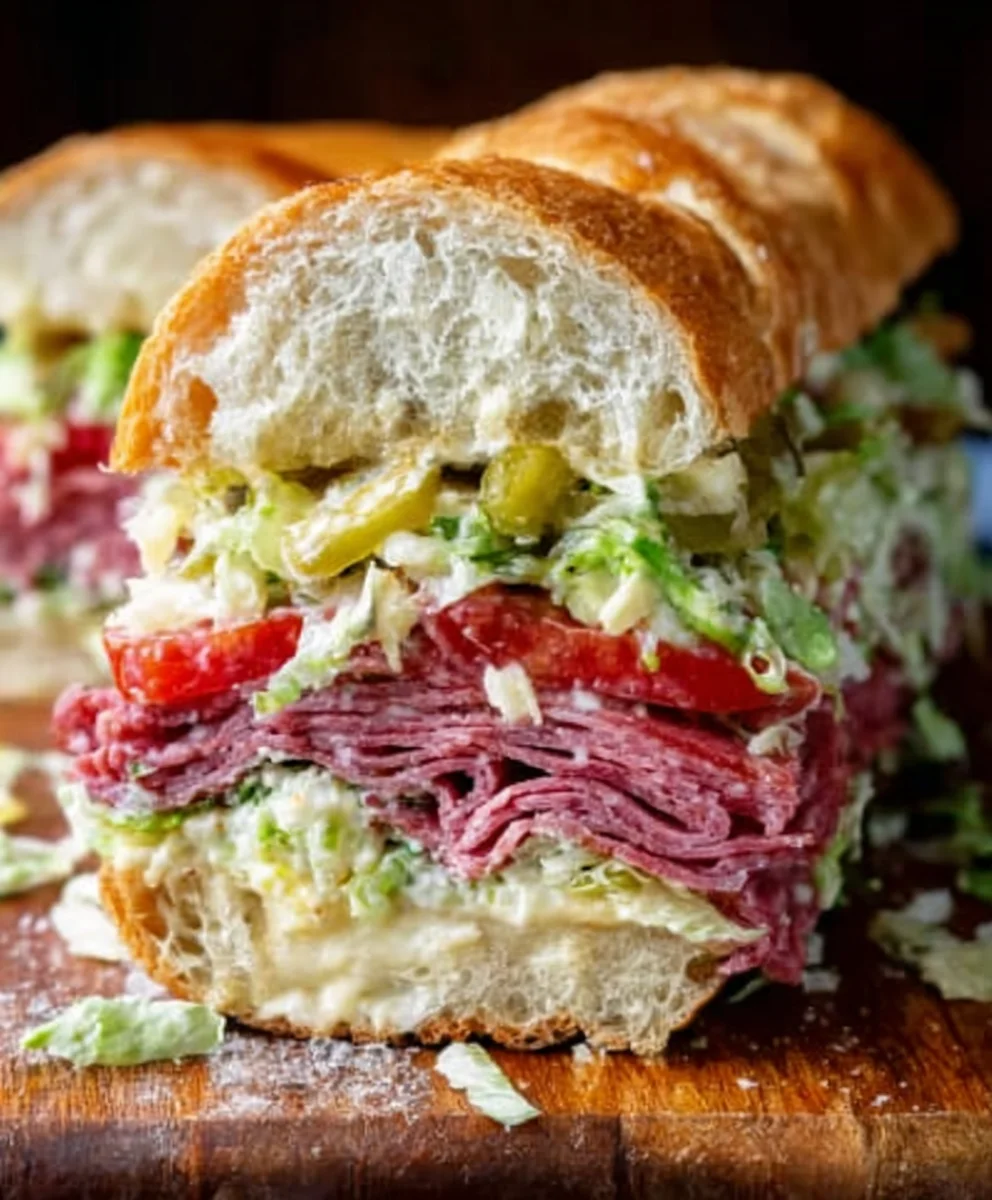
Conclusion:
And there you have it – a foolproof guide to making the most delicious Classic Beef Patty Melt! We’ve walked through each step, from perfectly searing your seasoned beef patty to achieving that golden-brown, melty cheese sandwich. This recipe is more than just a meal; it’s a comforting classic that’s surprisingly simple to execute, offering a delightful balance of savory, tangy, and cheesy flavors. I truly hope you enjoy making and savoring this timeless diner favorite in your own kitchen. It’s perfect for a quick weeknight dinner, a satisfying lunch, or even a cozy brunch.
For serving suggestions, this Classic Beef Patty Melt is phenomenal on its own, but it truly shines when paired with a side of crispy french fries, onion rings, or a fresh, simple green salad. You could also elevate your meal with a side of coleslaw for a creamy crunch.
When it comes to variations, don’t be afraid to experiment! Try different types of cheese like Gruyère or pepper jack for a spicy kick. You can also swap out the rye bread for sourdough or pumpernickel. Some people love to add a layer of caramelized onions or sautéed mushrooms inside their patty melt for an extra layer of flavor and texture. Whichever way you choose to prepare it, I encourage you to embrace the spirit of this beloved sandwich and make it your own!
Frequently Asked Questions:
What kind of beef should I use for the Classic Beef Patty Melt?
For the best flavor and texture, I recommend using ground beef with an 80/20 lean-to-fat ratio. This ensures your patty stays juicy and flavorful without becoming greasy. A medium-lean ground chuck is a great choice.
Can I make the Classic Beef Patty Melt ahead of time?
While the sandwich is best enjoyed fresh, you can prepare the beef patty ahead of time and refrigerate it. However, toasting the bread and melting the cheese should ideally be done just before serving to prevent soggin extractess and ensure optimal meltiness.
Classic Beef Patty Melt – Easy Diner Favorite
A simple and delicious diner-style beef patty melt featuring seasoned ground beef, sautéed onions and peppers, and perfectly melted cheddar and Gruyere cheese between toasted bread.
Ingredients
-
1 pound Thomas Farms ground beef
-
½ teaspoon salt (for the beef)
-
½ teaspoon black pepper (for the beef)
-
1 teaspoon garlic powder (for the beef)
-
2 tablespoons unsalted butter (for sautéing onions and peppers)
-
1 red onion, sliced thinly
-
1 green pepper, sliced thinly
-
½ teaspoon salt (for sautéed vegetables)
-
4-8 slices of bread (Sourdough or sandwich bread)
-
5-6 slices of cheddar cheese
-
½ cup shredded Gruyere cheese
-
2-3 tablespoons butter (for grilling the sandwiches)
Instructions
-
Step 1
In a medium bowl, combine the 1 pound of Thomas Farms ground beef with ½ teaspoon of salt, ½ teaspoon of black pepper, and 1 teaspoon of garlic powder. Gently mix the seasonings into the meat just until incorporated. Do not overwork. Divide the beef into 4 equal portions and gently shape into patties about ½ inch thick. Make a slight indentation in the center of each patty with your thumb. -
Step 2
In a large skillet, melt 2 tablespoons of unsalted butter over medium heat. Add the thinly sliced 1 red onion and 1 green pepper. Sprinkle ½ teaspoon of salt over the vegetables. Cook, stirring occasionally, for about 8-10 minutes until softened and beginning to caramelize. Remove from skillet and set aside. -
Step 3
Heat 1 tablespoon of butter over medium heat in the same or a clean skillet. Place two slices of bread in the skillet. Layer one slice with cheddar cheese, a beef patty, sautéed onions and peppers, Gruyere cheese, and more cheddar cheese. Top with the second slice of bread. Repeat for the second sandwich. -
Step 4
Cook the sandwiches for about 4-5 minutes per side, until the bread is golden brown and toasted, and the cheese is melted and gooey. Press down gently with a spatula occasionally. Add remaining butter to the skillet as needed for the second side. -
Step 5
Ensure the beef patties reach an internal temperature of 160°F (71°C) for safe consumption. The juices should run clear and there should be no pink inside. The cheese should be fully melted and oozing.
Important Information
Nutrition Facts (Per Serving)
It is important to consider this information as approximate and not to use it as definitive health advice.
Allergy Information
Please check ingredients for potential allergens and consult a health professional if in doubt.


Leave a Comment