

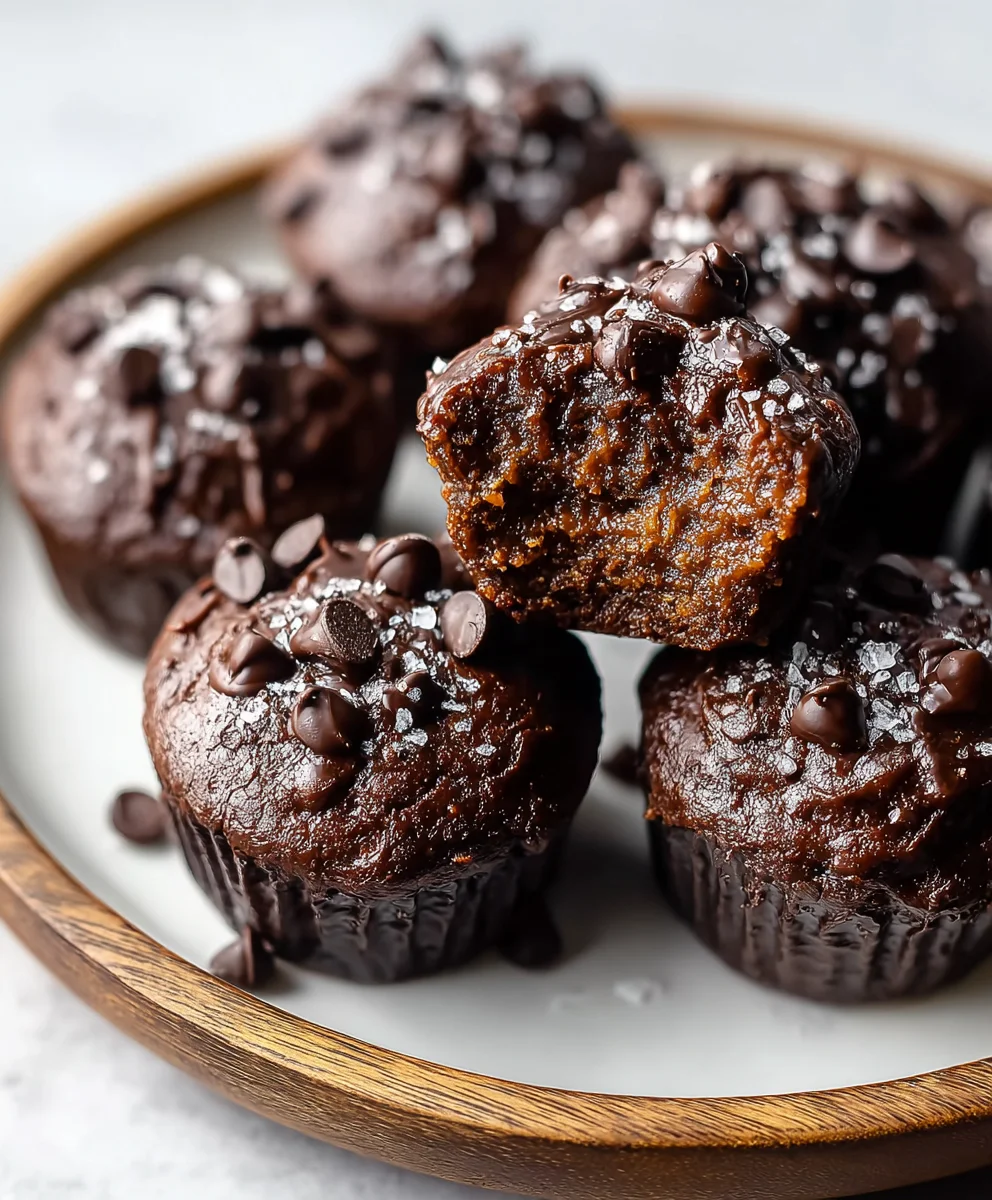
Caramel Fudge Crunch Bars are more than just a sweet treat; they’re a nostalgic trip back to childhood, a guaranteed crowd-pleaser at any gathering, and a delightful indulgence for those moments when only something truly decadent will do. What is it about these bars that captures our hearts and taste buds? It’s that irresistible combination of textures and flavors – the rich, velvety fudge layer, the sweet, gooey caramel, and the satisfying crunch of a perfectly baked base. Each bite offers a symphony of sensations, making it an absolute winner for anyone who appreciates a dessert that’s both comforting and exhilarating. Forget complicated pastries; these Caramel Fudge Crunch Bars deliver maximum impact with relatively straightforward preparation, proving that sometimes, the simplest combinations are the most profound.
Why You’ll Love This Recipe
We’re about to unlock the secrets to creating the ultimate Caramel Fudge Crunch Bars right in your own kitchen. Prepare to be amazed at how easily you can achieve that perfect balance of soft, chewy, and crisp elements. This recipe is designed for success, even for novice bakers, and the result is a tray of bars that will disappear faster than you can say “more, please!” Get ready to impress your friends, family, or just yourself with a homemade treat that rivals any bakery’s best.
Ingredients:
- ½ tin (200g) condensed milk
- 100g light brown sugar
- 60g butter (salted or unsalted)
- 1½ tablespoons golden syrup or honey
- 100g white chocolate, broken into chunks
- 650g milk or dark chocolate, divided (you can use all milk, all dark, or a mix depending on your preference)
- 75g Rice Krispies cereal
Making the Caramel Base
Step 1: Prepare Your Pan and Begin extract the Caramel
First things first, get your baking pan ready. I like to use a 20cm x 20cm (8-inch x 8-inch) square pan. Line it with baking parchment, leaving some overhang on the sides. This will make it super easy to lift the finished bars out later. Now, let’s start on the caramel. In a medium saucepan, combine the condensed milk, light brown sugar, butter, and golden syrup (or honey). Place the saucepan over medium heat. Stir continuously with a wooden spoon or heatproof spatula until the butter has melted and the sugar has dissolved. It’s important to keep stirring to prevent the mixture from sticking to the bottom of the pan and burning. Once everything is combined and smooth, continue to cook, stirring frequently.
Step 2: Cook the Caramel to the Correct Consistency
This is where patience pays off! Keep stirring the caramel mixture over medium heat. You’ll notice it will start to thicken and darken slightly. The goal is to cook it until it reaches the soft-ball stage, which is roughly 116-118°C (240-244°F) on a sugar thermometer. If you don’t have a thermometer, you can test it by dropping a small amount of the caramel into a glass of cold water. It should form a soft, pliable ball that flattens when removed from the water. This process will take about 10-15 minutes of gentle simmering and stirring. Be mindful of the heat and don’t rush this step, as an undercooked caramel will be too runny, and an overcooked one will be too hard and potentially burnt.
Incorporating the Chocolate and Crunch
Step 3: Add the White Chocolate to the Caramel
Once your caramel has reached the desired consistency, remove the saucepan from the heat. Immediately add the 100g of white chocolate chunks to the hot caramel. Keep stirring gently until the white chocolate is completely melted and has blended smoothly into the caramel. The residual heat from the caramel is usually enough to melt the white chocolate. If it seems a bit stubborn, you can return the pan to very low heat for just a few moments, stirring constantly, but be very careful not to overheat or burn the mixture. This white chocolate addition will add a subtle sweetness and a lovely creamy texture to our caramel base, making it even more decadent.
Step 4: Fold in the Rice Krispies and Pour into the Pan
Now it’s time to add the “crunch” to our Caramel Fudge Crunch Bars! Gently fold the 75g of Rice Krispies cereal into the warm caramel and white chocolate mixture. You want to ensure that all the Rice Krispies are evenly coated with the caramel. Don’t overmix at this stage, as you don’t want to crush the cereal. Once everything is well combined, pour the entire mixture into your prepared baking pan. Use your spatula to spread the mixture evenly into the pan. Press it down firmly but gently to create a compact layer. This step is crucial for ensuring your bars hold their shape when cut.
Creating the Chocolate Topping
Step 5: Melt and Layer the Dark or Milk Chocolate
For the final layer, we’ll create a rich chocolate topping. You’ll need the remaining 650g of milk or dark chocolate. You can melt this chocolate using a double boiler or in the microwave. If using a double boiler, place the chocolate in a heatproof bowl set over a pan of simmering water, ensuring the bottom of the bowl doesn’t touch the water. Stir until smooth. If microwaving, place the chocolate in a microwave-safe bowl and heat in 30-second intervals, stirring well after each interval, until mostly melted. Continue stirring until any remaining chocolate melts from the residual heat. Once the chocolate is smooth and melted, carefully pour it over the Rice Krispies layer in the pan. Use your spatula to spread it evenly, ensuring it covers the entire surface. Try to get a smooth, even finish for a professional look.
Step 6: Chill and Cut the Bars
Once the chocolate topping is spread, place the pan in the refrigerator. Let it chill for at least 2-3 hours, or until the chocolate is completely set and firm. The chilling process is essential for the bars to set properly so they can be cut cleanly. After chilling, use the parchment paper overhang to lift the entire slab out of the pan onto a cutting board. Now, using a sharp knife, cut the slab into your desired bar shapes. For easier cutting, you can warm the knife slightly under hot water and dry it thoroughly before each cut. This will help you achieve clean, neat edges for your Caramel Fudge Crunch Bars. Store any leftovers in an airtight container at room temperature or in the refrigerator.
Conclusion:
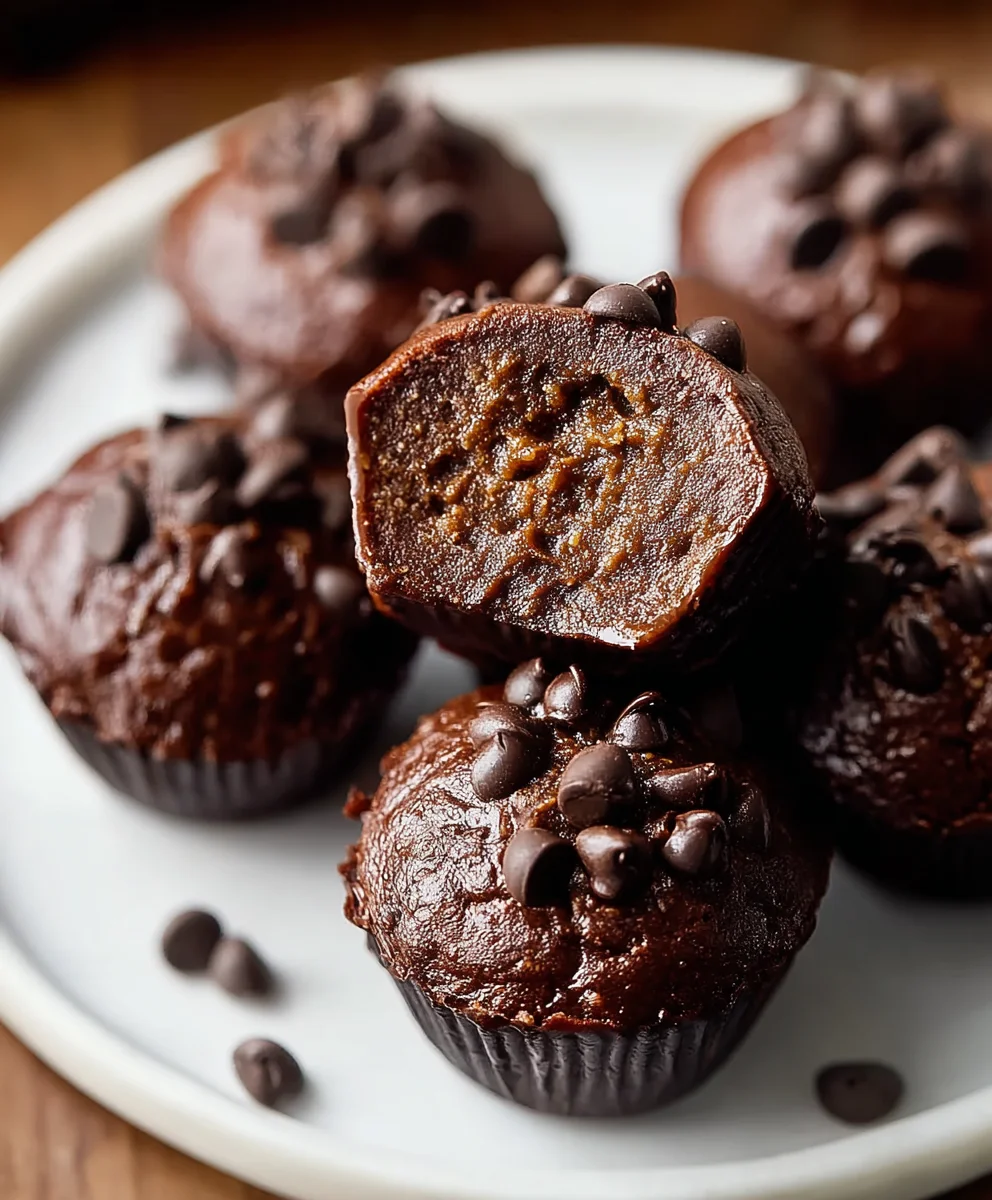
There you have it – a delightful recipe for Caramel Fudge Crunch Bars that’s sure to become a household favorite! We’ve walked through each step, from creating that decadent chocolate fudge layer to achieving the perfect caramel chew and that irresistible crunchy topping. These bars are more than just a dessert; they’re a little piece of happiness you can share. I truly hope you enjoy making and, of course, devouring these fantastic Caramel Fudge Crunch Bars as much as I do. They are wonderfully versatile and perfect for any occasion, from a casual afternoon treat to a special celebration. Don’t hesitate to get creative and adapt them to your taste!
Frequently Asked Questions:
How can I store Caramel Fudge Crunch Bars?
Once completely cooled, store your Caramel Fudge Crunch Bars in an airtight container at room temperature for up to 3 days. For longer storage, you can refrigerate them for up to a week. They are also freezer-friendly; wrap individual bars tightly in plastic wrap and then place them in a freezer-safe bag for up to 2 months.
Can I make Caramel Fudge Crunch Bars ahead of time?
Absolutely! These bars are perfect for making ahead. In fact, they often taste even better after a day or two, allowing the flavors to meld together beautifully. Ensure they are properly cooled and stored before refrigerating or freezing.
Are there any other topping ideas for Caramel Fudge Crunch Bars?
The classic crunchy topping is delicious, but feel free to experiment! You could try chopped nuts like pecans or walnuts, a sprinkle of sea salt for a sweet and salty contrast, or even some mini chocolate chips folded into the topping before baking. Get creative and make them your own!
Caramel Fudge Crunch Bars Easy Recipe
Easy to make Caramel Fudge Crunch Bars with a delicious white chocolate caramel base and a rich chocolate topping, finished with a satisfying crunch from Rice Krispies.
Ingredients
-
½ tin (200g) condensed milk
-
100g light brown sugar
-
60g butter (salted or unsalted)
-
1½ tablespoons golden syrup or honey
-
100g white chocolate, broken into chunks
-
650g milk or dark chocolate, divided
-
75g Rice Krispies cereal
Instructions
-
Step 1
Prepare your 20cm x 20cm (8-inch x 8-inch) square pan by lining it with baking parchment, leaving overhang. In a medium saucepan, combine condensed milk, brown sugar, butter, and golden syrup/honey over medium heat. Stir until butter melts and sugar dissolves. Continue stirring frequently. -
Step 2
Cook the caramel mixture over medium heat, stirring frequently, until it thickens and darkens, reaching the soft-ball stage (116-118°C / 240-244°F). Test by dropping a small amount into cold water; it should form a soft, pliable ball. This takes about 10-15 minutes. -
Step 3
Remove the caramel from heat and immediately stir in the white chocolate chunks until completely melted and blended. Return to very low heat for a moment if needed, stirring constantly, but avoid overheating. -
Step 4
Gently fold the Rice Krispies cereal into the warm caramel and white chocolate mixture, ensuring even coating. Pour the mixture into the prepared pan and spread evenly, pressing down firmly to create a compact layer. -
Step 5
Melt the remaining 650g of milk or dark chocolate using a double boiler or microwave. Pour the melted chocolate over the Rice Krispies layer and spread evenly with a spatula. -
Step 6
Chill the pan in the refrigerator for at least 2-3 hours, or until the chocolate is completely set. Lift the slab out using the parchment paper, then cut into desired bar shapes using a sharp knife. Store in an airtight container.
Important Information
Nutrition Facts (Per Serving)
It is important to consider this information as approximate and not to use it as definitive health advice.
Allergy Information
Please check ingredients for potential allergens and consult a health professional if in doubt.


Leave a Comment