
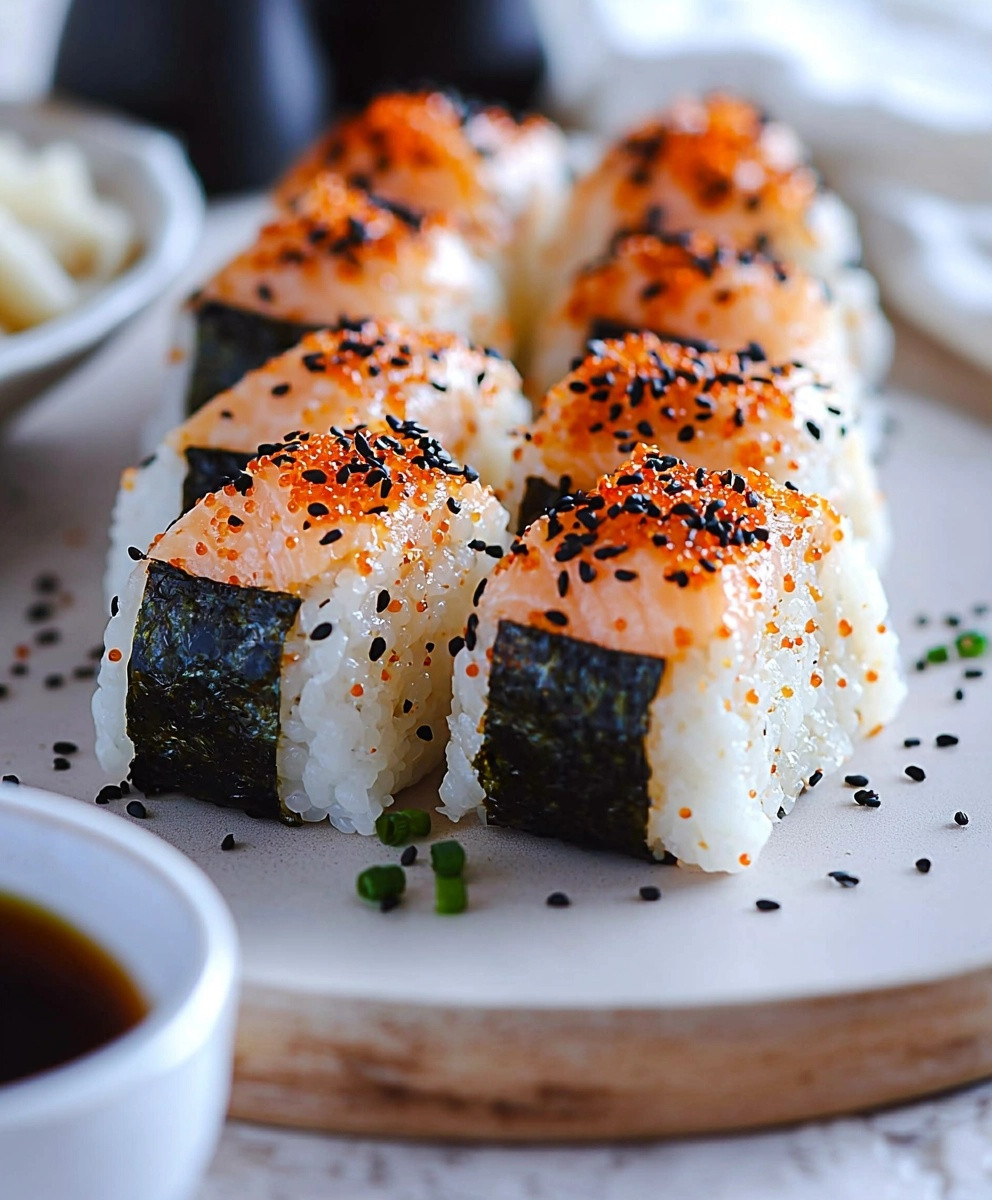
Easy Salmon Onigiri is a delightful Japanese dish that combines simplicity with rich flavors, making it a favorite among food enthusiasts worldwide. These rice balls, often filled with savory salmon, are not only a staple in Japanese cuisine but also a symbol of comfort and home-cooked meals. Traditionally enjoyed as a portable snack or lunch option, onigiri has a fascinating history that dates back centuries, evolving from a practical way to preserve rice into a beloved culinary art form.
People love Easy Salmon Onigiri for its perfect balance of taste and texture. The fluffy, seasoned rice pairs beautifully with the tender, flaky salmon, creating a satisfying bite that is both nutritious and delicious. Additionally, the convenience of onigiri makes it an ideal choice for busy lifestyles, allowing you to enjoy a homemade meal on the go. Whether youre a seasoned chef or a novice in the kitchen, this recipe will guide you in creating these delightful rice balls that are sure to impress family and friends alike.

Ingredients:
- 2 cups sushi rice
- 2 1/2 cups water
- 1/4 cup rice vinegar
- 2 tablespoons sugar
- 1 teaspoon salt
- 1 can (6 oz) of salmon, drained and flaked (or 1 cup cooked salmon)
- 1 tablespoon soy sauce
- 1 teaspoon sesame oil
- 1/4 cup chopped green onions (optional)
- 4 sheets of nori (seaweed), cut into strips
- Sesame seeds for garnish (optional)
Preparing the Sushi Rice
- Rinse the sushi rice under cold water in a fine-mesh strainer until the water runs clear. This removes excess starch and prevents the rice from becoming gummy.
- In a medium saucepan, combine the rinsed rice and 2 1/2 cups of water. Let it soak for about 30 minutes to an hour. This helps the rice absorb water and cook evenly.
- After soaking, bring the rice and water to a boil over medium-high heat. Once it reaches a boil, reduce the heat to low, cover the saucepan with a lid, and let it simmer for 18-20 minutes. Do not lift the lid during cooking, as this will release steam.
- Once the rice is cooked, remove it from heat and let it sit, covered, for an additional 10 minutes. This allows the rice to finish steaming and become fluffy.
- In a small bowl, mix together the rice vinegar, sugar, and salt until dissolved. This mixture will season the rice.
- Transfer the cooked rice to a large bowl and gently fold in the vinegar mixture using a wooden spatula or rice paddle. Be careful not to mash the rice; you want to keep the grains intact. Allow the rice to cool to room temperature.
Preparing the Salmon Filling
- In a medium bowl, combine the flaked salmon, soy sauce, sesame oil, and chopped green onions (if using). Mix well until all ingredients are evenly incorporated.
- Taste the mixture and adjust the seasoning if necessary. You can add more soy sauce for saltiness or sesame oil for richness, depending on your preference.
Shaping the Onigiri
- Once the sushi rice has cooled to room temperature, wet your hands with water to prevent sticking. You can also sprinkle a little salt on your hands for added flavor.
- Take about 1/4 cup of sushi rice and flatten it slightly in the palm of your hand.
- Add about 1 tablespoon of the salmon filling in the center of the rice.
- Carefully fold the rice over the filling, encasing it completely. Use your hands to shape the rice into a triangle or oval shape, pressing gently but firmly to ensure it holds together.
- Repeat the process with the remaining rice and filling until all onigiri are shaped.
Wrapping and Serving the Onigiri
- Take a strip of nori and wrap it around the base of each onigiri. This adds flavor and makes it easier to hold.
- If desired, sprinkle sesame seeds on top of the onigiri for added texture and flavor.
- Serve the onigiri immediately or store them in an airtight container in the refrigerator for up to 2 days. If storing, its best to keep the nori separate until ready to eat to prevent it from becoming soggy.
Tips for Perfect Onigiri
- For added flavor, consider mixing in other ingredients into the rice, such as furikake (a Japanese rice seasoning) or chopped pickled vegetables.
- Experiment with different fillings! You can use tuna, shrimp, or even vegetables for a vegetarian option.
- To make onigiri more visually appealing, you can use a mold to shape them into different designs.
- Onigiri can be enjoyed as a snack, lunch, or part of a bento box. They are portable and perfect for picn
Conclusion:
In summary, this Easy Salmon Onigiri recipe is a must-try for anyone looking to elevate their snacking game or impress guests with a delightful Japanese treat. The combination of perfectly seasoned rice and flavorful salmon creates a harmonious balance that is both satisfying and nutritious. Not only is it simple to prepare, but it also offers endless possibilities for customization. You can experiment with different fillings such as avocado, pickled vegetables, or even spicy tuna to suit your taste preferences. For serving suggestions, consider pairing your onigiri with a side of miso soup or a fresh salad for a complete meal. They also make for a fantastic lunchbox option or a picnic snack, easily portable and mess-free. We encourage you to try this Easy Salmon Onigiri recipe and share your experience with friends and family. Whether you stick to the classic salmon filling or get creative with your own variations, wed love to hear how it turns out for you. Dont forget to share your photos and tips on social media, and let the world know about your delicious onigiri creations! Happy cooking! Print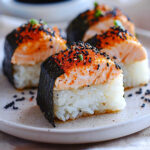
Easy Salmon Onigiri: A Simple Recipe for Delicious Japanese Rice Balls
- Total Time: 60 minutes
- Yield: 8 onigiri 1x
Description
Enjoy the taste of Japan with these homemade Salmon Onigiri! These flavorful rice balls are filled with savory salmon and wrapped in nori, making them a delightful snack or lunch option. Easy to make and customizable, they are sure to impress your family and friends!
Ingredients
- 2 cups sushi rice
- 2 1/2 cups water
- 1/4 cup rice vinegar
- 2 tablespoons sugar
- 1 teaspoon salt
- 1 can (6 oz) of salmon, drained and flaked (or 1 cup cooked salmon)
- 1 tablespoon soy sauce
- 1 teaspoon sesame oil
- 1/4 cup chopped green onions (optional)
- 4 sheets of nori (seaweed), cut into strips
- Sesame seeds for garnish (optional)
Instructions
- Rinse the sushi rice under cold water in a fine-mesh strainer until the water runs clear.
- In a medium saucepan, combine the rinsed rice and 2 1/2 cups of water. Let it soak for about 30 minutes to an hour.
- After soaking, bring the rice and water to a boil over medium-high heat. Once it reaches a boil, reduce the heat to low, cover the saucepan with a lid, and let it simmer for 18-20 minutes.
- Once the rice is cooked, remove it from heat and let it sit, covered, for an additional 10 minutes.
- In a small bowl, mix together the rice vinegar, sugar, and salt until dissolved.
- Transfer the cooked rice to a large bowl and gently fold in the vinegar mixture. Allow the rice to cool to room temperature.
- In a medium bowl, combine the flaked salmon, soy sauce, sesame oil, and chopped green onions (if using). Mix well.
- Taste the mixture and adjust the seasoning if necessary.
- Once the sushi rice has cooled, wet your hands with water to prevent sticking.
- Take about 1/4 cup of sushi rice and flatten it slightly in your palm.
- Add about 1 tablespoon of the salmon filling in the center of the rice.
- Carefully fold the rice over the filling, encasing it completely. Shape the rice into a triangle or oval shape.
- Repeat the process with the remaining rice and filling.
- Take a strip of nori and wrap it around the base of each onigiri.
- If desired, sprinkle sesame seeds on top of the onigiri.
- Serve immediately or store in an airtight container in the refrigerator for up to 2 days, keeping the nori separate until ready to eat.
Notes
- For added flavor, consider mixing in other ingredients into the rice, such as furikake or chopped pickled vegetables.
- Experiment with different fillings like tuna, shrimp, or vegetables for a vegetarian option.
- Use a mold to shape the onigiri into different designs for visual appeal.
- Onigiri are perfect for snacks, lunches, or as part of a bento box.
- Prep Time: 30 minutes
- Cook Time: 30 minutes


Leave a Comment